


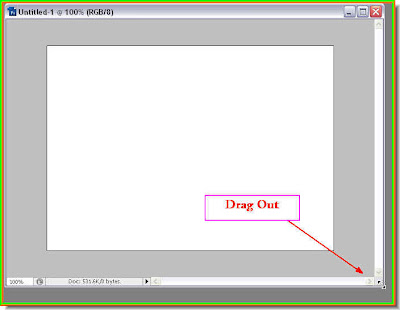
Step 1 : Open a blank white layer and drag out at the bottom right corner to reveal the gray background.
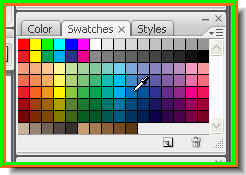
Step 2 : Click on a dark color from the Swatches. I have picked a shade of blue. When you hover your cursor over Swatches it turns into an eyedropper. Click on a color.
Notice that the Foreground Color immediately changes to the color you pick.

Step 3 : Press ALT+BACKSPACE and the Foreground Color fills the layer.

Step 4 : Click on the Small black square to change the color of the Foreground back to Black.
Step 5 : Click on the Type Tool and choose the Horizontal Type Tool.

Step 6 : Choose a thick font like Impact which I have chosen from the dropdown.

Step 7 : In the top panel choose a sufficiently large font size. You can put a value in the box for the font size. The small black rectangle is to set the color of the font. By default it is Black. You can also see the margins -- the left, center and right margins. You have to click to select the margins. I have chosen the center margin.
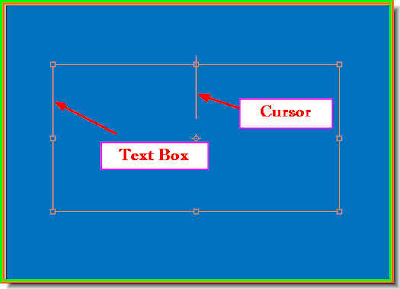
Step 8 : Draw out the text box with the cursor. Step 9 : Type in your text.
Step 10 : Click the tick mark in the top panel to commit the text.

Step 11 : Now click on the Move Tool.
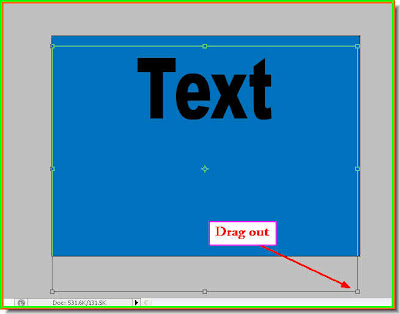
Step 12 : Keeping the SHIFT+ALT pressed drag out the text box to increase the size of the text.
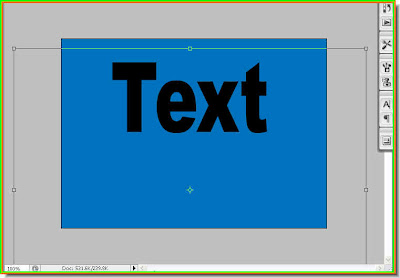
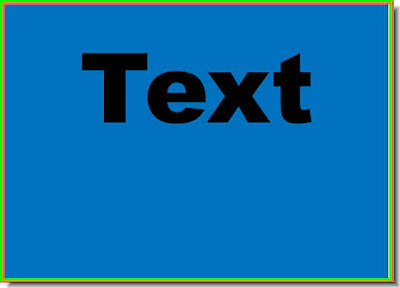
Step 13 : The text looks large enough.
Step 14 : Again click the Tick mark in the top panel to apply the resizing. Every time you alter the text you have to click the tick mark.

Look at the Layers pallette. The colored layer is the Background with the Text layer sitting on top of it.
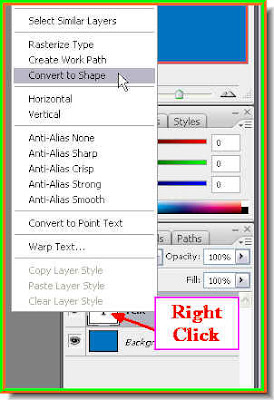
Step 15 : Right click the Text layer and click on Convert To Shape.
As you can see a Vector Mask forms i.e. the Shape forms next to the Text.
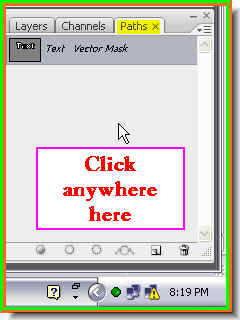
Step 16 : Click on the Paths pallete to open it. Then click anywhere below the Text Vector Mask.
Step 17 : The path has disappeared. Step 18 : Drag the Text Layer to the New Layer button and a Text copy layer forms above it.
 Step 19 : Click the Move Tool.
 Step 20 : Drag the duplicate copy of the text down as shown.
 Step 21 : Again go to the Paths pallete and click below Text copy vector mask.
 Step 22 : Go to Edit>Transform>Flip verticcal.
Step 23 : The Text has flipped.

Step 24 : Click on the Add Layer Mask button and a Layer Mask forms next to the Text copy layer.

Step 25 : Click on the Gradient Tool.
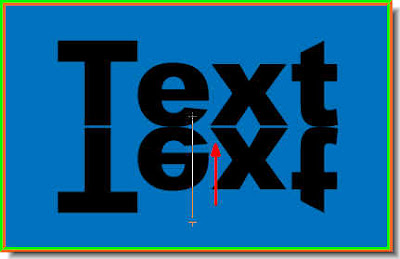
Step 26 : Drag a little way up with the Gradient Tool.
The text looks like this.
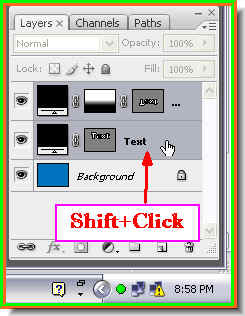
Step 27 : Press Shift and click on the Text layer. The text layer will be highlighted. Step 28 : Go to Edit>Transform>Distort.
Step 29 : You wil find a selection form around the text.


Step 30: Begin dragging the corner handles and resize it as shown. 
Step 31 : Click on the Tick mark on the top panel to commit the text.

Step 32 : Now just click on the text layer. It will only be highlighted.

Step 33 : Click on the Add Layer Style button.

Step 34 : From the popup click on Drop Shadow.
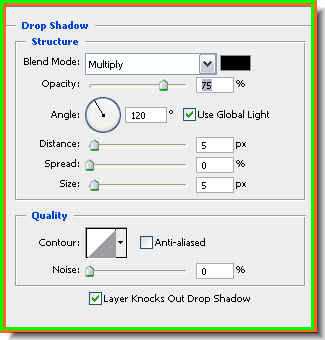
Step 35 : In the Drop Shadow dialogue box just click ok without changing any of the settings.
Step 36 : This is PS CS 3. This step may look a bit different in PS 7. But the effect is the same. In CS 3 click on Drop Shadow. In PS 7 you will find a small black arrow on the top right which you must click.

Step 37 : When you click this dialogue box pops up both in PS CS and in PS 7. Click Ok.

Step 38 : You will find a new drop shadow layer. Here it is the Text Layer's Drop Shadow.
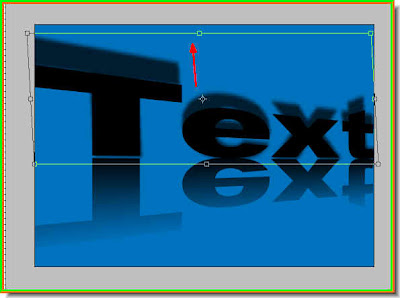
Step 39 : Press CTRL+T and begin dragging up.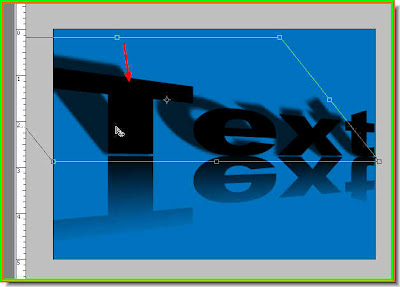
Step 40 : Keeping CTRL+T pressed now drag down as shown.

Step 41 : Keep dragging the Drop Shadow layer behind the Text layer. to make it seem that the text's shadow is being cast behind it.

Step 42 : Use the arrow keys to position the shadow behind the text as shown above.
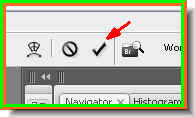
Step 43 : Click on the Tick mark to commit the text.
Step 43 : Reduce the Opacity of the shadow layer.

And here is your 3D text.


