


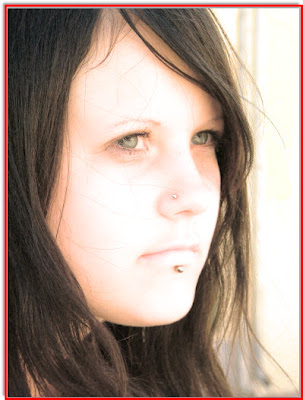
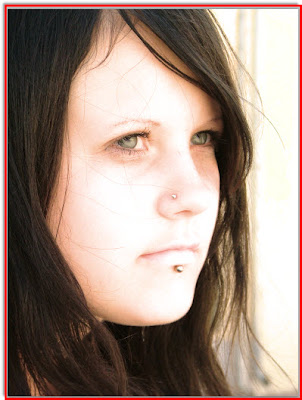
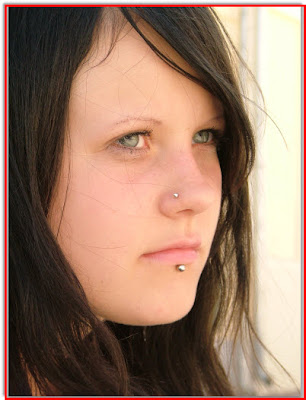
Sometimes a closeup photo can be very unflattering on the skin revealing blemishes. In real life you can't do much about it except go to a doctor. But in Photoshop you can remove them easily.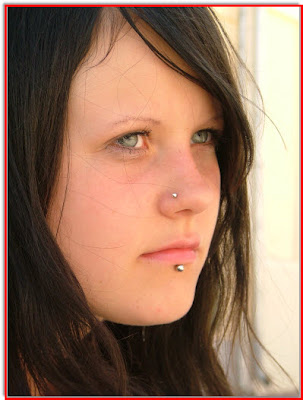 This is a free stock image which you can download here. You will only need to register. You can see that the skin is not even.
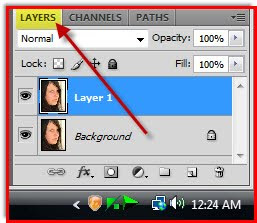
This is a free stock image which you can download here. You will only need to register. You can see that the skin is not even. 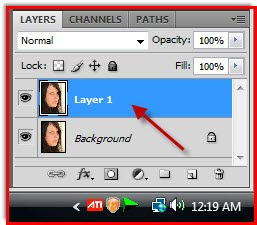 Step 1 : After opening the photo in Photoshop look at the Layers palette. There is only the Background Layer. Press CTRL+J and the Background duplicates into Layer 1.
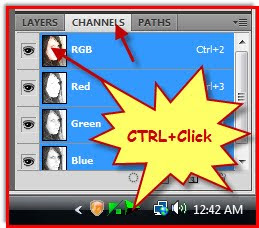
 Step 2 : Click on the Channels palette to open it.
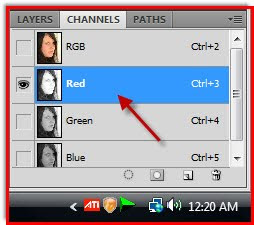 Step 3 : Click on the Red Channel.
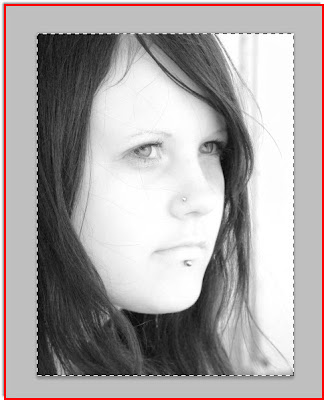 Step 4 : Press CTRL+A (Select ALL) then CTRL+C (Copy).
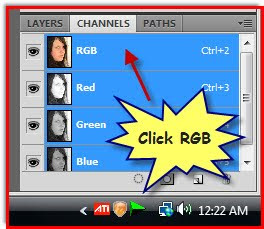
Step 5 : Click on the RGB channel.
Step 6 : Click back on the Layers palette.
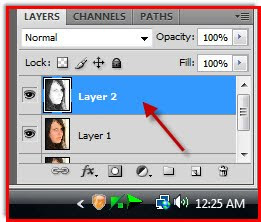
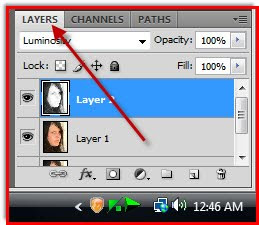
Step 7 : Now press CTRL+V (Paste). The selection is automatically pasted on a new Layer 2.
Step 8 : This is how the photo looks.
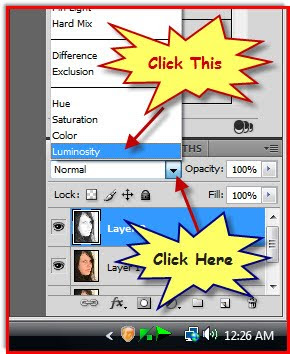
Step 9 : Now click to bring up the Blend Modes and click on Luminosity from the pop up menu.
Step 10 : This is how my photo looks after changing the Blend Mode to Luminosity.
Step 11 : Click back on the Layers palette. Now click on the Layer thumbnail of the RGB channel.
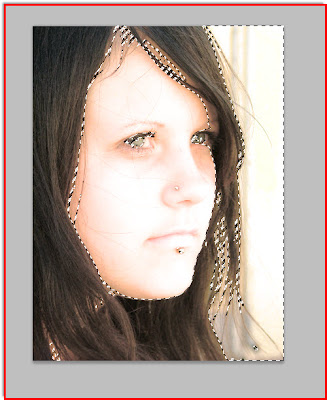
Step 12 : As soon as you click the layer thumbnail a selection of marching ants appear.
Step 13 : Click back on the Layer pallete.
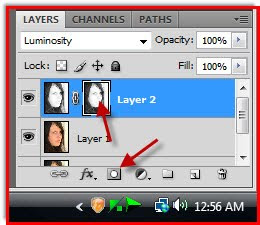
Step 14 : Click on the Add Layer Mask button and a Luminosity Mask forms beside the thumbnail on Layer 1.
Step 15 : My photo look like this.
Step 16 : Press CTRL+L. This brings up the Levels dialogue box.
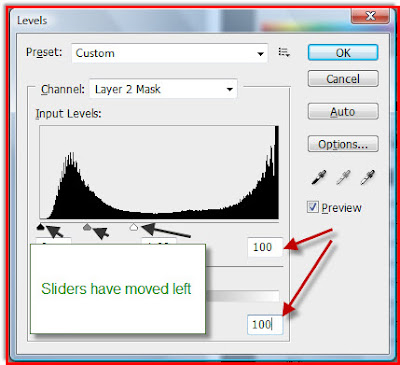
Step 17 : Now I will change the Output Levels. Type 100 into the two boxes. Note that the Black, Grey and White sliders have moved automatically to the left. There, however, is nothing hard and fast about this value. The photo has a lot of White, I have reduced this. If you are using a different image, just drag the Black, White and Grey sliders without changing the output values first. If that works, then its just fine. If it does not try reducing or increasing the Output Levels. Click OK.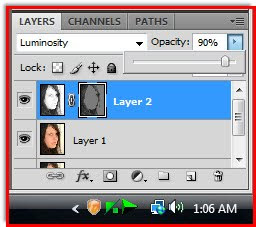
Step 18 : Now reduce the opacity of the layer. I have reduced it to 90 %.

This is how the image looks.
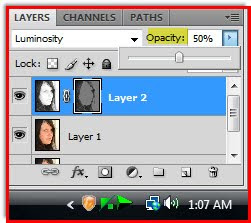
Step 19 : You can experiment on what suits your image. I have reduced the Opacity to 50 % now.
This is how the image looks.
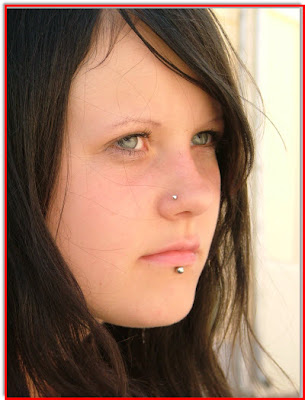
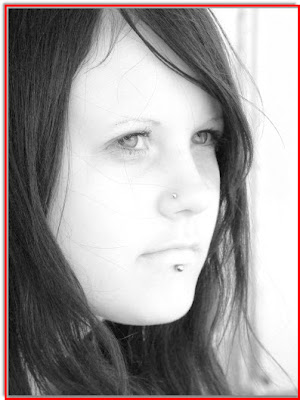
And this is how the image looks with the Opacity reduced to 30 %. The skin has been scrubbed clean of imperfections.
Other Photoshop tutorials are here.


