


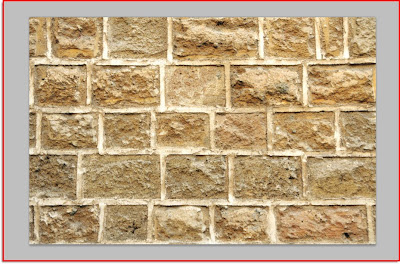
 Step 1 : I have opened this image of a brickwall in Photoshop. This will be the Background image. You can download it from here. You will only need to register.
 Download this image from here.
 Download this image from here.
 Download this image from here.
 Download this image from here.
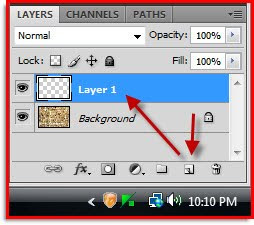
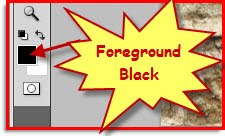 Step 3 : Make sure that Foreground Color is Black.
 Step 4 : Press ALT+BACK SPACE. Layer 1 fills with Black.
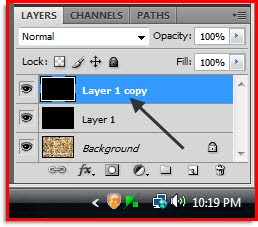 Step 5 : Press CTRL+J. Layer 1 duplicates into Layer 1 copy.
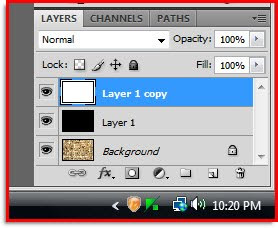 Step 6 : Press CTRL+I. Layer 1 copy changes to White.
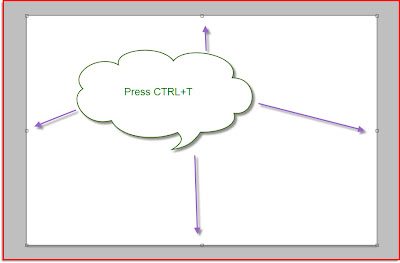 Step 7 : Press CTRL+T. A selection forms around the White document i.e. Layer 1 copy
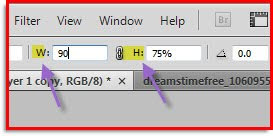 Step 8 : After pressing CTRL+T look in the top panel. Enter 75 % for H (Height) and 90 % for W (Width). Press ENTER.
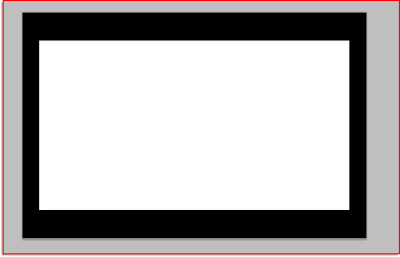 This is how your image will look.
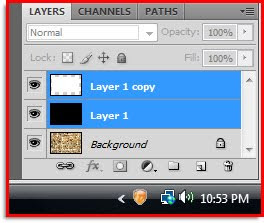 Step 9 : You are now on Layer 1 copy. Look in the Layers pallete you will see that it is highlighted, which means this is the Layer you are on. Click Layer 1 copy, press SHIFT and click on Layer 1. Both the Layers will be highlighted.
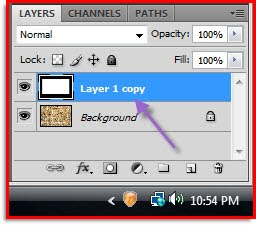 Step 10 : Press CTRL+E. The two layers will combine into a single layer above the Background Layer as Layer 1 copy.
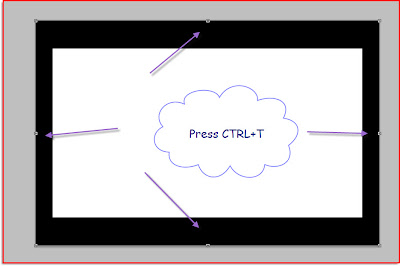 Step 11 : You are now on Layer 1 copy. Press CTRL+T. A selection will form around the image.
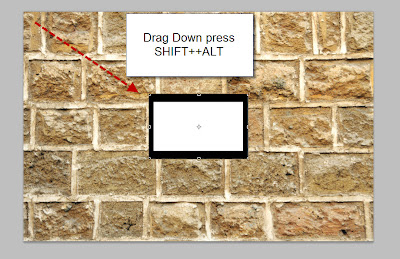 Step 12 : Press SHIFT+ALT and drag the top left corner handle diagonally to resize it proportionately.
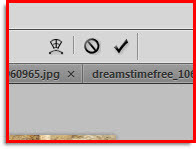 Step 13 : Now either click the Tick mark on the top panel at right or simply press ENTER to apply the transformation.
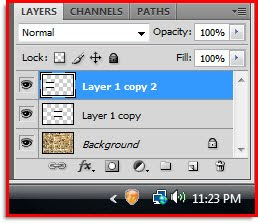
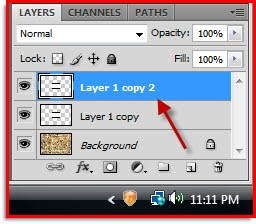 Step 14 Press CTRL+J. Layer 1 copy duplicates into Layer 1 copy 2.
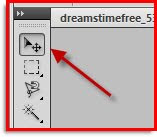 Step 15 : Click the Move Tool.
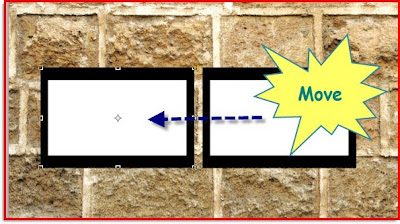 Step 16 : Use the Move Tool to move the second strip to the left.
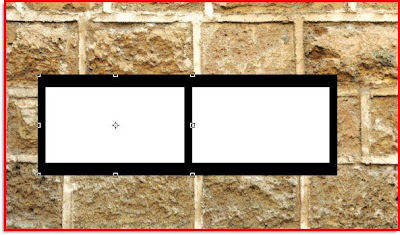
 Step 18 : Press CTRL+J. Layer 1 copy duplicates into Layer 1 copy 2.
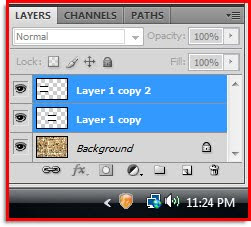 Step 19 : Click on Layer 1 copy 2, Press SHIFT and click on Layer 1 copy. Both layers will be highlighted.
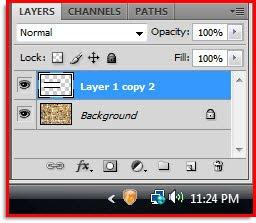 Step 20 : Press CTRL+E. Both layer compress into Layer 1 copy 2.
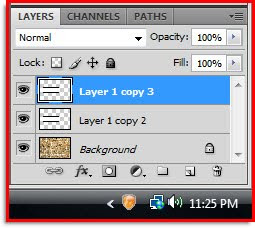
Step 21 : Press CTRL+J. Layer 1 copy 2 duplicates into Layer 1 copy 3.
 Step 22 : Click the Move Tool.
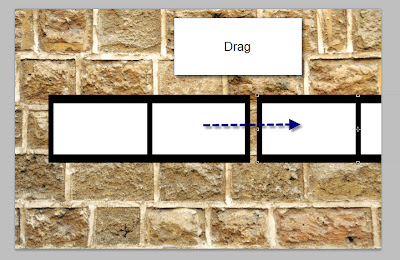 Step 23 : Now use the Left Arrow key to drag the filmstrips together.
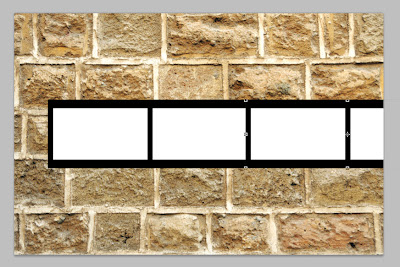 Step 24 : The film strips are now perfectly aligned. Don't try using the Move Tool for this step as you are bound to have a trying time trying to match the corners exactly and in all likelihood fail.
Step 25 : Click on Layer 1 copy 3. Hold down SHIFT and click on Layer 1 copy.Both Layers are highlighted.

Step 26 : Press CTRL+E. Both the layer will be compressed into layer 1 copy 3.
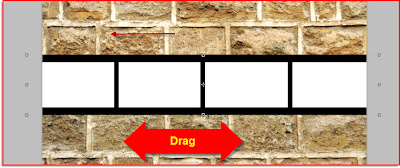 Step 27 : Use the Move Tool to drag the film strip to the middle of wall image. Note that some portion of the film strip is going beyond the canvas. Don't worry.
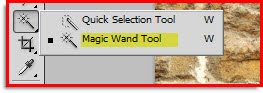 Step 28 : Click the Magic Wand Tool.
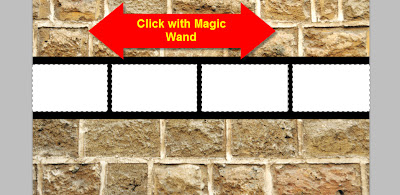 Step 29 : Click with the Magic Wand on the first white square on the left. Hold down SHIFT and click on the three remaining squares. All the White portion inside the filmstrip will be selected by columns of marching ants.
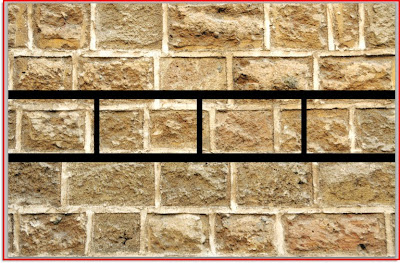
Step 30 : Hit DELETE. The White portions disappear. Press CTRD+D to get rid of the marching ants.

Step 31 Press CTRL+T, press ALT+Shift to resize by dragging the film strip so that it fits into the background image of the brick wall.
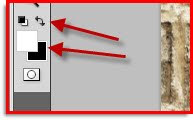 Step 32 : Change the Foreground Color to White by clicking on the small bent two headed arrow.
  Step 33 : Click the Erazer Tool.
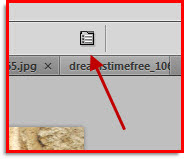
Step 34 : Click the small square icon on the top panel at right that appears.
 Step 35 : When you click in the top panel, the Brushes dialogue box appears. The Erazer also works like the Brush Tool. Now click the tiny arrow where the red arrow points to to reveal the Brush sets available.
 Step 36 : From the dropdown menu that appears click on Square Brushes.
 Step 37 : As soon as you click this dialogue box appears. Click ok.
Step 38 : The Brushes dialogue box appears. Click on Brush no 24. Next click on the Brush Tip Shape. At the bottom drag the Spacing slider to the right. I have drawn it 129 %.

Step 39 : Now click once with the Erazer Tool in the top left hand corner of the films strip.

Step 40 : Press Shift, then click with the erazer on the extreme right top of the film strip. Click just once. Photoshop will automatically create the remaining holes at the top for you.

Step 41 : Repeat the same steps for the bottom of the film strip and it is complete, but more remains to be done.

Step 42 : Click the Zoom Tool and zoom into the image so you can clearly see the filmstrip just created.

Step 43 : Now I have clicked on one of the photos to add to the filmstrip. Click it Press CTRL+A (Select All), then CTR+C (Copy). Go to the filmstrip image and press CTRL+V (Paste).

Step 44 : Since the image of the girl is of very high resolution, it covers the image of the filmsrip. The image of the girl has to be resized.

Step 45 : Use the Move Tool to drag the image till a corner handle is visible. Then press SHIFT+ALT and drag down. You might have to do this a number of times to resize the image.

Step 46 : I have resized it quite a bit. Notice that the girl's image is in the front of the film strip.

Step 47 : In the layer pallete drag the girl's image (Layer 1) below the filmstrip layer (Layer 1 copy 3).

Step 48 : Now use the middle handles to resize the image to fit behind the filmstrip. Don't press ALT+SHIFT while doing it. Just drag the handles in the middle. Press Enter.

Step 49 : I have fitted the second image in the second square by just following the same steps.

I have fitted in all the four images.
 Step 50 : Now click on the topmost layer.
 Step 51 : Press SHIFT and click on the layer just above the background. All the Layers above the Background layer will be highlighted.
Step 52 : Press CTRL+E. All the layers above the Background layer are combined into one.

Step 53 : Press CTRL+T. Then let go of CTRL+T. Press ALT and drag the middle handle at the top slowly upwards. Press ENTER when you are satisfied.

Step 54 : Go to Edit>Transform>Warp.

Step 55 : In the top panel you will find custom warp from a dropdown menu. Click on Flag.

Step 56 : This the effect you get immediately.

Step 57 : Go to Edit>Transform>Perspective.

Step 58 : Press CTRL+SHIFT+ALT and drag the right hand side of the filmstrp and it will begin to narrow proportionately. Then at the left drag up.

Step 59 : This the effect I have got.

Step 60 : Click the Add Layer Style button and from the popup click on Drop Shadow.

Step 61 : With the Layers Styles open, place your cursor on the image on the left and you will be able to freely move the Drop Shadow around. Place it properly or till you are satisfied.

Step 62 : In the Layer Style drop Shadow drop the Opacity down to 50 % and increase the Size to 8. Click ok.

This is how my image looks.
 Step 63 : Bring up the Layer Styles dialogue box again (See Step 60) and click on Outer Glow. When it opens click where the arrow points to change the color of the Glow from the default yellow.
 Step 64 : Click on the Green in the Spectrum in the middle.
 Step 65 : You can choose a shade of Green or any color at the left. Or you can type in the shade I have chosen at the bottom 117d14. Click ok
 Step 66 : This is how my image looks.
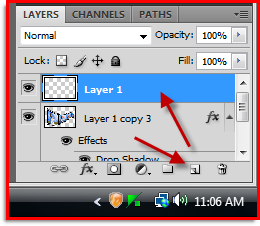 Step 67 : Click the New Layer icon and a new Layer 1 forms.
 Step 68 : Look at the Foreground/Background color. The Foreground is now White and Background is Black.
 Step 69 : Press CTRL+BACK SPACE. This will fill with Background Color which is Black in this case.
 Step 70 : Press CTRL+J. Layer 1 duplicates into Layer 1 copy.
 Step 71 : Press CTRL+I. Layer 1 copy changes to White.
 Step 72 : Press CTRL+T. Now chnage the Height in the top panel to 75 and Width to 90. Just type the figures in.
 Step 73 : This is how the image looks. Press Enter.
Step 74 : You are on Layer 1 copy. Press SHIFT and click on Layer1. Both Layers are highlighted.

Step 75 : Press CTRL+E. Both the layers merge into Layer 1 copy.

Step 76 : Click the Erazer Tool.

Step 77 : Remember we had set the Brush to Square Brush earlier. Click once on the top left hand corner of the film strip just created.

Step 78 : Now click on the extreme right hand corner at the top with the brush just once. Photoshop adds the additional 'holes' of the film.

Step 79 : Follow the same steps to add the 'holes' at the bottom.

Step 80 : Click the Magic Wand Tool.

Step 81 : Click the white portion in the middle with the Magic Wand. A selection of marching ants appear. Hit DELETE. The white portion disappears. Press CTRL+D. And, this is how my image looks.

Step 82 : Click on the Add Layer Style button. Click on Outer Glow.

Step 83 : When this dialogue box comes up just click ok without changing any of the settings.

Step 84 : Click on the Background layer.

Step 85 : Go to Filter>Render>Lighting Effects.

Step 86 : This dialogue box opens.

Step 87 : Change the Light Type to Omni. Click ok.

This is my finished image. Try it out. It is not at all difficult.
Other photoshop tutorials are here.


