


“Art consists of limitation. The most beautiful part of every picture is the frame,” says G K Chesterton. Well Photoshop agrees too. What is a good picture without a frame? It's very easy to add a classic Black and White Frame Border to a photo in just a few steps.
Step 1 : I have opened this free stock photo in Photoshop.
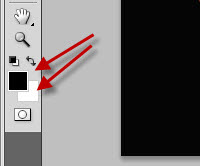 Step 2 : Make sure that the Foreground Color is set to the default Black and Background to White.
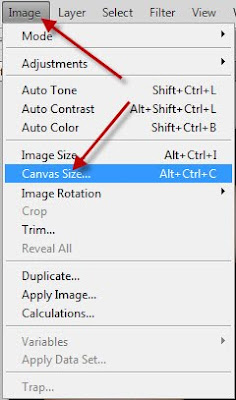 Step 3 : Go to Edit>Canvas Size
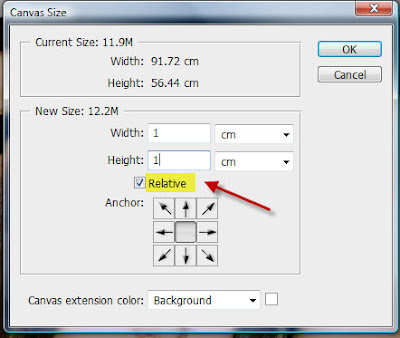 Step 4 : The Canvas Size dialogue box opens. Check Relative. The Width and Height are now set to 0 cm. Type in 1 cm for both Width and Height. There is nothing hard and fast about this of course. Click ok.
 You can see a White Frame around the image.
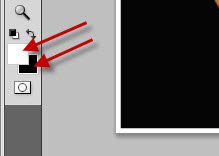 Step 5 : Now change the Foreground Color to White and Background to Black by clicking on the small bent arrow.
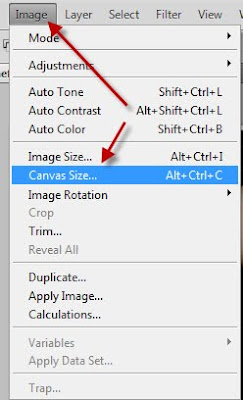 Step 6 : Again go to Image>Canvas Size.
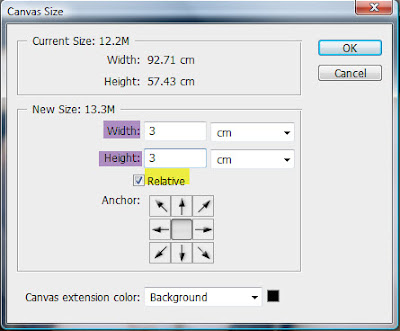 Step 7 : You will find that Relative is checked. Type in 3 cm for both Width and Height. Again nothing hard and fast about it. Click ok.
 And there is your Black and White Frame. How long did it take? It's extremely easy.
Other photoshop tutorials are here.


