


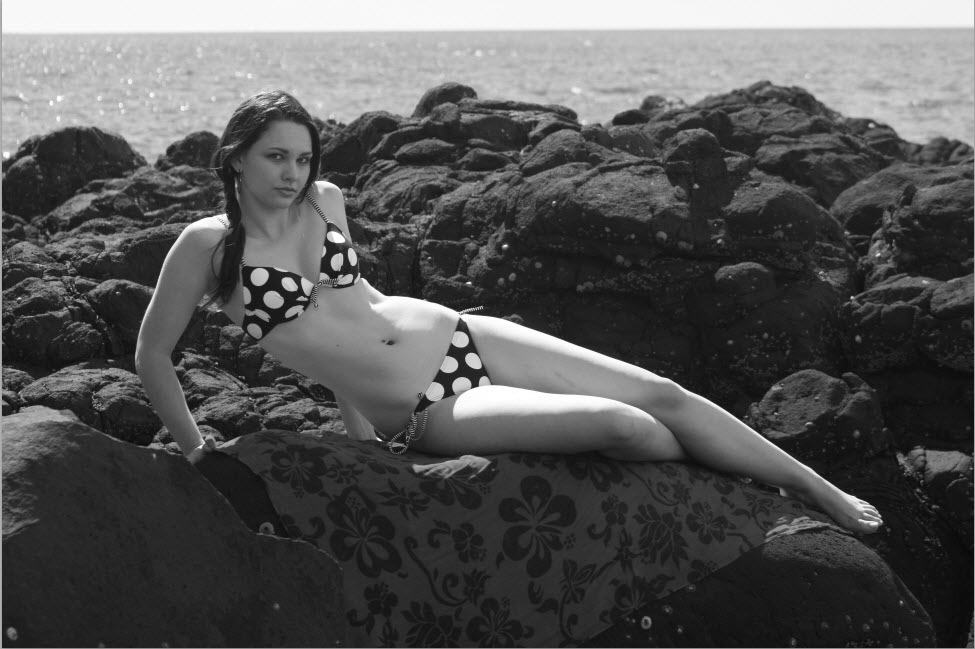
This is a tutorial on Luminosity Masks. Luminosity Masks allows you to increase or decrease lights subtly in portions of the image, without affecting the rest. The image that I will use for this tutorial is unimportant. You can use it, but I would suggest that you try the technique with as many images as possible. It may seem laborious at first, but not when you get used to it.

Step 1 : I have opened this image in Photoshop. It is a free stock image and can be found here
It belongs to Willingmodel

Step 2 : There is only the Background Layer in the Layers palette.

Step 3 : Click the Channels palette. You will find there is the RGB channel on top, followed by the Red, Green and Blue channels.

Step 4 : CTRL+CLICK the thumbnail of the RGB channel.

Step 5 : Photoshop makes a selection of the lightest pixels in the image.

Step 6 : Click the Save Selection as Channel button.

Step 7 : An Alpha 1 channel forms.

Step 8 : Double click where shown on the Alpha 1 channel.

Step 9 : Type in Lights1.

Step 10 : Press ENTER. The Alpha 1 channel is renamed Lights1.

Step 11 : Press CTRL+SHIFT+ALT and click on Lights1.

The selection picks other light areas.

Step 12 : Click the Save selection as channel button. A new Alpha 1 channel forms.

Step 13 : Rename the Alpha1 channel as Lights2.

Step 14 : Press CTRL+SHIFT+ALT and click on Lights2.

Photoshop selects some more light pixels left out by the earlier selection.

Step 15 : Click the Save channel as selection button. A new Alpha 1 channel forms.

Step 16 : Rename it as Lights3.

Step 17 : Press CTRL+D to deselect.

Step 18 : CTRL+CLICK on Lights 1 channel.

Step 19 : The Selection reappears.

Step 20 : Press CTRL+SHIFT+I to inverse the selection.

Step 21 : Press the Save selection as channel button. A new Alpha 1 channel forms.

Step 22 : Rename the Alpha1 channel as Darks1.

Step 23 : The image looks like this. Note that the selection is still in place.

Step 24 : Press CTRL+SHIFT+ALT and click on Darks1.

Step 25 : Photoshop makes a selection of more areas.

Step 26 : Click on the Save selection as channel. A new Alpha1 channel forms.

Step 27 : Rename Alpha1 channel as Darks2.

Step 28 : Press CTRL+SHIFT+ALT and click on Darks2

Step 29 : Photoshop selects some more dark areas.

Step 30 : Click on Save selection as channel button. A new Alpha 1 channel forms.

Step 31 : Rename Alpha1 channel as Darks3. Press CTRL+D to deselect. There are now Lights1, 2 and 3 and Darks 1,2 and 3 channels.

Step 32 : Click on Lights1 channel.
The image looks like this.

Click Lights2 and the image looks like this.

Click Lights 3 and the image looks like this.

Click Darks1 and the image looks like this.

Click Dark2 and the image looks like this.

Click on Darks 3 and the image looks like this.

What I have done is scroll through the 3 Lights channels and 3 Dark channels I have created to see the different areas selected in each channel. The next steps are not necessarily to be followed in the order I do. It will depend on your image and how many images you apply this method to. The more images you try this on, the better you will be able to understand.
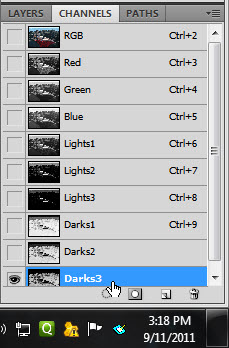
Step 33 : I have CTRL+CLICKED on Darks3 channel. Let us see the selection.
 This channel has selected the rocks primarily as you can see.


Other photoshop tutorials are here


