


Sometimes details or an image can be lost because of shadows. What do you do in such a case? Turn on artificial spotlights with Photoshop. It is quite easy to do and can be done in any version of Photoshop. You need to use a couple of layers and the Brush Tool .

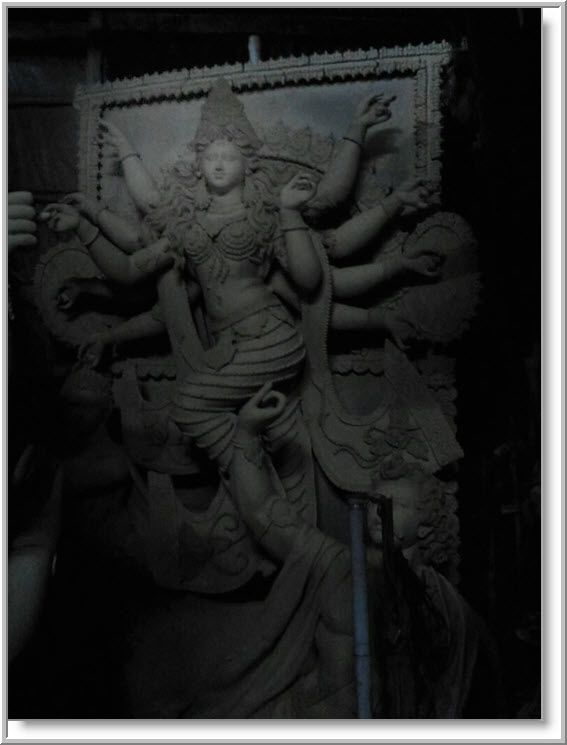
I have opened this free stock image of an unfinished clay model of Durga. It was taken by my good friend Supratik Sengupta. You will find it here
I chose this particular image because of the deep shadows. You can use a similar image.

The same image with the 'spotlights' added.

Step 1 : Click the New Layer button and a new Layer1 forms.

Step 2 : Click the Brush Tool.

Step 3 : In the Brush controls in the top panel set the Hardness to 0.Use the shortcut [ (left bracket) to decrease and ] (right square bracket) to increase the size of the Brush.

Step 4 : The Foreground/Background Colors are set to Black/White by default. Use the tiny arrow to switch between the Foreground and Background Colors or simply press x on the keyboard. Make sure that the Foreground Color is set to White.

Step 5 : In the top panel reduce the Opacity of the Brush to 50%.

Step 6 : I have clicked once with the Brush.

Step 7 : I have clicked twice more. The image looks like this. When you do it click 3 or 4 times at once.

Step 8 : Change the Blend Mode to Soft Light. You can also select Overlay.

The image seems to have been lit by a spotlight.

Step 9 : Press CTRL+T. A selection forms.

Step 10 : Drag a corner handle to resize the glow to your satisfaction then press ENTER.

I have made the glow smaller.

Step 11 : Press v on the keyboard (shortcut for the Move Tool) and you can move the glow to any part of the image with the cursor. It is just to show what can be done.
Step 12 : I have back the glow to the face of the clay idol.

Step 13 : Press CTRL+J to duplicate Layer1 to Layer1 copy.

The glow immediately brightens. This is because there are now two glows one on top of the other.

Step 14 : Use the Move Tool or press v on the keyboard to move the second glow. I have moved it to the bottom of the image where Ashura the demon can be seen.

The second glow at the bottom looks a tad bright.
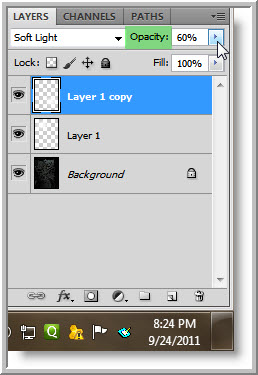
Step 15 : Press v on the keyboard and then 6. The Opacity drops to 60%. If you press 5 it will drop to 50% and so on.

The two spotlights now look natural and reveal details that were not visible in the original image.
Other photoshop tutorials are here


