


Small details in an image can be sharpened subtly in Lab Mode in Photoshop which enables you to shift the focus to particular parts. The effect of the sharpening can also be controlled unlike just using the Sharpen Filters.

I will be using this stock photo. You will find it here
It belongs to AncillaTilia

Step 1 : Go to Image>Mode>Lab Mode. The image now is in Lab Color.
 Step 2 : Press CTRL+J to duplicate the Background Layer.
 Step 3 : Click the Channels.
 You can see all the Channels.


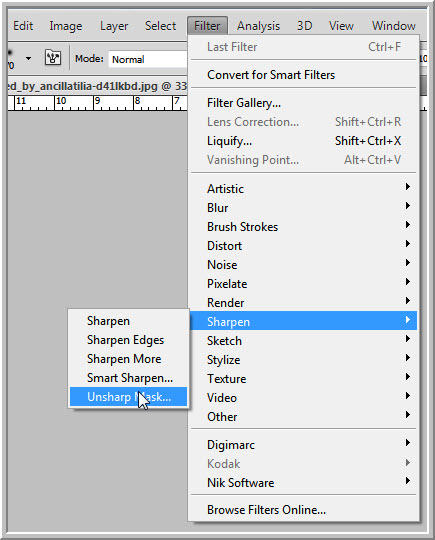
Step 5 : Go to Filter>Sharpen>Unsharp Mask.

TheAmount higher, and Radius higher, each give you more sharpening. Conversely, lower Amount and lower Radius each give you less sharpening.
Threshold works in the opposite direction: the lower the Threshold the more sharpening, and the higher the Threshold the less sharpening.
This is the rule how this works.
Leave the Threshold setting at 9 levels.
Start with the Radius setting at 2.5 pixels. See what happens as you increase this setting gradually to 4.2 pixels.
Start with the Amount at 50% and gradually increase to 125%.
Leave the Threshold setting at 9 levels.
Start with the Radius setting at 2.5 pixels. See what happens as you increase this setting gradually to 4.2 pixels.
Start with the Amount at 50% and gradually increase to 125%.


Click OK.


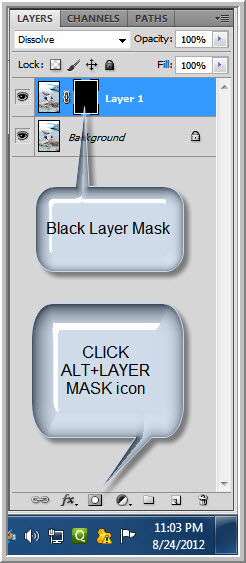
Step 12 : Press ALT and click the Add Layer Mask button. A Black Layer Mask forms on Layer 1. This hides the sharpened layer.


Step 15 : Switch the Foreground Color to White.


That is all.
Other Photoshop tutorials are here


