


Some photos may with a dark background can turn out to be a little dull. You can make them pop. Photoshop can brighten them up with a little tweak with channels.
 Step 1 : I have opened this photo in Photoshop.
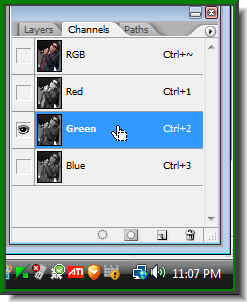 Step 2 : Go the Channels pallete and click on the Green Channel. Press CTRL+A (Select All), then CTRL+C (Copy).
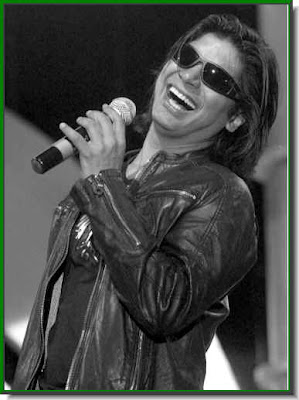 Your image will look like this when you click the Green Channel.
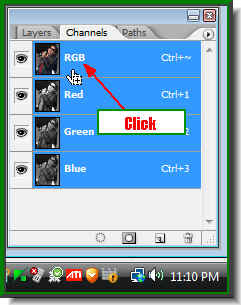
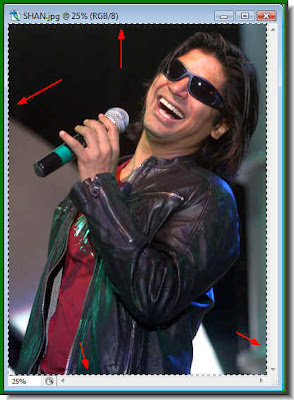 Step 3 : Now click on the RGB channel and the color returns to your image. You can see a column of 'marching ants all along the side of the photo.
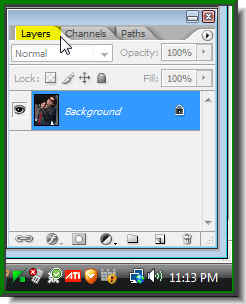 Step 4 : Now click on the Layers pallette.
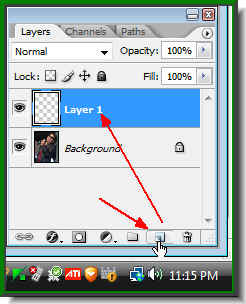 Step 5 : Click on the Add New Layer button and a new Layer1 forms above the Background layer. Press CTRL+V (Paste).
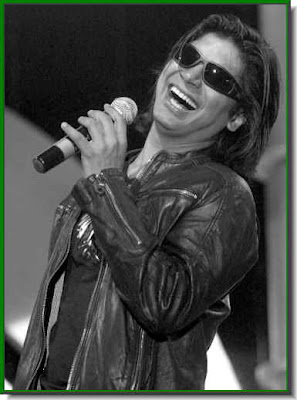 The photo turns to black and white again.
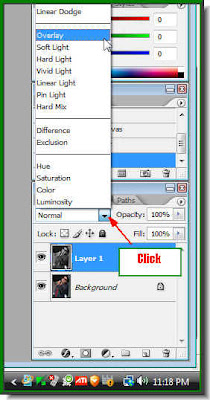 Step 6 : Now click where the red arrow points to, to bring up the Blend Modes. Click on Overlay.
And this is how the image looks after the channel tweak. Compare it with the one I began with. A note of caution. This method will not work on images which have a light background.
Other photoshop tutorials are here.


