


Creating a smoke effect is a mite difficult, but can be done in Photoshop. Here you need not create smoke. It has been created for you. All you have to do is to apply it.
Download the smoke brush from here. You will need to register to download the Brush. That should not be a problem.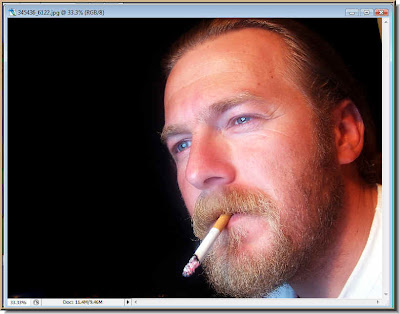
You will need to download this photo. Find it here.

Download this photo also. You will find it here.
 Step 1 : Select the smoker's photo. Press CTRL+SHIFT+U. This will desaturate the image.
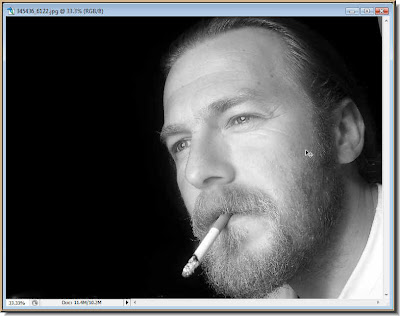
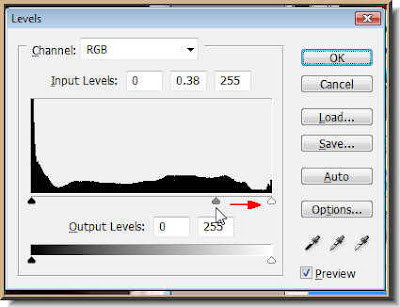 Step 2 : Press CTRL+L. This will bring up the Levels dialogue box. Drag the middle slider (highlights) to the right as shown.
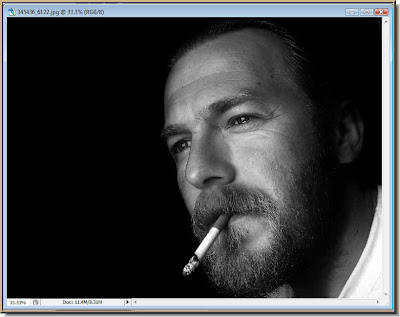 This is the B&W effect you get.
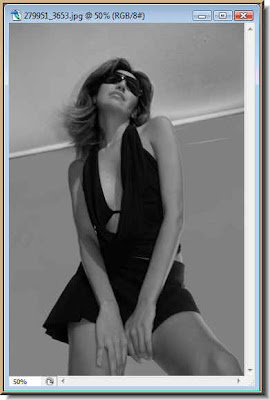 Step 3 : Desaturate the girl's image also by pressing CTRL+SHIFT+U. The Levels is not necessary for this image.
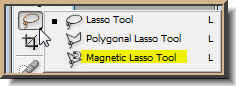 Step 4 : Click the Magnetic Lasso Tool. We need not be very precise in this case that is why I am using the Magnetic Lasso instead of the Pen Tool.
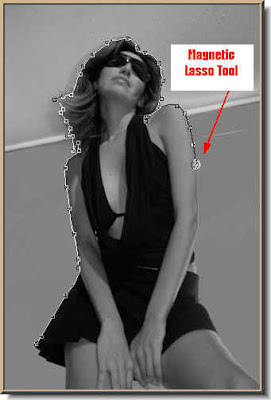 Step 5 : Begin clicking and dragging all around the image. If you place a point wrong, hit delete, it will remove the last point, then continue.
 Step 6 : When you come back to first point a small 'o' forms near the Magnetic Lasso. This means that the path will be closed.
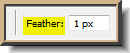 Step 7 : Put a feather of 1 pixel in the top panel.
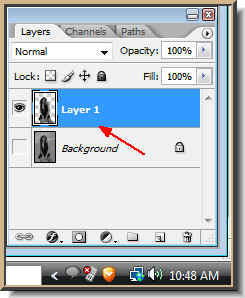 Step 8 : Press CTRL+J. The selection will be cut and pasted to a new layer. Click off the eye icon of the background layer.
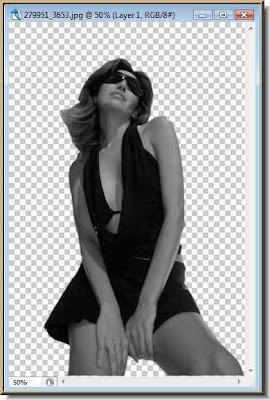 Step 9 : This is how the photo of the girl looks with the background deleted after you click off the eye icon in the Background layer.
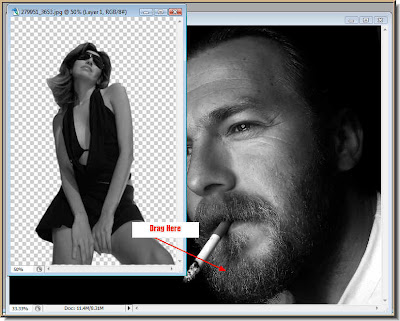 Step 10 : Now drag the girl's image onto the smoker's image keeping the Shift key pressed.
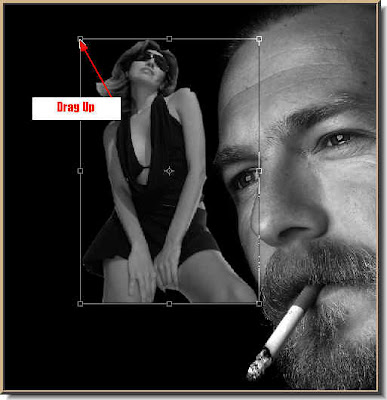 Step 11 : Now press Shift+Alt and drag any of the corner handles, it will increase the size of the photo proportionately.
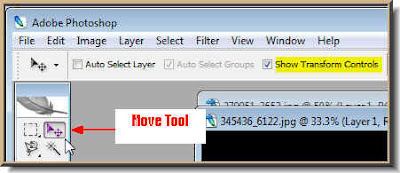 If you cannot see the selection, it is because you have not checked the 'Show Transform Controls. You can see see this when you click on the Move Tool.
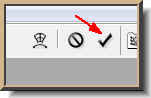 Step 12 : When you are finished click the Tick mark in the top panel to apply the transformation.
 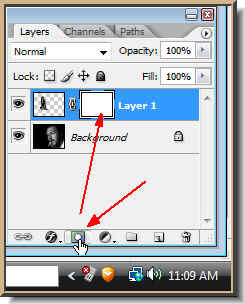 Step 13 : In the Layers pallette click on the Add Layer mask button and a layer mask forms next to the layer thumbnail on layer1. It contains the girl's image.
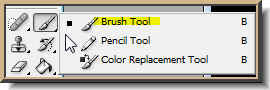 Step 14 : Click the Brush Tool.
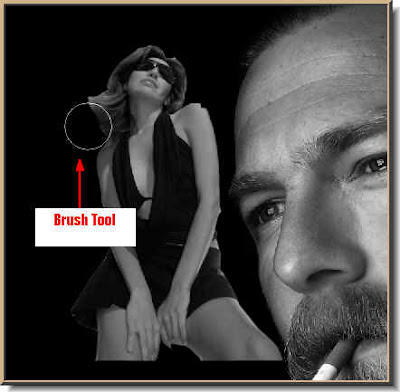 Step 15 : To make the brush tip large press ] (right bracket key next to the letter P on your keyboard). To make the size small press [ (left bracket key) a number of times. Then the Brush tip has to be soft. To do this press CTRL+SHIFT+[. Alternately to make it hard press ALT+SHIFT+]. Here we need a soft brush. Now paint away the hard edges of the girl's photo.
 Step 16 : Make sure that the Foreground Color is set to Black and background to White before you begin painting.
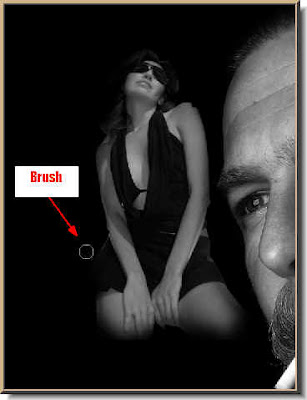 Step 17 : Make the Brush tip smaller or bigger with the shortcuts and keep painting till the hard edges are removed.
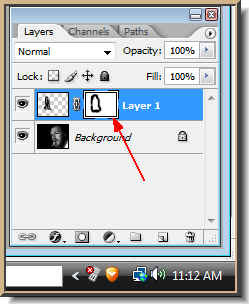 Look at the layer mask. You will find black patches appearing on the layer mask as you paint.
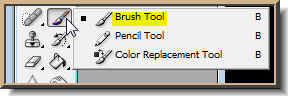 Step 18 : Click the Brush Tool.
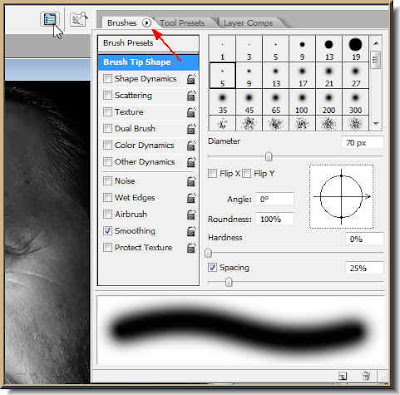 Step 19 : Click the Brush icon on the top panel (white arrow) and the Brushes dialogue box opens. Click the tiny black arrow next to brushes to reveal the Brush Sets available.
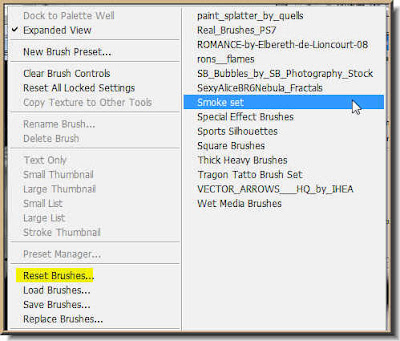 Step 20 : The Brush sets are revealed. I have highlighted the Brush set I asked you to download. I have name it as Smoke Set. Also whenever you are finished with the current brush always remember to return here and reset the brushes, otherwise you will find the last brush that you used to be your default brush.
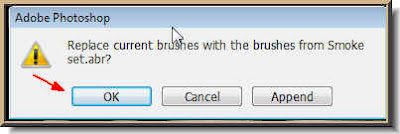 Step 21 : When you clcik on the Smoke Set or any other set, this dialogue box appears. Click ok.
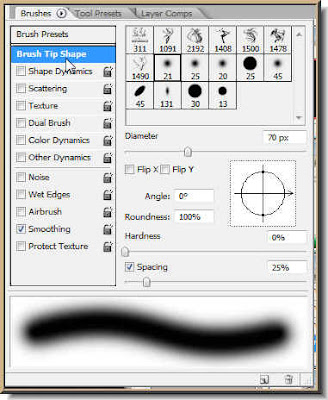 Step 22 : Now click on the Brush Tip Shape to see the brushes available and how they look like.
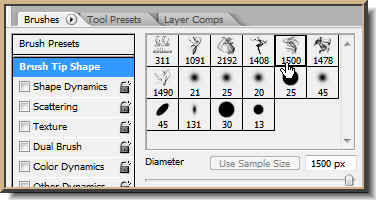
Step 23 : I am choosing a particular brush by clicking on it.

Step 24 : Click on the Add New layer button and a new Layer 2 forms.
 Step 25 : The Brush I am using is large. I have made it larger still by pressing [ (left bracket key). I have clicked just once with the Brush and the 'smoke' forms.
 Step 26 : Now click the Add Layer mask button and a layer mask forms on Layer 2, which contains the 'smoke'.
Step 27 : Keep the Foreground Color at Black.
Step 28 : Go back to the Brush sets and Reset the Brush.

Step 29 : With a soft brush (you should know by know how to do that) wipe away the excess smoke, so that it seems to be coming from the cigarette.

Step 30 : Now click on Layer 1. This layer contains the girl's image. Click on the Layer Mask and not the thumbnail. This will select the mask.

Step 31 : Now paint away some more hard edges around the girl so that it blends with the smoke. Use a soft brush to do it.
And, there is the finished image of the smoker and his thoughts?! Try it out.
Other Photoshop tutorial are here.


