


This is a text effect that can be created in a jiffy in any version of Photoshop. The text will look like having been cut out from rock. So let's begin.
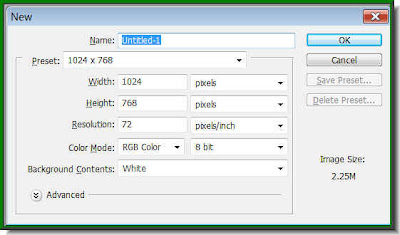
Step 1 : Press CTRL+N and this dialogue box opens up. This is a shortcut to open a New Layer. Click ok. Note you can set the size to any preset.
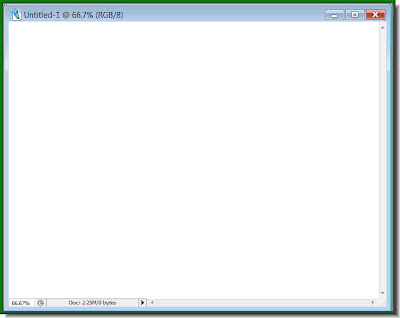
Step 2 : The New Layer opens.
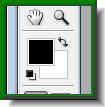
Step 3 : Make sure that the Foreground is set to Black and Background to White.
Step 4 Go to Filter>Render>Clouds.
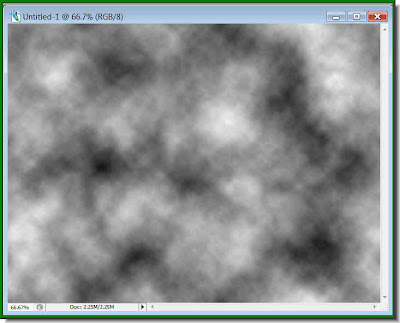
This is how the White Layer now looks.
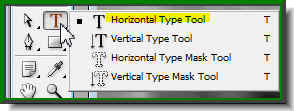 Step 5 : Click the Text Tool and then the Horizontal Type Tool.
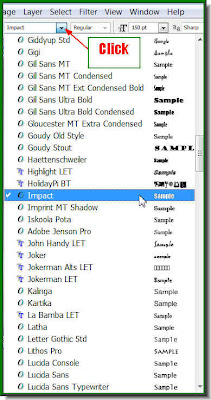 Step 6 : Click where the arrow points to, to reveal the list of fonts available in your version of Photoshop. Click on Impact. It is found in all versions of Photoshop.
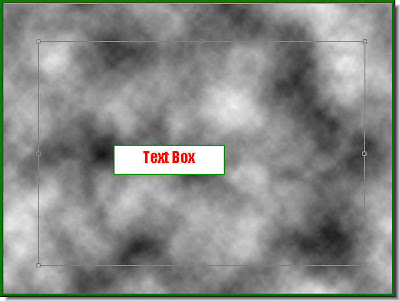 Step 7 : Draw out the Text Box by dragging with Type Tool.
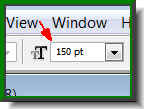 Step 8 : You can set the size of the Font from this box. Just enter the value. You can get an idea how big your letters from the blinking cursor in the Text box.
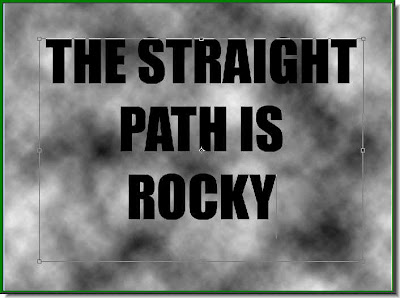 Step 9 : I have typed out my Text.
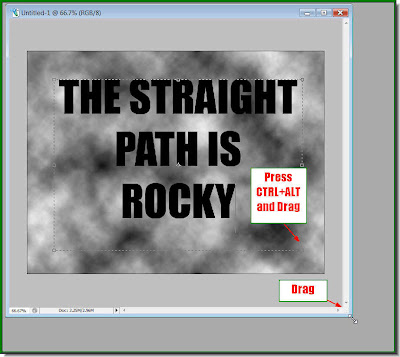
Step 10 : Drag out the corner at the right bottom to reveal the grey background. Now press CTRL+ALT and drag out the Text box. The size of the Text will increase proportionately.
Step 11 : When you are satisfied with the resizing click the Tick mark on the top panel.
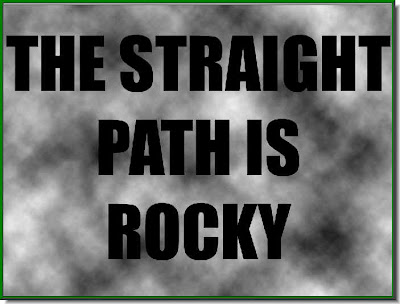
The Text.
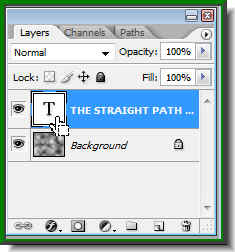
Step 12 : Look at the layers pallette. The Text Layer is on the top layer. Now press CTRL+click on the layer thumbnail of the Text layer. A selection forms around the Text.
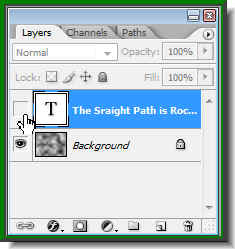 Step 13 : Click off the eye icon on Text layer.
 Only the selection remains, while Text has disappeared because you have switched off the eye icon in the Text layer.
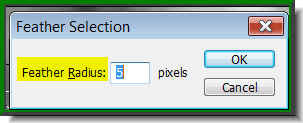 Step 14 : Press ALT+CTRL+D. This will bring up the Feather dialogue box. I have put a Feather radius of 5 pixels. Click ok.
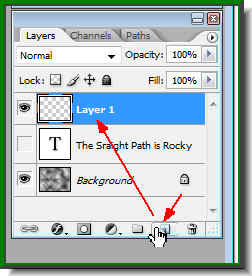 Step 15 : Click the Add New Layer button and new Layer forms above the Text layer.
 Step 16 : Click the small bent arrow over the Foreground and Background color to change the Foreground to White.
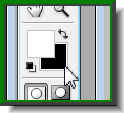 Step 17 : Now click the Background Color which is now Black. Click the Background Color.
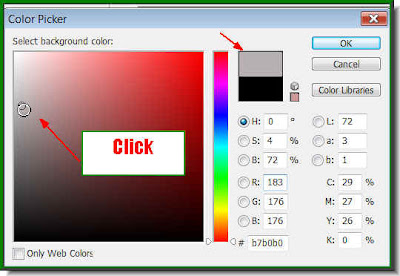 Step 18 : This will open the Color Picker. Now click on a Grey shade in the left panel. Notice that little box at top which is divided into two colors. The top half changes to the color you pick.
 This is how the Foreground and Background Color looks like.
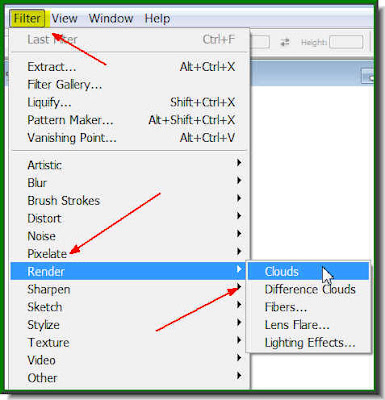 Step 19 : Go to Filter>Render>Clouds.
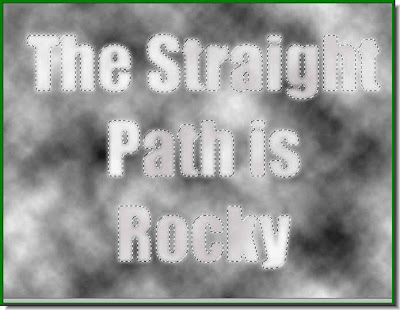 Step 20 : This is how the Text looks. Press CTRL+D to deselect and the selection goes away.
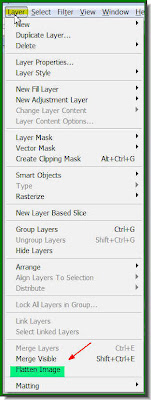 Step 21 : Go to Layers>Flatten Image.
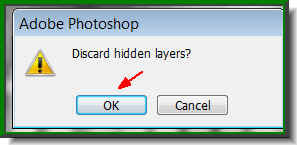 Step 22 : This dialogue box opens. Click ok.
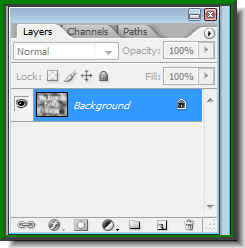 All the Layers have been reduced to the Background layer.
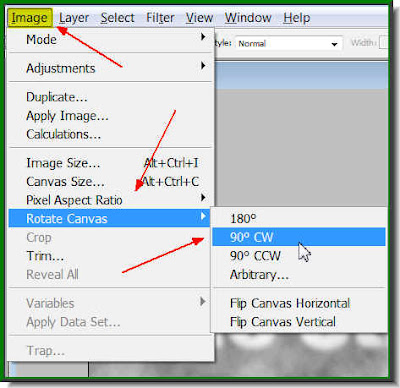 Step 23 : Go to Image>Rotate Image>90 CW
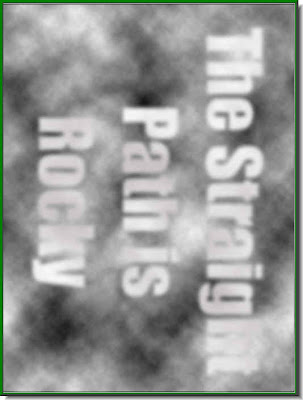 The image rotates.
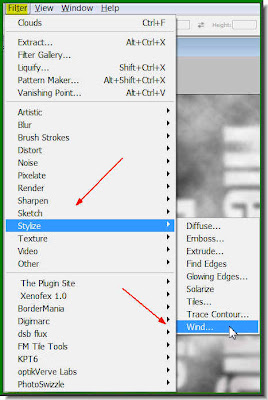 Step 24 : Go to Filter>Stylize>Wind.
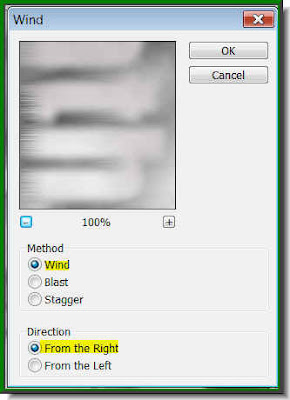 Step 25 : The Wind dialogue box opens. Just click ok. I have left it at the default settings.
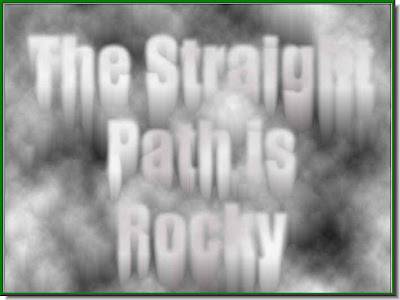
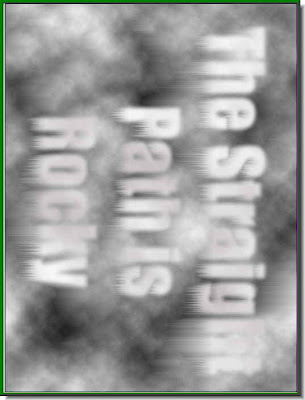 Step 26 : This is how the image looks. Now press CTRL+F five to six times.
This is how the image looks.
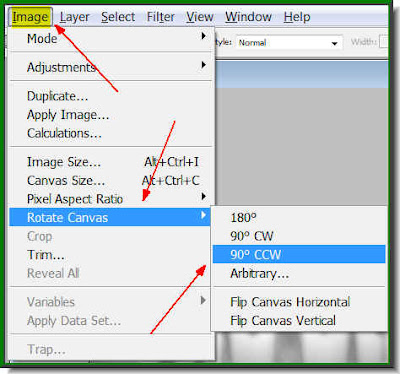
Step 27 : Go to Image>Rotate>90 CCW.
This is what the image looks like.
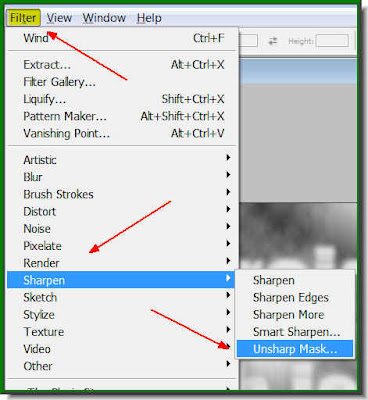 Step 28 : Go to Filter>Sharpen>Unsharp Mask.
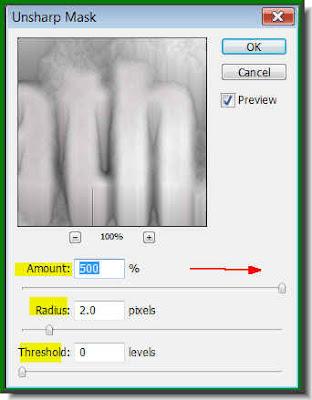 Step 29 : The Unsharp dialogue box opens. Keep the Threshold at 0, the Radius at 2.0 and the Amount to the maximum. Click ok.
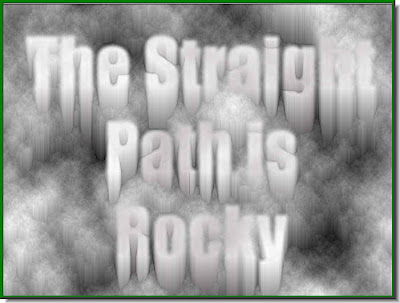 Step 30 : This is how the image looks. Press CTRL+F once.
This is how the image looks like.
 Step 31 : Press CTRL+U. The Hue/Saturation box opens. Check Colorize. Now drag the Hue slider to the right or left and the image will change color as you drag the slider. Click ok when you are satisfied.
 This is the color I liked. That is all. It's very easy, don't you think?
Other Photoshop tutorials are here.


