


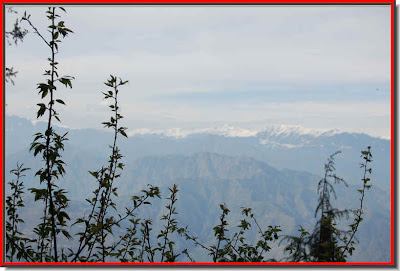


 Step 4 : See how the mountain in the middle distance image has been selected.
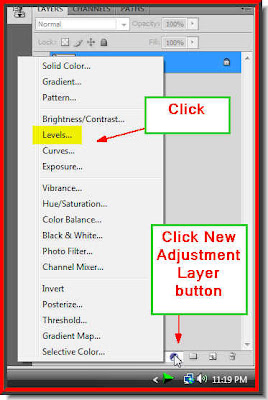
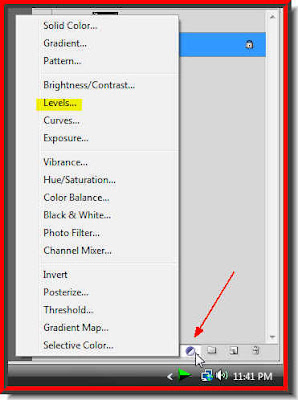
Step 5 : In the Layers pallette click on the Add Adjustment Layer button and click on Levels from the popup or dropdown.
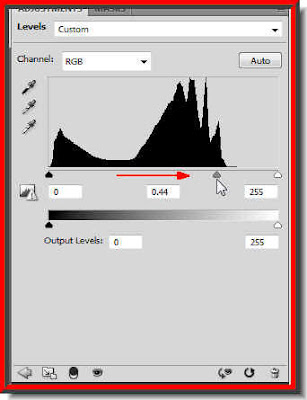
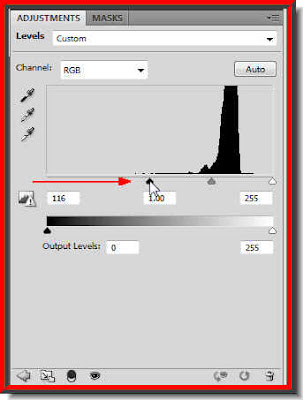
Step 6 : The left Black slider is to darken the image. The White at the right is to brighten and the Grey slider in the middle is to increase or decrease the highlights. If you drag the Grey slider to the left it will brighten the highlights. If you drag it to the right it will darken the highlights. I have dragged the Grey slider to the right. How you drag the sliders will depend on you image. Try each of the sliders a little at a time.
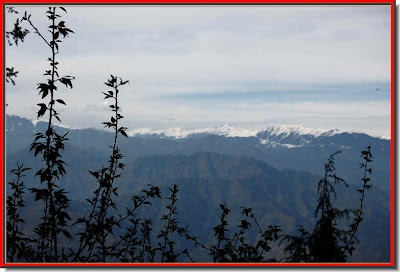
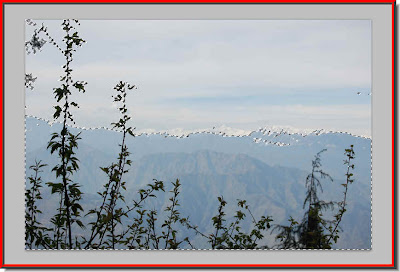
Step 7 : You can see how the mountains in the middle have become clearly visible.
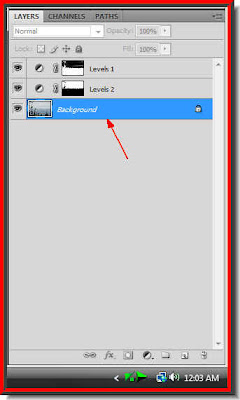
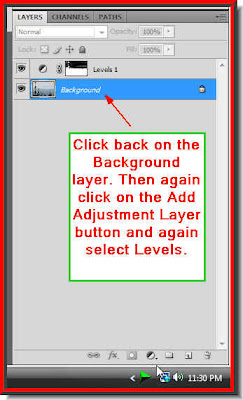 Step 8 : Click back on the Background layer.
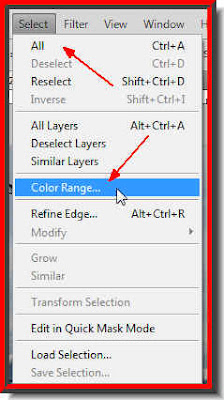
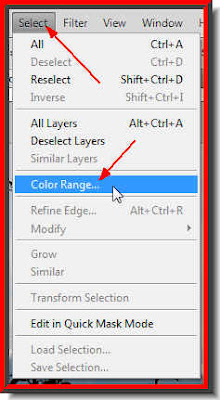 Step 9 : Go to Select>Color Range.
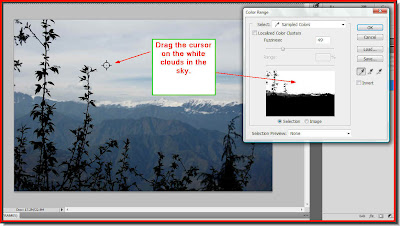 Step 10 : I am keeping SHIFT pressed and dragging the cursor on the white clouds. Look how the sky is selected in the preview window at the right.
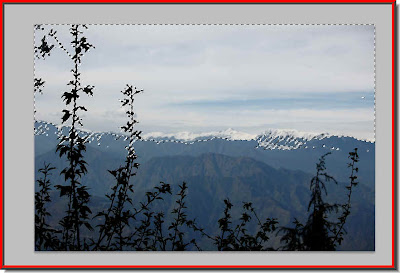
Step 11 : The white clouds in the sky are now selected.
Step 12 : Again go the Layers pallete and click on the Add Adjustment Layer button and click on Levels from the popup.
Step 13 : In the Levels dialogue box I have dragged the Black slider towards the right to darken the clouds.

Step 14 : This is how the clouds look now.
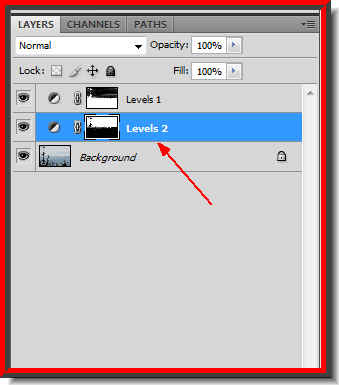
In the Layers pallette you will find a second adjustment layer called Levels 2.
 Step 15 : Click back on the back on the Layers pallette and again go to Select>Color Range.
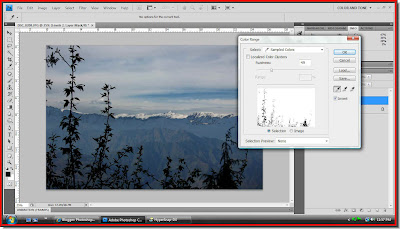 Step 16 : I have kept SHIFT pressed and dragged the cursor over the leaves. Then clicked on Invert in the dialogue box at right. Click ok.
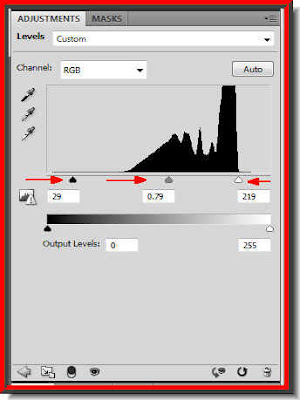

This is the image I began with.
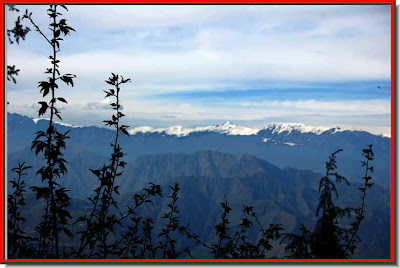
And this is the image corrected with Color Range. That is all.
Other photoshop tutorials are here.


