


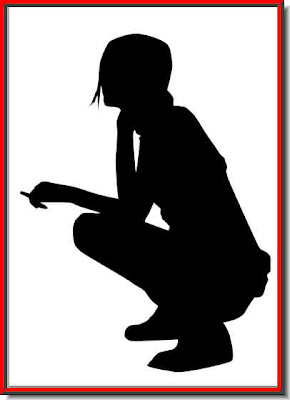
 Step 1 : This is the high resolution stock image I have opened in Photoshop. I have downloaded it from the link provided.
 Step 2 : Click on the Magic Wand Tool to select it.
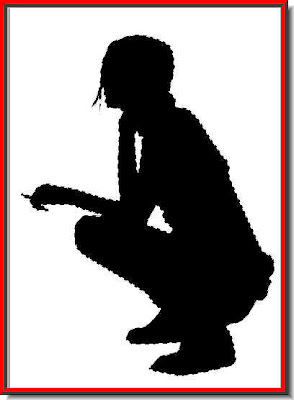 Step 3 : Click on the silhouette. A column of marching ants immediately surround it.
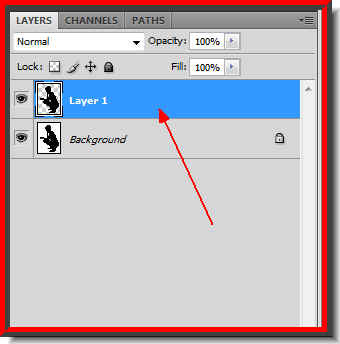 Step 4 : Press CTRL+J. The silhouette is copied and pasted on Layer 1.
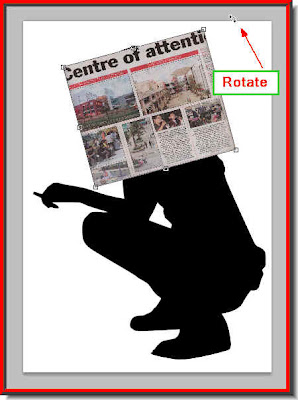 Step 5 : Now you need a photo of a newspaper. I have scanned portions of a number of newspapers for this tutorial. Then just follow these steps.
 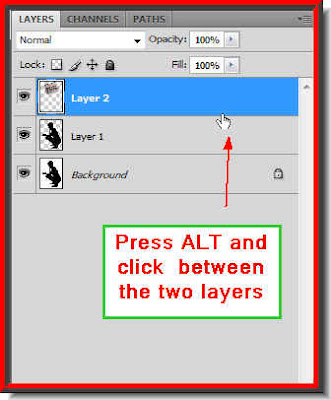 Step 6 : Now press ALT and click just between Layer 1 (the silhouette) and Layer 2 (the newspaper). A small black circle will appear. This will clip the layer.
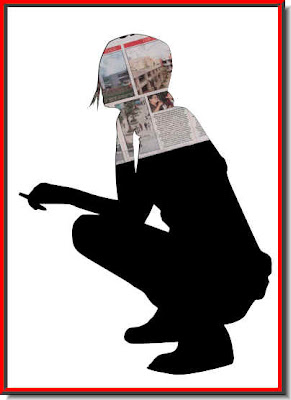
And, this is how the image looks.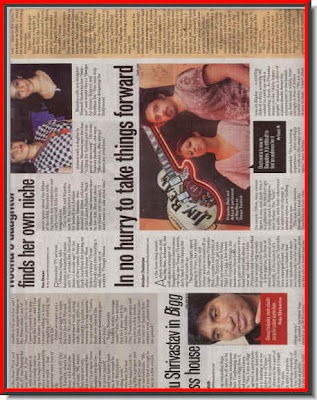
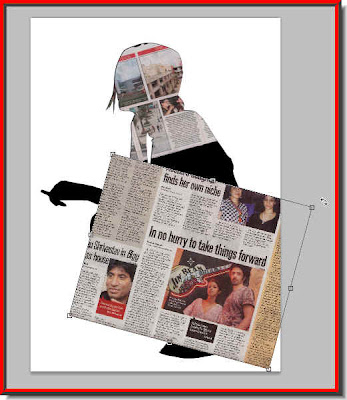 Step 8 : Now follow the exact steps in Step 5 to copy and paste the newspaper image on to
 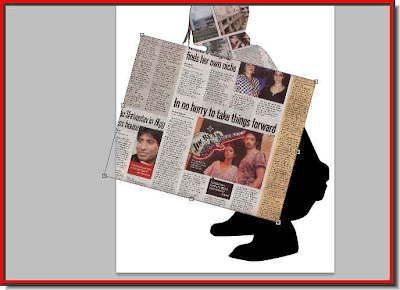 Reposition it suitably. Press Enter.
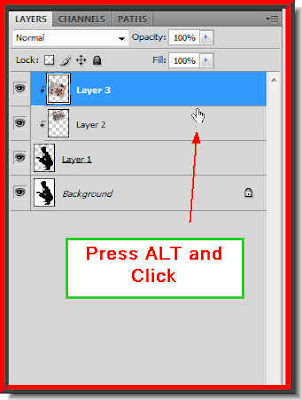 Step 9 : Press ALT and click between Layer 2 and 3.
 This is how the image looks now.
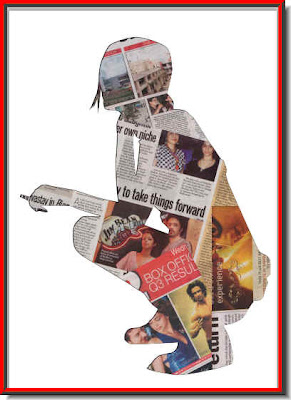
Step 10 : I have followed the same steps to drag yet another scanned newspaper image. The silhouette is now covered with the newspaper layers.
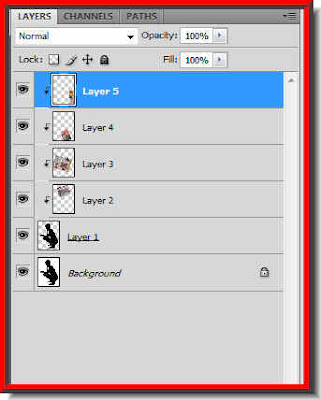
Step 11 : This is how the Layers pallette looks. Layer 1 is the silhouette copied and pasted from the Background layer. Layer 2,3,4 and 5 are scanned newspaper photos. Notice the bent arrow on the right of the layer thumbnails of Layer 2 to Layer 5. The bent arrow signifies that it has been clipped with the layer below.
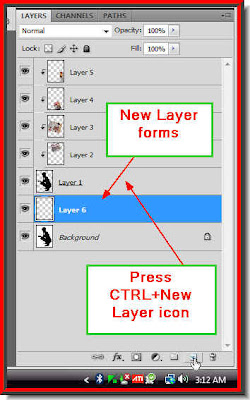 Step 12 : Now click on Layer 1. It is the cutout silhouette. The layer will immediately be highlighted which means that it is selected. Now press CTRL+the New Layer icon. A new Layer 6 forms below Layer 1. Now Layer 6 is highlighted, which means that is the Layer you are on.
 Step 13 : Now click on the Foreground Color which is Black by default. If the default is not set to Black and Background to White, press 'x' and then 'd' on your keyboard to restore the default.
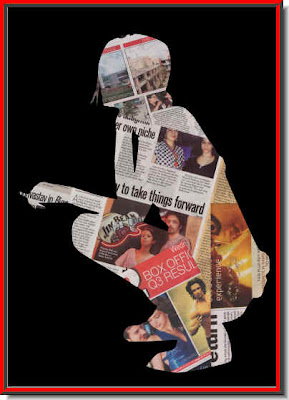 Step 14 : Now press ALT+BACK SPACE. This will the Layer 6 with the Foreground Color which is Black.
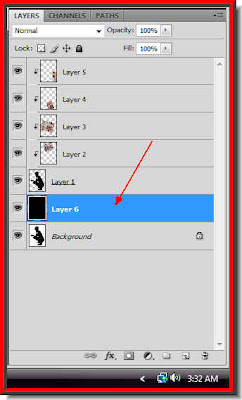
Look in the Layers pallette. Layer 6 has been filled with Black.
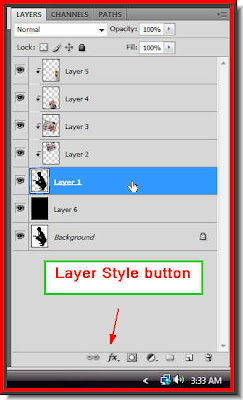
Step 15 : Now click on Layer 1. It is immediately highlighted. That means it is selected. Now click on the Add Layer Style icon.
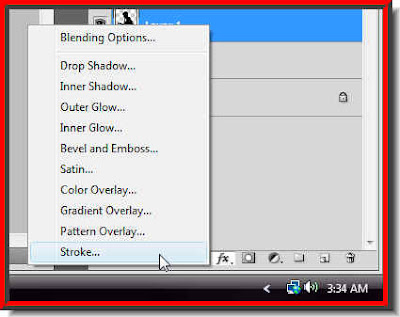
Step 16 : From the popup, click on Stroke.
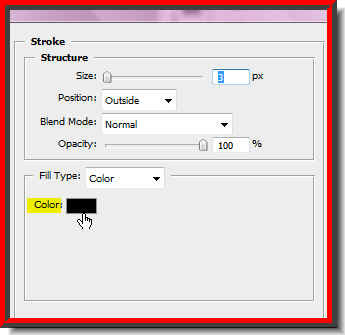
Step 17 : In the dialogue box which opens click on where the small white hand points to. In CS 4 the Color is Black. in earlier versions it is Red.
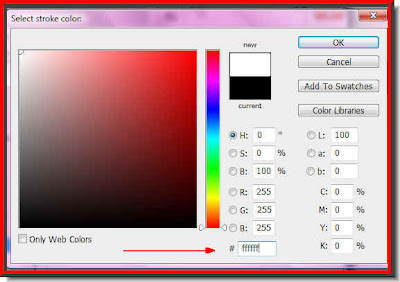
Step 18 : In the Select Color dialogue which opens type in ffffff (6fs) in the small box at the bottom which the arrow points to. It stands for White. Click ok.
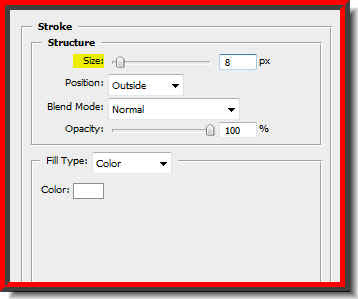
Step 19 : Note that the 'Color' has changed to white. Now drag the Size slider to the right. There is nothing hard and fast about it. It will depend on your image. I have set it at 8. Do not click ok.
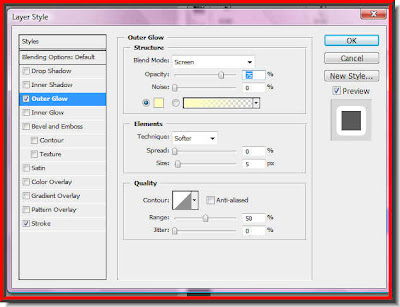
Step 20 : Now click on Outer Glow in the left panel. The Layer Style dialogue changes to Outer Glow. The default color of Outer Glow is yellow. I will leave it at that. You can change it in the same way as Steps 17 and 18 if you wish.

Step 21 : Drag the Size and Spread sliders suitably, depending on your image. You can see the values I have given. Click ok.
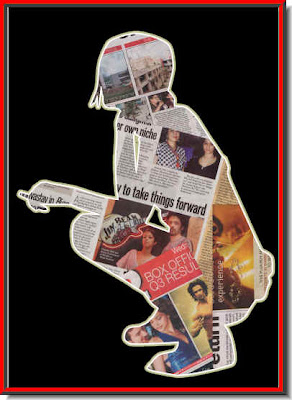
And this is my completed image.
Other Photoshop tutorials are here.


