


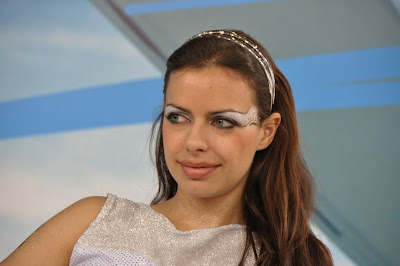
 I will be using this image. It is a high resolution image. You can right click and download it right from here to follow this tutorial.
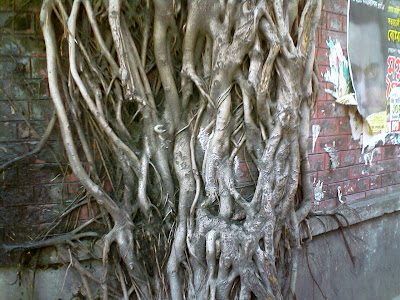
 Step 1 : I have opened both the photos in Photoshop.
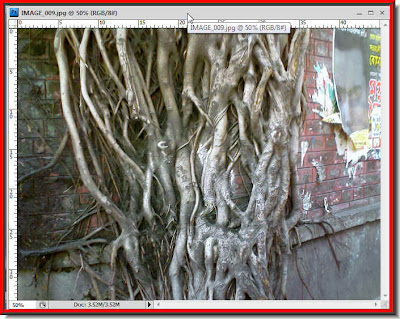 Step 2 : I have then clicked on this roots image to select it. Press CTRL+A (Select All), then CTRL+C (Copy).
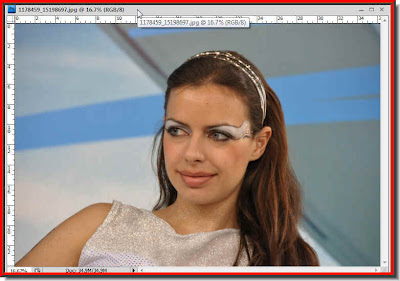 Step 3 : I have now clicked on this girl's image.
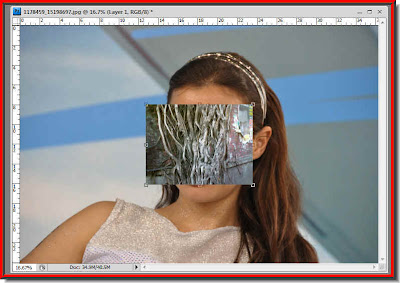
Step 4 : Press CTRL+V (Paste). The roots image will be pasted on the girl's photo.
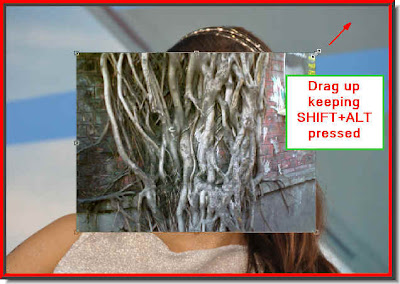 Step 5 : Press CTRL+T. A selection will appear around the roots image. You will find corner handles at the four corners. Press SHIFT+ALT and drag up the top right corner handle. As you drag the roots image becomes bigger proportionately. Press ENTER when the roots cover the girl's face.
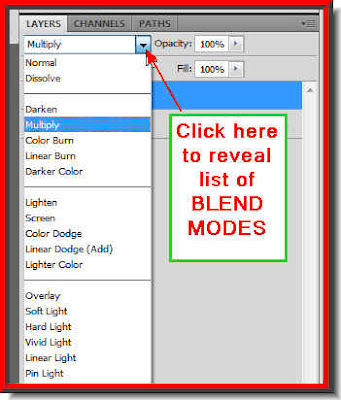 Step 6 : Click where the arrow points to in the Layers pallette and the list of Blend Modes are revealed. Click on Multiply.
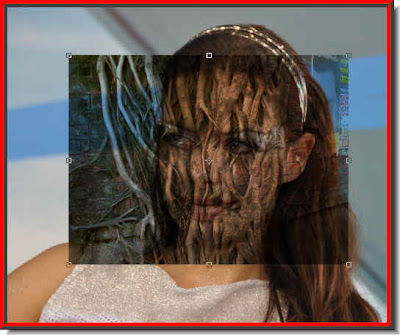 Step 7 : As soon as click the Multiply Blend Mode the image looks like this.
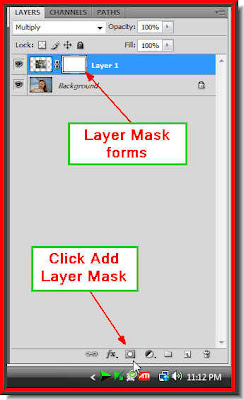 Step 8 : Click the Add Layer Mask button in the Layers pallette. A Layer Mask forms next to the Layer thumbnail on Layer 1.
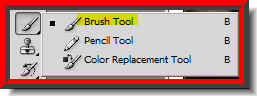
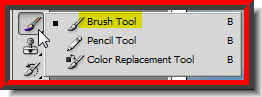 Step 9 : Click on the Brush Tool to select it.
 Step 10 : Click where the white arrow points to. It will reveal the default Brush pallette. Drag the Hardness slider to zero. The Master Diameter is to set the size of th brush tip. You can also increase the size of the brush tip by pressing ] and to decrease it press [ key.
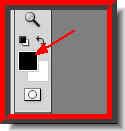
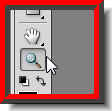 Srep 12 : Click on the Zoom Tool
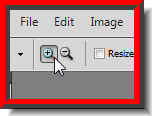 Step 13 : Click the icon with a plus to Zoom in and the one with the minus sign to zoom out.
 Step 14 : I have zoomed into the image.
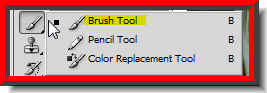
Step 15 : Click the Brush Tool.
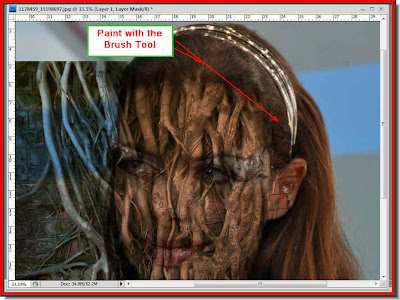
Step 16 : With the Brush Tool begin painting away. Because of the Layer Mask the layer below is revealed as you paint. If you make a mistake change the Foreground Color to White and Background color to Black. Paint away the mistake and again begin painting with Black as the Foreground Color.

Step 17 : Keep painting, while keeping away from the face.
Step 18 : I have painted away all the extraneous portions of the image, just retaining the roots in the face.
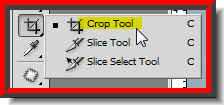
Step 19 : Click on the Crop Tool.
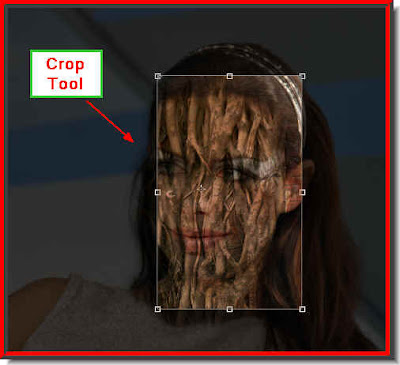
Step 20 : With Crop Tool use the cursor to frame the face.
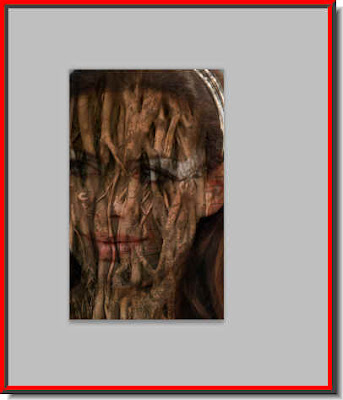
Step 21 : Press ENTER and the image is cropped.
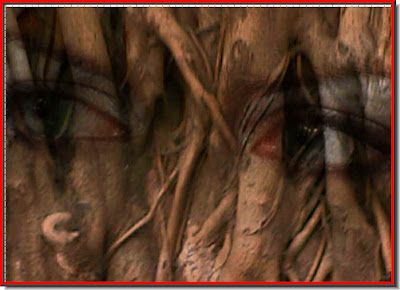
Step 22 : Zoom into the image till the eyes are clearly visible.
Step 23 : Click the Brush Tool.
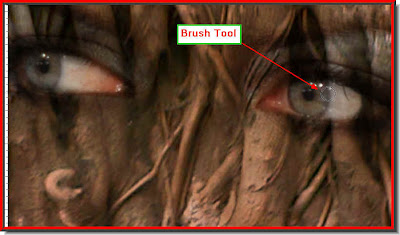
Step 24 : With the Brush Tool paint over the eyes to reveal the layer below.
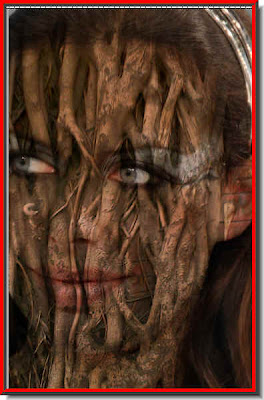
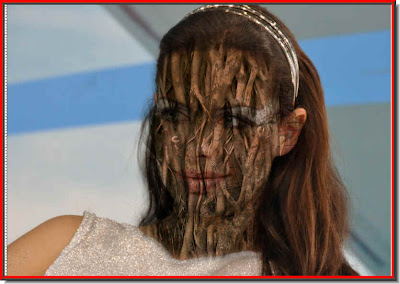
And here is my finished image.
Other Photoshop tutorials are here.


