


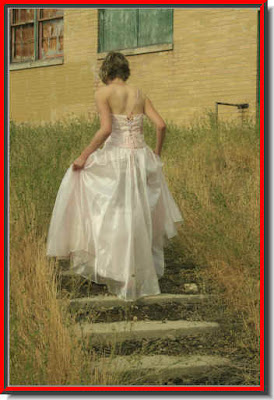
 Step 1 : I have opened this free stock image in Photoshop. You can download it here.
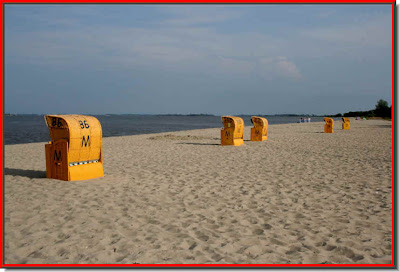 Step 2 : This is another free stock photo. You can download it from here. These are both high resolution photos downloaded from http://www.sxc.hu/ You will only need to register which is for free to download free stock images.
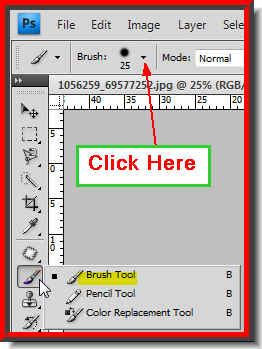 Step 3 : Click the Brush Tool. Then click where the arrow points to. This will reveal the default Brush set.
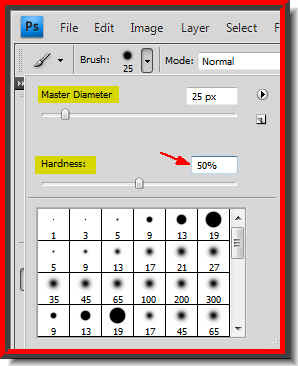
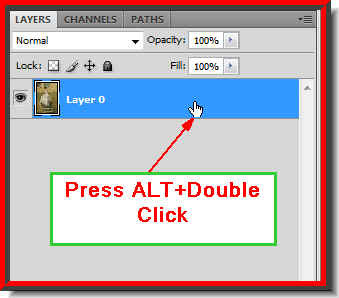 Step 5 : In the Layer pallette you will only find a single layer -- Background. Press ALT and double click on the Background Layer. It will change to Layer 0 (zero). The Background layer cannot be edited. What I have done is to make it editable by changing it into a regular layer.
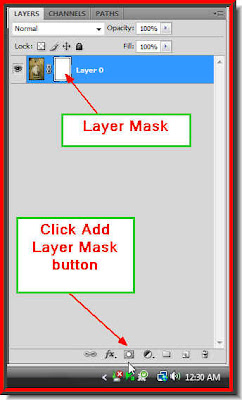 Step 6 : Click the Add Layer Mask button in the Layers pallette a Layer Mask forms next to the Layer thumbnail on Layer 0.
 Step 7 : Now make sure that the Foreground Color is set to Black and the Background to White. If it is not press 'x' and then 'd' on the keyboard.
 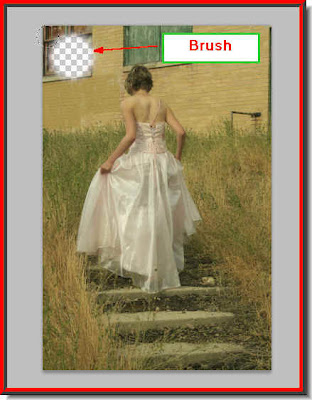 Step 8 : Make a large enough Brush Tip and begin painting away the background revealing the transperancy behind it. Take care not to let the brush tip come close to the figure. If you accidentally stray onto the figure, change the Foreground Color to White and Background Color to Black and paint out the mistake. Then change the Foreground and Background colors and begin painting again.
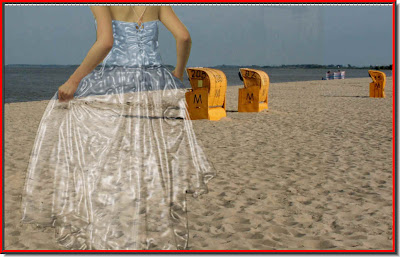
 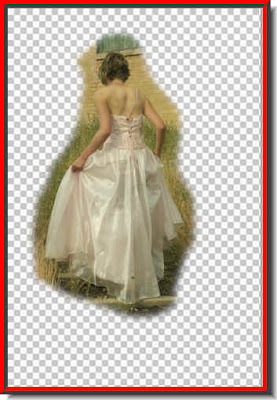 Step 9 : I have painted out the Background around the image.
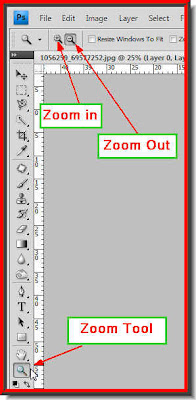 Step 10 : Click on the Zoom Tool. Look in the top panel. You will find two magnifying glass like icons with a plus and minus sign. The one with the plus sign is for zooming into the image and the one with the minus sign is to zoom out of the image.
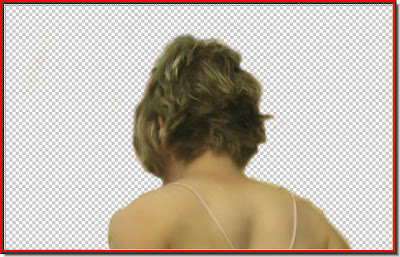 Step 11 : Zoom into the image. Then use the Brush Tool to paint away the Background. Use a large Brush first then as you move closer to the image use a smaller brush. Use the shortcut I showed you in Step 4.
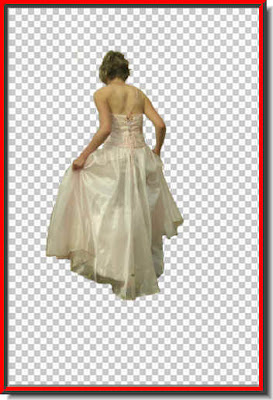 Step 12 : I have painted away the Background completely. The Background is entirely transparent now.
 Step 13 : In the layers pallette remove the Layer Mask by dragging it down to the Trash can at the bottom of the Layers pallette.
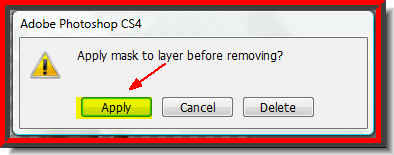 Step 14 : This dialogue box will pop up. Click Apply.
 Step 15 : In the Layers pallette you will find that there is now no Layer Mask next to the layer thumbnail.
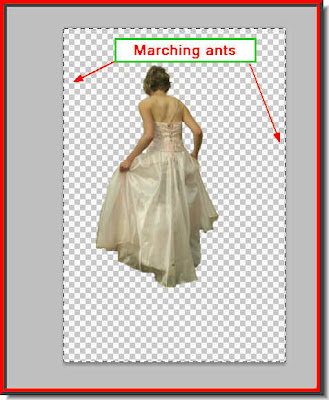
Step 16 : Press CTRL+A (Select All) and then CTRL+C (Copy). A column of 'marching ants' immediately surround the edges of the image.
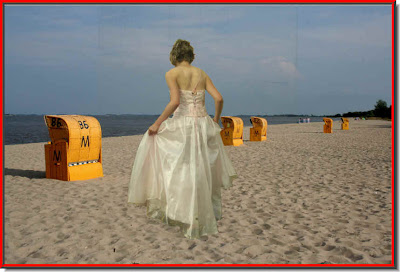
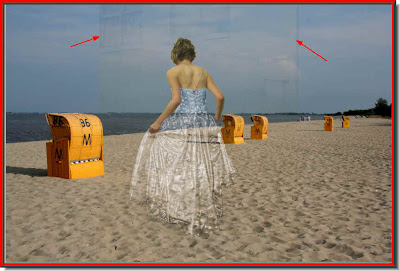
Stedp 17 : Click on the top of the other image then press CTRL+V (Paste). The girl's photo has been pasted on the seaside image.
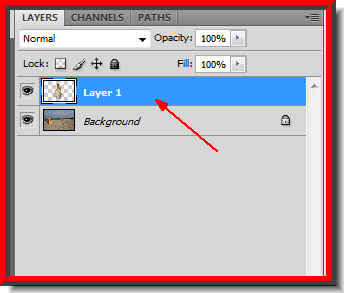
Step 18 : Look in the Layers pallette. The image of the girl is on Layer 1 above the Background Layer which is the beach photo.
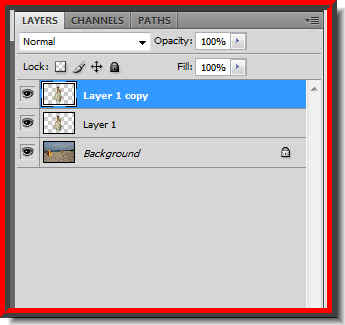
Step 19 : Press CTRL+J. The Layer 1 will duplicate into Layer 1 copy.


 Step 23 : I have painted out the body of the girl. Only the clothes remain.
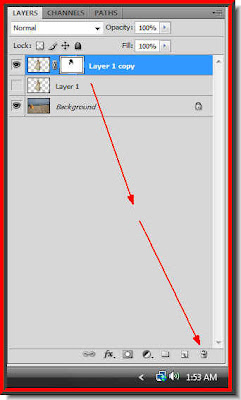

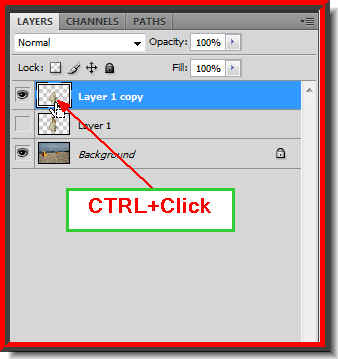 Step 26 : Now CTRL+Click the layer thumbnail in Layer 1 copy. Note that the Layer Mask no longer exists because you have removed it to the Trash can.
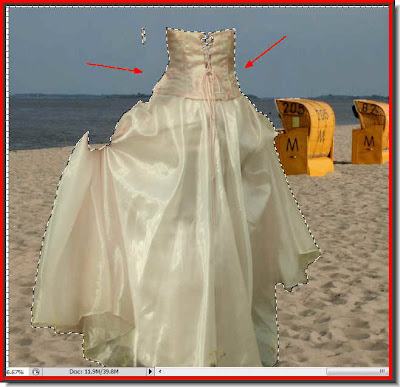 Step 27 : A selection of 'marching ants' immediately form around the gown. Press CTRLSHIFT+U to desaturate the gown.
Step 28 : With the 'marching ants' still active go to Filter>Artistic>Plastic Wrap.

Step 29 : The Plastic Wrap filter dialogue box opens.
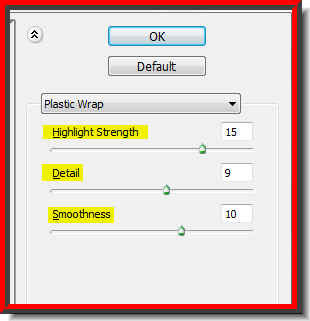
Step 30 : These are the settings I have given for Highlight Strength, Detail and Smoothness. There is nothing hard and fast about it. It will depend on your image. Click ok.
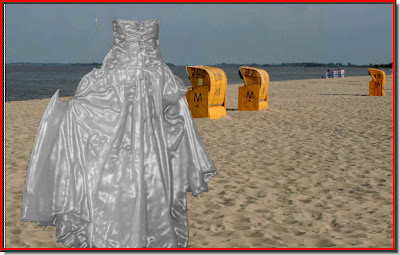
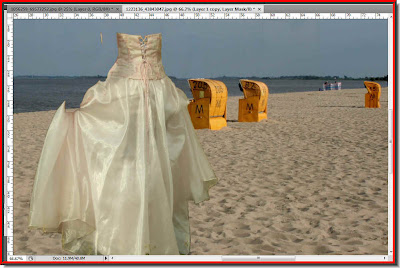
This is how my image looks.
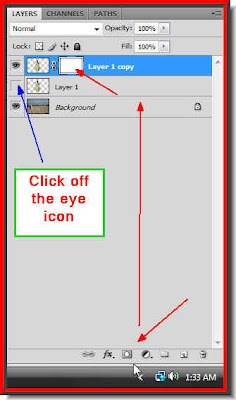
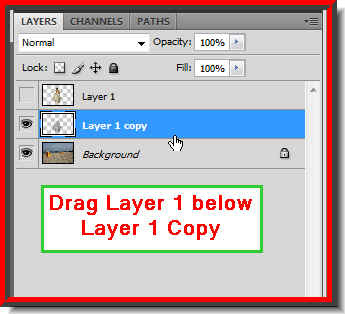 Step 31 : Drag Layer 1 copy below Layer 1. Note that I have as yet not switched on the eye icon in Layer 1.
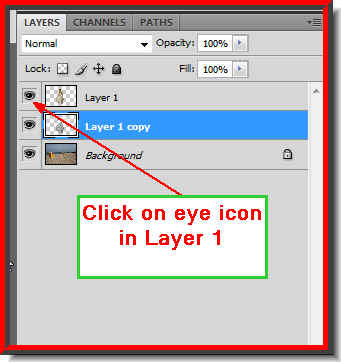
Step 32 : Note that Layer 1 copy is highlighted. This means you are on this layer. Now click on the eye icon Layer 1. Do not click on Layer 1. The girl's image will reappear. I am not showing it here.
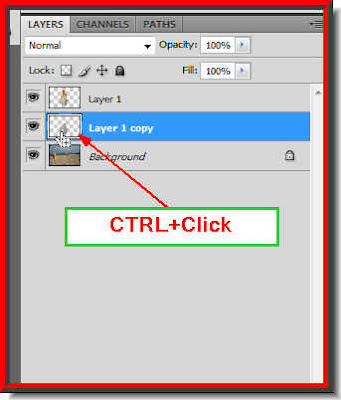
Step 33 : Now CTRL+Click the layer thumbnail of Layer 1 copy.
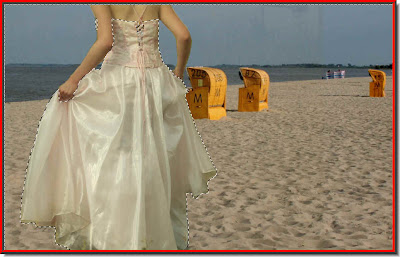
Step 34 : You will immediately find the gown selected by marching ants.

Step 35 : With Layer 1 highlighted press Delete.

Step 36 : Now again click on Layer 1 copy after pressing Delete in the earlier step.
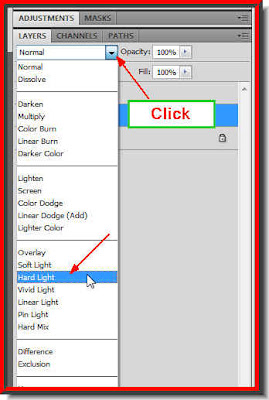
Step 37 : In the Layers pallette click where the arrow to reveal the dropdown of Blend Mode and click on Hard Light. There is nothing hard and fast about it. You might also try Screen or Overlay if you are using another image or any of the other Blend Modes.
This is how my image looks. Press CTRL+D to deselect.


A closeup of the finished image. That is all. Try it out.
Other Photoshop tutorials are here:


