


Have you ever used Diffused Glow in Photoshop to heighten the skin tones. This is pretty simple to do. Just follow along.

Step 1 : I have opened this free stock image. You can download it here
It belongs to ~WolfcatStock

Step 2 : Press CTRL+J. This duplicates the Background Layer to Layer 1.

Step 3 : Go to Filter>Distort>Diffuse Glow.

Step 4 : The Diffuse Glow dialogue box opens.

Step 5 : This are the setting in the control panel at right top I have given. Click OK.

Step 6 : This is how the image looks.

Step 7 : Go to Edit>Fade Diffuse Glow.

Step 8 : When the Fade dialogue box opens change the Mode to Luminosity.

Step 9 : Drag the Opacity Slider down. How much you drag will depend on your image. Click OK when satisfied.

Step 10 : This is how the image looks.

Step 11 : Click the Add Layer Mask icon. A Layer Mask form next to layer thumbnail on Layer1.

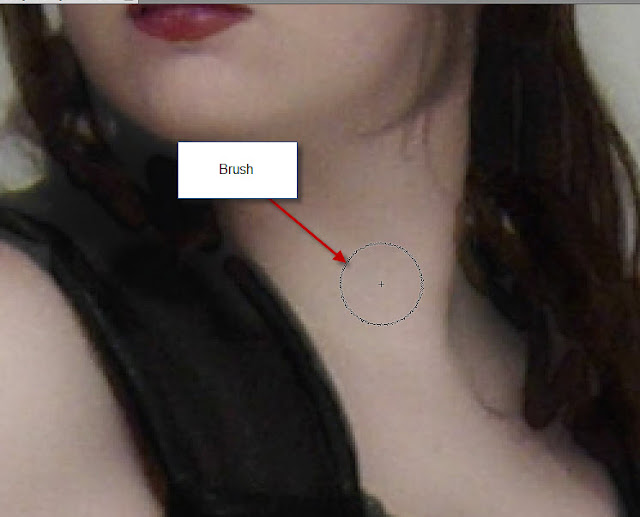
Step 12 : Click the Brush Tool.

Step 13 : Click where the small white arrow points to reveal the Brush controls. Set the Hardness to 0 and the Size suitably.

Step 14 : Zoom into the image.

Step 15 : Since I clicked on the Zoom Tool, I will have to click on the Brush Tool again to make it active.

Step 16 : Make sure the Foreground is set to Black and Background to White.

Step 17 : Since I do not want the diffused glow on anything except her face, I am painting it away from her dress.

Step 18 : You will constantly have to make the brush small and big. To make the brush small press [ (left bracket). To make the brush bigger press ] (right bracket). I have made the brush small and painting the Diffused Glow from the straps on her leg.

Step 19 : I am also painting away the Diffused Glow from her hair.

Step 20 : I have carefully painted over her eyes, eyebrows and lips.

Step 21 : This is how the image looks.

Step 22 : This is how the Layers palette looks.

Step 23 : Press CTRL+E. Both the Layers merge into the Background layer.

Step 24 : Press CTRL+J. The Background Layer duplicates into Layer1.

Step 25 : Go to Filter>Blur>Surface Blur.
 Step 26 : The Surface Blur dialogue box comes up. I have set the Radius at 100 and Threshold at 1. Click OK.
 Step 27 : Click the Add Layer Mask button. A Layer Mask forms next to layer thumbnail on Layer1.

 Step 28 : Make sure that default Foreground/Background colors are set.
 Step 29 : Use the Brush Tool to remove the Smart Blur from the face and chest.
 Step 30 : Press CTRL+E. The two layers in Layers palette merge into the Background layer.
 The finished image.
Other Photoshop tutorials are here


Step 28 : Click on the Brush Tool.


Other Photoshop tutorials are here


