


Photoshop has a number of built in Gradients. You can always modify them. You can also download Gradients for free which you can use.

Here is a load of free Gradients. You will find them here
They are made provided free by ~Lebo Gfx Khalil You will only have to register. Registration is free.

Step 1 : You will find the Download button on the right of the page. Click it to download. Download it to a folder on your computer.

Step 2 : I have download the Gradient to a folder on my computer. The Gradients are in a rar file. You will require Winrar to unzip it.

Step 3 : Right Click the rar file and click on Extract here.

Step 4 : You will find the Gradients in a folder.

Step 5 : Click the folder to open. Here are the Gradients. Press CTRL+A (Select ALL), then CTRL+C (Copy)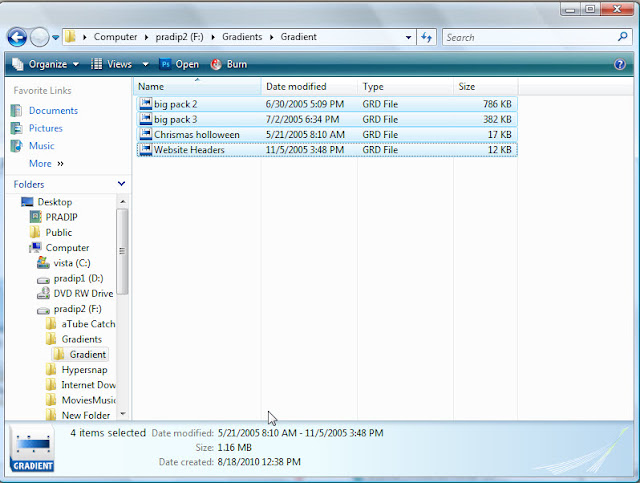

Step 6 : The Gradients have been selected. They are ready to be copied.

Step 7 : Click on My Computer and go to the Hard Drive on which Photoshop is installed. It usually is on the C Drive. Click on C Drive.

Step 8 : Click on Programme Files.

Step 9 : Click on Adobe.

Step 10 : Click on the version of Photoshop you have.

Step 11 : Go to Presets.

Step 12 : Click on Gradients.

Step 13 : Right Click and Paste.

Step 14 : The downloaded Gradients are now loaded in photoshop.

Step 15 : Open Photoshop. Click on the Gradient Tool and then click the Gradient Editor at the top panel.

Step 16 : And the Gradients have been installed. Should you not see the Gradients, click on the Load button.

Step 17 : Click on Load and navigate to the folder where you unpacked the Gradients. Load them one by one. Now you are set to go.

Step 18 : I am choosing this free stock photo. You will find it here
It belongs to *faestock Jessica

Step 19 : I have opened the photo in Photoshop.

Step 20 : Click Add New Fill or Adjustment Layer button.

Step 21 : Click on Gradient Map.

Step 22 : Click on the Gradient Editor.

Step 23 : You will find all the original and downloaded Gradients among the Presets.

Step 24 : I have clicked on a Preset. It has a name.

Step 25 : This is how the image looks.

Step 26 : Change the Blend Mode to Overlay.

Step 27 : This is how the image looks.

Step 28 : Lower the Opacity of the Layer. I have reduced it to 65%.

Step 29 : This is how the image looks.

Step 30 : You can click the Gradient Editor to change the Gradient if you wish.

Step 31 : I have not clicked on this Gradient.

Step 32 : This is how the image looks.

Step 33 : I have now clicked on this Gradient.

And this is how the image looks. You can experiment with all the new Gradients.

Step 34 : I have clicked on another Gradient.

This is how the image looks. You can go on experimenting
Other photoshop tutorials are here


