


 Step 1 : Open a new White Layer. I have chosen 500 pixels for both Width and Height. Color Mode should be RGB and Background Contents White.
 The White Layer has opened. Note that it shows as a single layer - Background - in the Layers pallette at the right bottom.
 Step 2 : Click on Channels and then click on the New Channel icon shown by the Red arrow. A new channel Alpha 1 forms.
 Step 3 : The Foreground and Background Colors should be set at Black and White respectively as shown. If it is not, press 'x' and then 'd' on your keyboard to restore it to the default. Click on the Rectangular Marquee Tool.
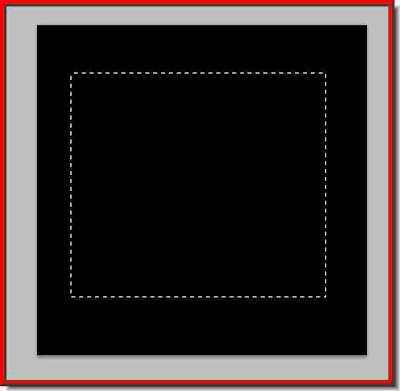 Step 4 : Draw out a selection with the Marquee Tool.
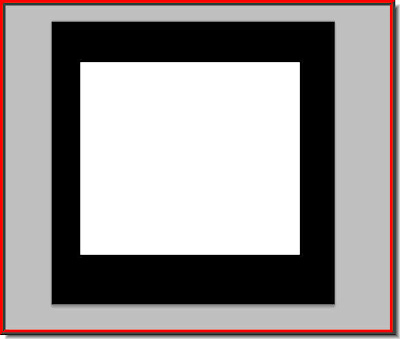 Step 5 : Press CTRL+BACK SPACE. This fills the selection with the Background color which is White. Press CTRL+D to deselect.
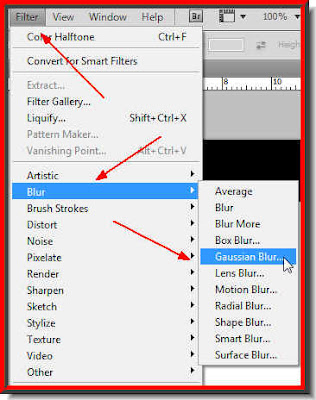 Step 6 : Go to Filter>Blur>Gaussian Blur.
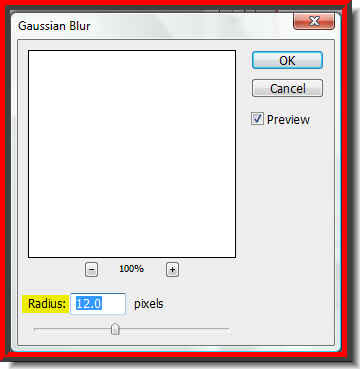 Step 7 : The Gaussian Blur dialogue opens. I have put 12 pixels as Radius. Click ok.
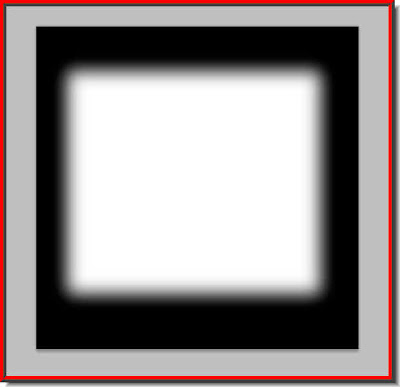
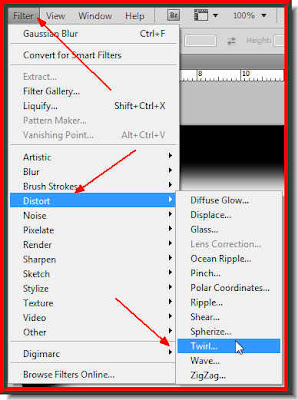 Step 8 : Go to Filter>Distort>Twirl.
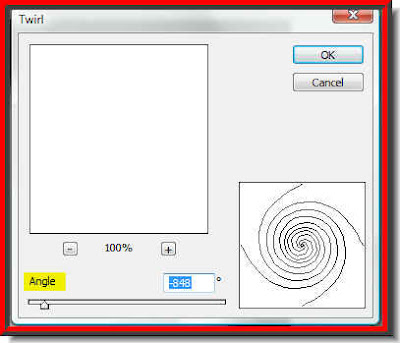 Step 9 : Set the Angle in the Twirl dialogue box. The amount you can set for the Angle may vary between different versions of Photoshop.
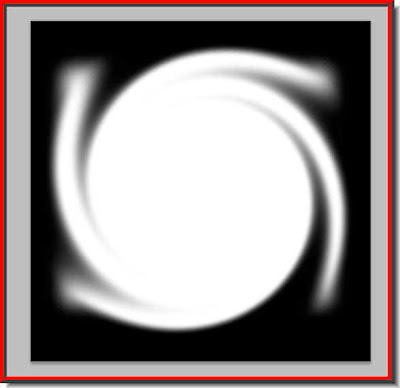
Step 10 : After you click ok in the Twirl dialogue box the Twirl is applied.
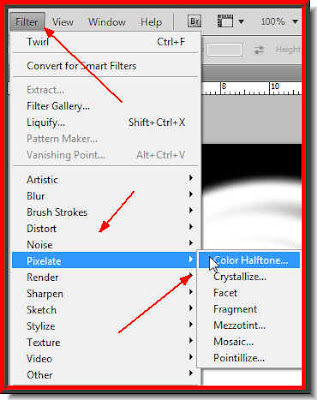 Step 11 : Click on Filter>Pixelate>Color Halftone
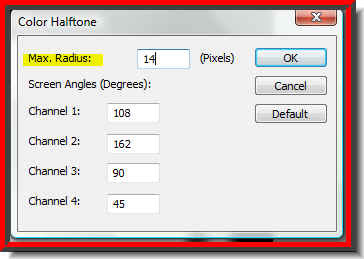 Step 12 : I have set the Max Radius at 14. There is, however, no hard or fast rule.
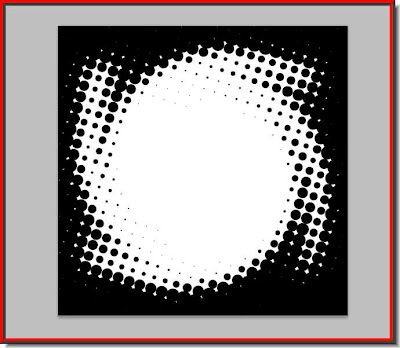 After you click ok, this is how the image looks like.
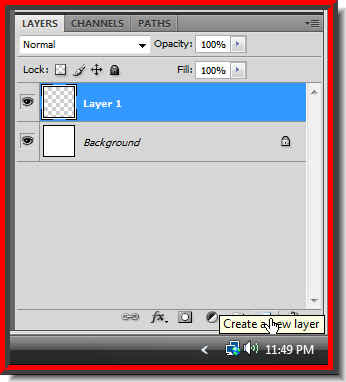
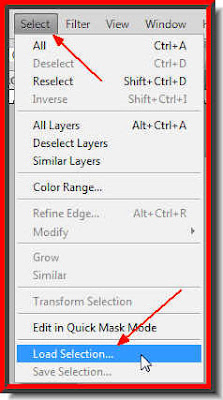 Step 14 : Click on Select>Load Selection.
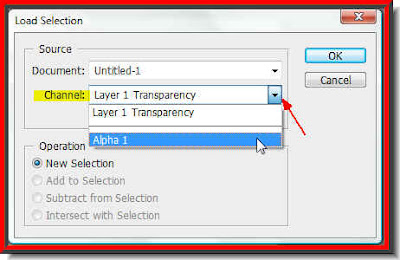 Step 15 : In the Load Selection dialogue box change the Channel to Alpha 1 and click ok.
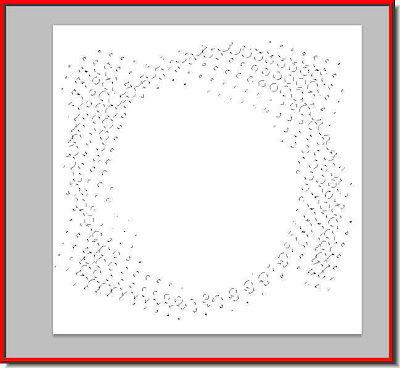 A selection of marching ants forms.
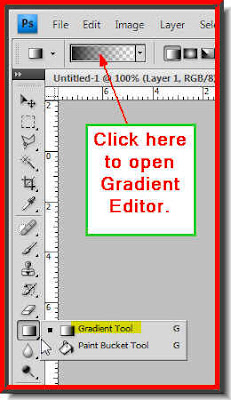 Step 16 : Click on The Gradient Tool, then click where the arrow points to in the top panel and click to open the Gradient Editor.
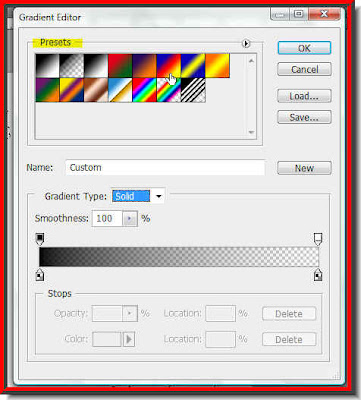 Step 17 : The Gradient Editor opens. I have clicked on the sixth Preset in the top row.
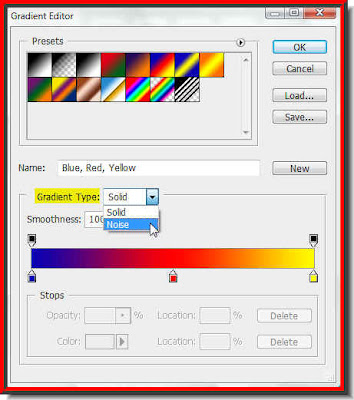 Step 18 : Now change the Gradient Type to Noise.
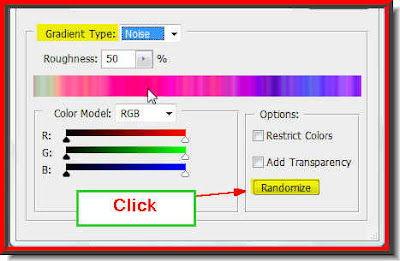 Note this is how the lower half of the Gradient Editor looks now. Note the Randomize button. Every time you click it the Gradient Type will change. But do not do that just as yet.
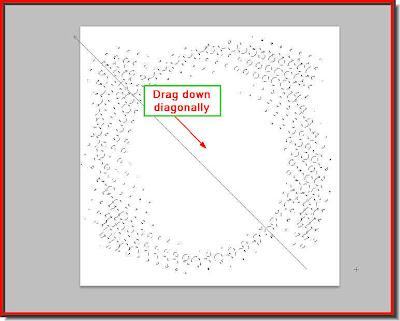 Step 19 : Drag diagonally. You need not do so necessarily. You can drag in any direction. But it will give you a different effect.
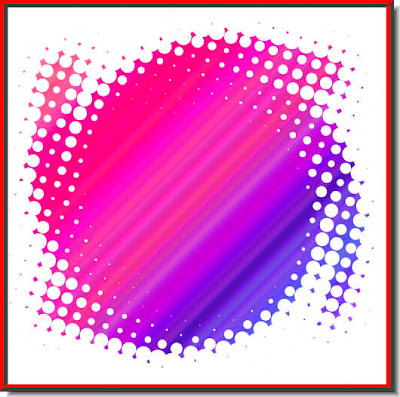
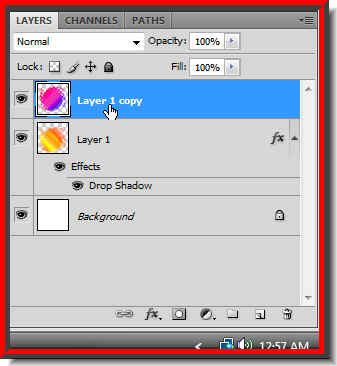
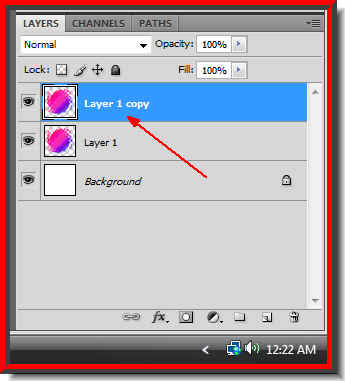 Step 20 : Press CTRL+J and look in the Layers pallette. Layer 1 duplicates into Layer 1 copy.
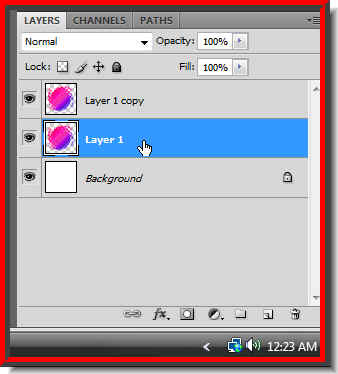 Step 21 : Now click back on Layer 1.
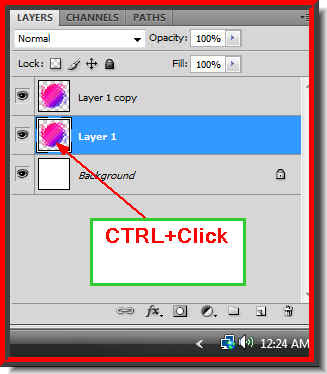 Step 22 : Now CTRL+Click on the Layer thumbnail of Layer 1.
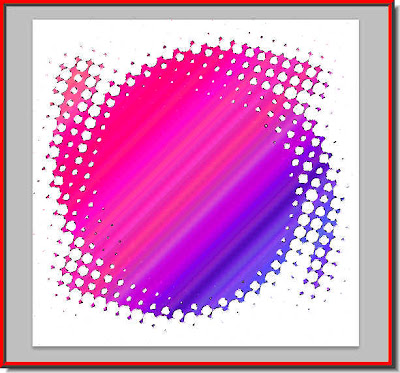 A selection of marching ants appear as soon as you click.
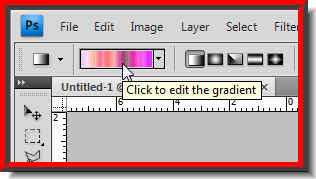 Step 23 : Click on the Gradient Editor.
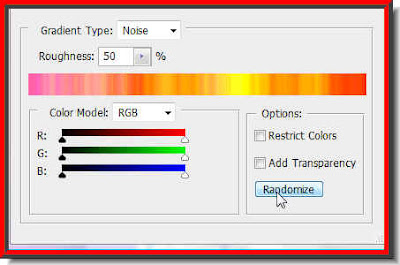 Step 24 : When the Gradient Editor opens click the Randomize button. Each time to click it will change.
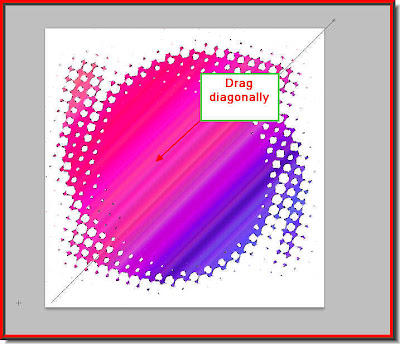 Step 25 : Since the Gradient Tool is already selected, draw diagonally from right top to left bottom. You will not notice any change. Press CTRL+D to deselect.
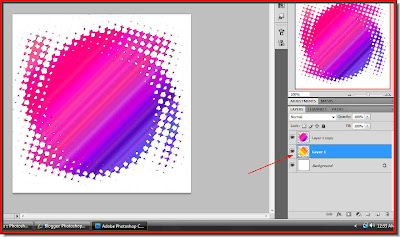 You will not note any change in your image, but look in the Layers pallette. You were on Layer 1. The new Gradient has been applied to Layer1. We will make it visible in a minute.
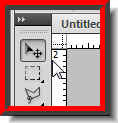 Step 26 : Click the Move Tool.
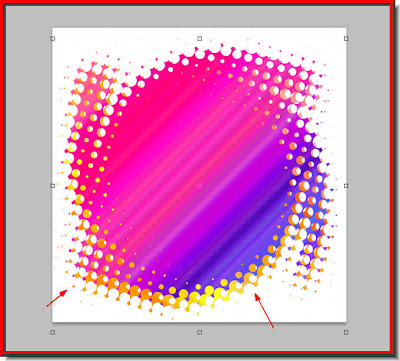 Step 27 : Use the Down Arrow key on your keyboard. As you tap the key Layer 1 becomes visible.
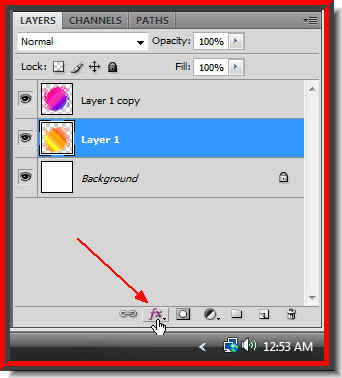 Step 28 : Click the Add Layer Style button.
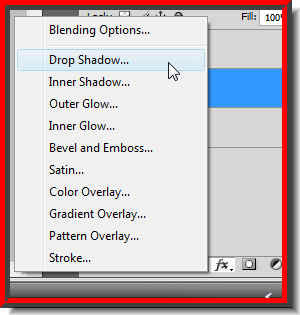 Step 29 : From the popup click on Drop Shadow.
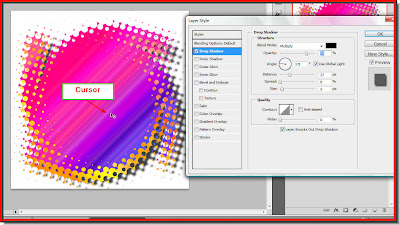 Step 30 : Keeping the Layer Style dialogue box open, place your cursor on the image. Then begin to move the cursor. You will notice that the Drop Shadow changes position as you move the cursor.
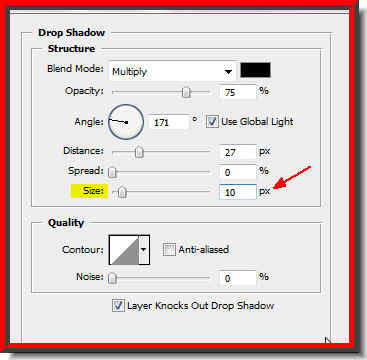 Step 31 : I have changed the Size of the Drop Shadow to 10. Click ok.
Step 32 : Look at below Layer 1. You will see the Effects and Drop Shadow. If you are using PS 7 this will not be visible.
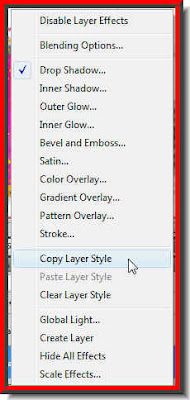
Step 33 : Right click effects and select Copy Layer Style.
Step 34 : Now click on Layer 1 copy.
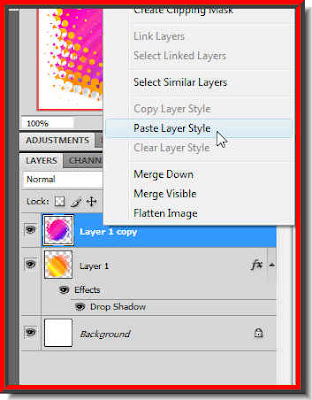
Step 35 : Right click the layer and select Paste Layer Style.
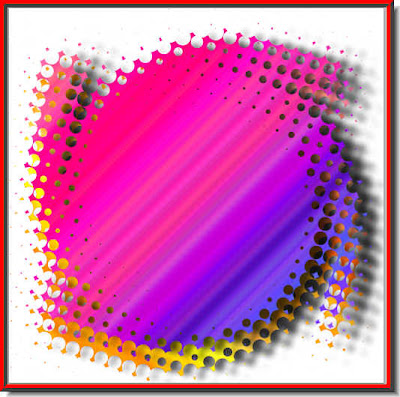
And this is the effect I have got. You can leave it at that. The image is complete. Additionally, you may do the following steps.
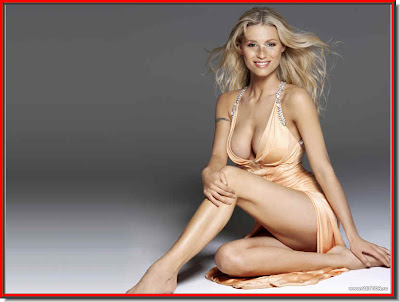 Step 36 : I have opened this image in Photoshop.
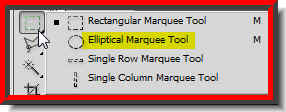 Step 37 : Click the Elliptical Marquee Tool.
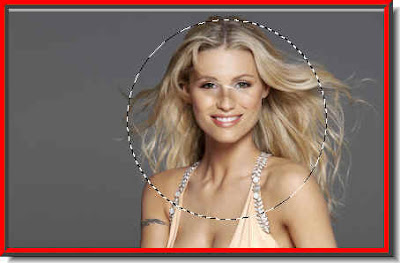 Step 38 : Press SHIFT and you will be able to draw a perfect circle. I don't need the entire image. I am just choosing the face.
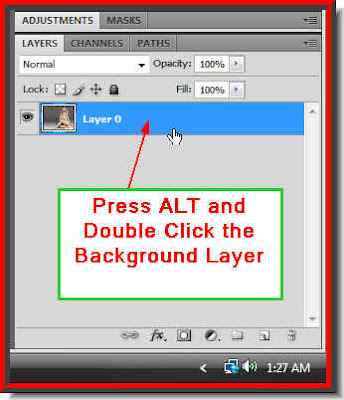
 Step 40 : Click on the Add Layer Mask button. A layer mask forms next to layer thumbnail.
Step 41 : Go to Filter>Blur>Gaussian Blur.

Step 42 : The Gaussian Blur dialogue box opens. Drag the Radius slider till the edges begin to blur and fade. Don't over do it.

Step 43 : Click the Move Tool and drag the image of the girl to the composition at left.

Step 44 : Keeping SHIFT+ALT pressed resize the image by dragging with the Move Tool.

And this is the completed image.
Other Photoshop tutorials are here.


