


 Step 1 : Open a new White Layer.
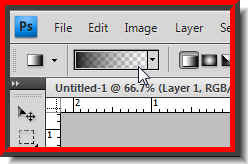
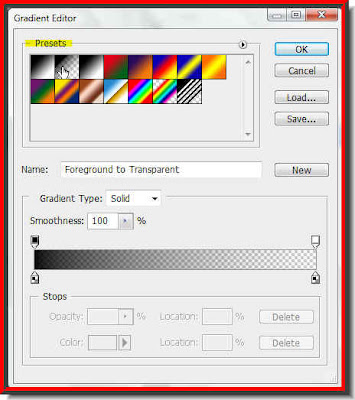
Step 11 : The Gradient Editor opens. Click any of the Presets to select. I will be selecting the second Preset in the top row from the left. Step 12 : Drag diagonally or in any direction with the cursor.

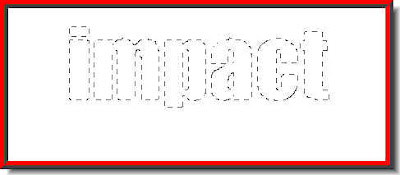
This is the effect I have got. Press Ctrl+D to deselect. The column of marching ants go away.
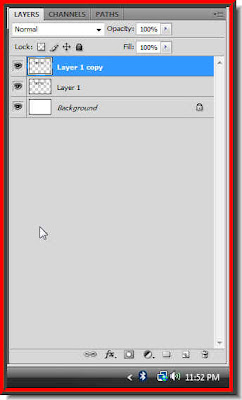
Step 13 : Press CTRL+J. The Layer 1 duplicates into Layer 1 copy. Step 14 : Now click back on layer1.
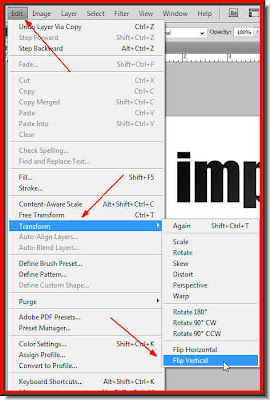
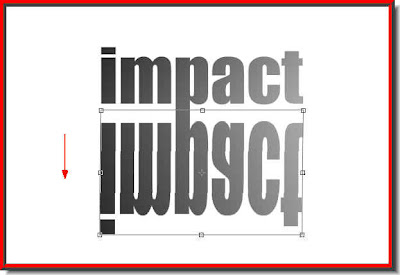
Step 15 : Go to Edit>Transform>Flip Vertical. This is how the text looks like.
 Step 16 : Click the Move Tool.
 Step 17 : Drag the Text down as shown.
Step 18 : Press CTRL+T. A selection forms around the Text. Grab the middle handle and drag down.
Step 19 : Now press CTRL+SHIFT+ALT and drag the left or right bottom corner handles outward. Then press Enter. Step 20 : Click on the Add Layer Mask button and a layer Mask forms next to the Layer thumbnail on Layer 1.
  Step 21 : Click on the rectangular Marquee Tool.

Step 22 : Drag out a selection covering the bottom text layer with the Rectangular Marquee Tool.. Step 23 : Click the Gradient Tool.
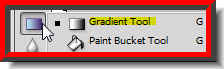
Step 24 : Press SHIFT and drag the cursor up.

Step 25 : Now drag the Opacity of the Layer down to 50%.

And, there is your Text and its reflection.
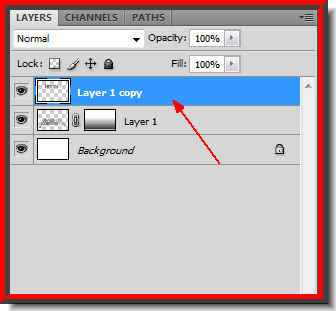
Step 26 : Click on Layer 1 copy.
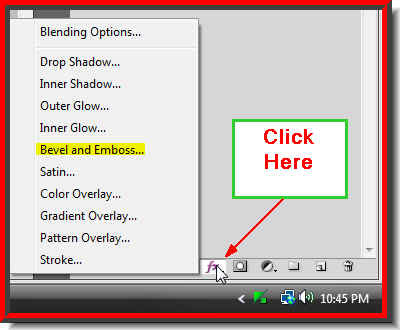
Step 27 : Click on the Add Layer Style button and click on Bevel and Emboss from the popup.
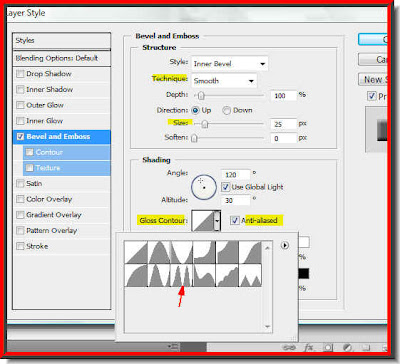
Step 28 : The Bevel and Emboss dialogue boxm opens. Retain the Technique at Smooth, Change the Gloss Counter to Ring Double (red arrow), check Anti-alias. Next change the Size to 25. Click ok.

This is the finished effect.


