


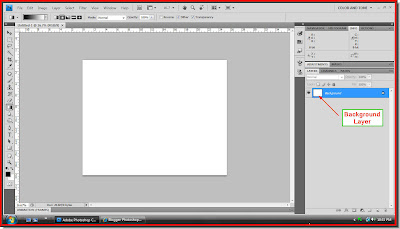
 Step 1 : Open a New White Layer. Size does not matter, but a large canvas helps. Note that there is single layer in the Layers pallette - Background.
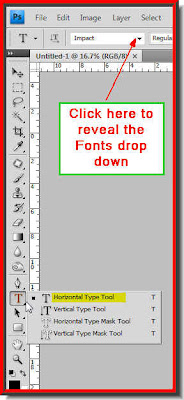
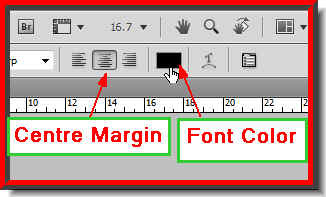
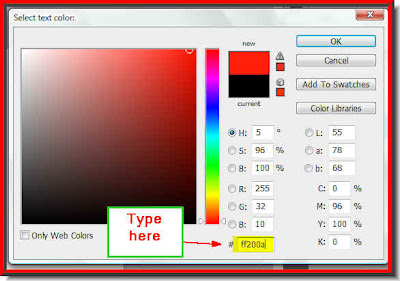 Step 5 : The Text Color dialogue box opens. At the bottom type ff200a in the highlighted box. Click ok.
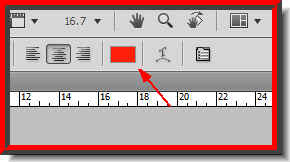 Note that the Text Color has changed.
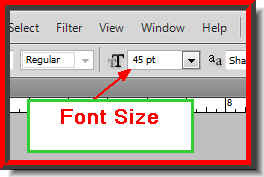 Step 6 : You can set the size of the Text by typing in a value in the box.
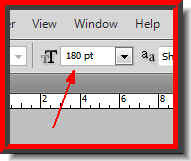 Step 7 : I have typed in my Font size.
 Step 8 : Since the Text Tool is already selected, draw out a text box and type in your Text.
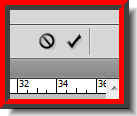 Step 9 : After typing the Text, click the Tick mark in the top panel.
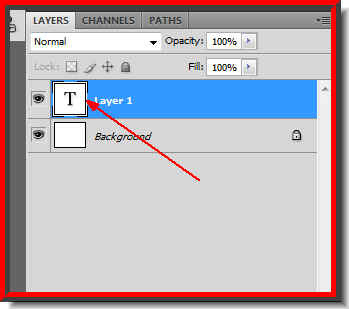 Step 10 : Look in the Layers pallette. You will notice that the Text layer sits over the Background Layer. A Text Layer is always on its own layer.
 Step 11 : Right click the Text layer. From the popup click on Rasterize Type.
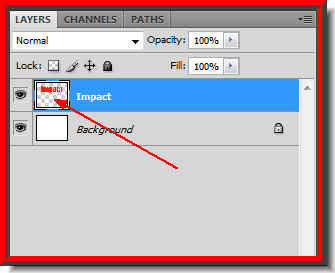 Step 12 : The Type has been rasterized.
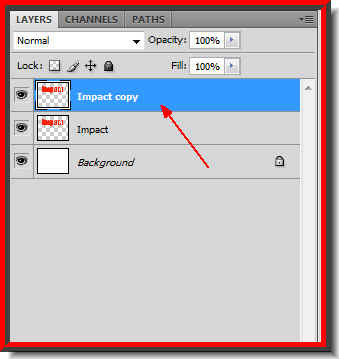
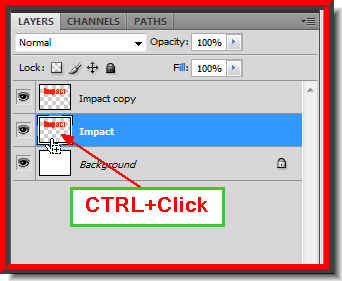 Step 14 : Now click on Layer 1 and CTRL+Click the layer thumbnail.
 Step 15 : As soon as you CTRL+Click a selection of marching ants selects the Text.
 Step 16 : Click the Foreground Color.
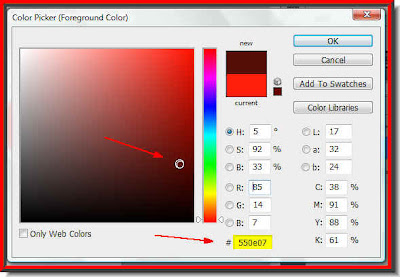 Step 17 : The Color Picker dialogue box opens. Type in 550e07 in th highligted box. Click ok. Press CTRL+BACKSPACE. You will not notice any change. Press CTRL+D to deselect.
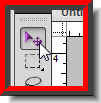 Step 18 : Click the Move Tool.
 Step 19 : Now use the Down Arrow key to reveal the layer beneath the Red Text layer. Now the Text has a 3D look, but it does not look metalic.
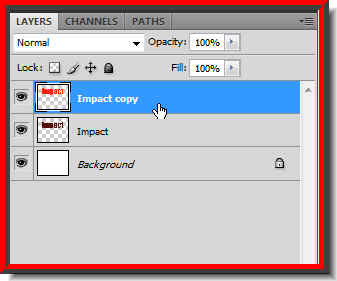 Step 20 : Now click on the topmost layer to select it.
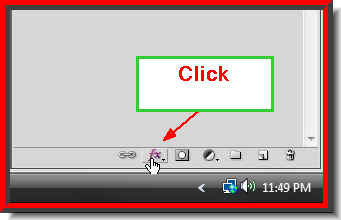 Step 21 : At the bottom of the Layers pallette click on the Add Layer Style button.
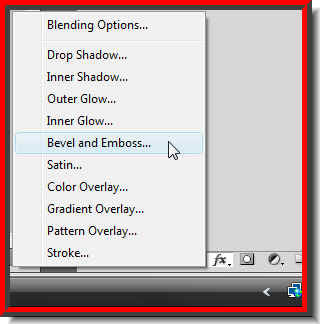 Step 22 : From the popup click on Bevel and Emboss.
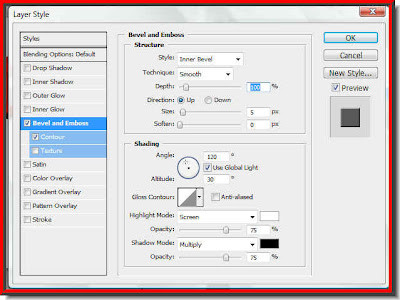 Step 23 : The Layer Style Bevel and Emboss dialogue box opens.
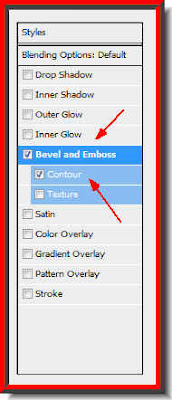 Step 24 : In the left panel check Bevel and Emboss and Contour.
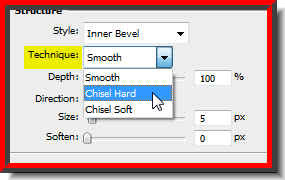 Step 25 : In the controls in the middle of the dialogue box change the Technique to Chisel Hard from the dropdown.
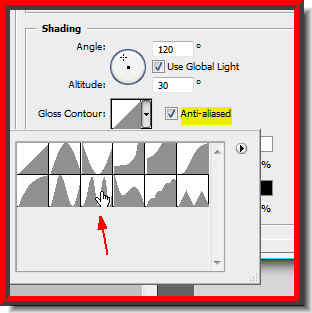 Step 26 : Check the Anti-alias and then click on the Gloss Counter and click on Ring Double. It is the one shown.
 This is how the Text looks like.

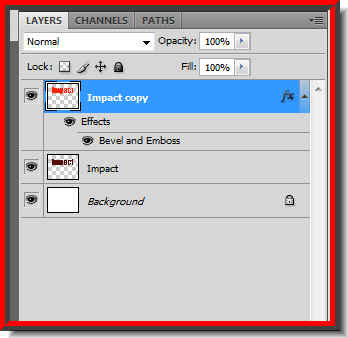 Step 28 : Look at the top layer. It is highlighted. It means you are on that layer.
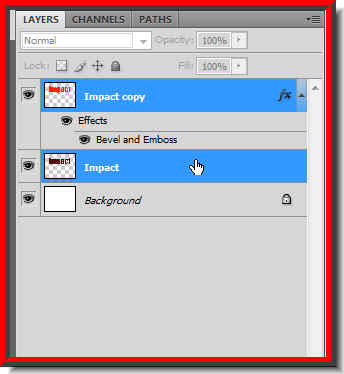 Step 29 : Now press SHIFT and click on the layer below. Both Layers are now highlighted.
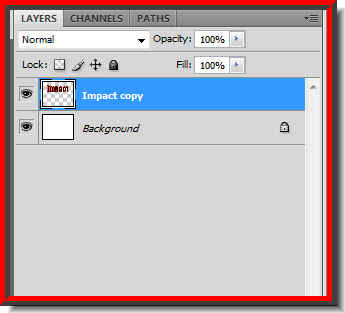 Step 30 : Press CTRL+E. Both layers merge into one - Impact copy.
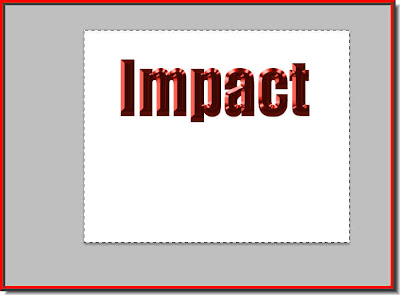 Step 31 : Press CTRL+A. A column of marching ants surrounds the image.
Step 32 : Click the Move Tool.

Step 33 : As soon as you click on the Move Tool you will notice these icons on the top layer will become prominent. Click the second and fifth icons.

And, look what happens! The Text moves to the exact middle of the white layer.

Step 34 : Now click on the White Background layer to select it.

Step 35 : The Foreground Color is already selected. Click on the Background Color which is White.

Step 36 : The Color Picker opens. Type 000000 (six zeroes) in the box at the bottom. It signifies Black.

Step 37 : Click ok on the Color Picker. The background Color changes to Black.

Step 38 : Now click the Gradient Tool.

Step 39 : Click the Gradient Editor in the top panel.

Step 40 : The Gradient Editor opens. Click the first Preset in the upper row.

Step 41 : Now click the Radial Gradient in the top panel. It is the second one from the left.

Step 42 : Since the Gradient Tool is already selected drag from the centre of the canvas towards the right edge, but not quite till up to the edge.

And, here is the effect you get.

Step 43 : Now click on the top layer.

Step 44 : Click on the Add Layer Style button and from the popup click on Outer Glow.
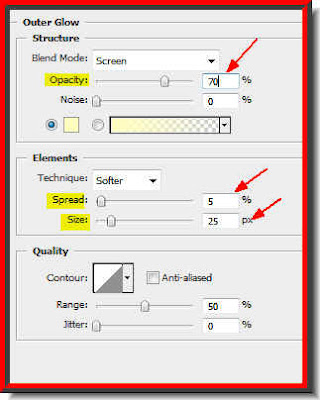
Step 45 : In the Outer Glow controls, I have set Size at 25%, Spread at 5% and lastly lowered the Opacity to 70%. Click ok.

And, here is my metalic text. I have begun with a Red for the Text. Try it out first. Then experiment with other colors. You will be amazed at the effects you get. That's all.
Other Photoshop Tutorials are here.


