


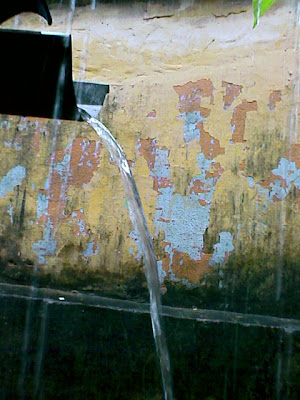
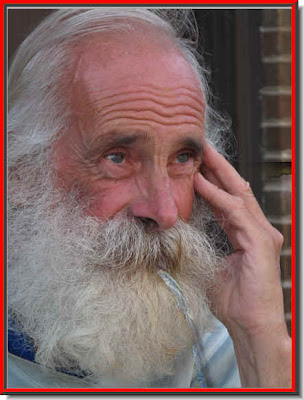
 This was the photo I took.
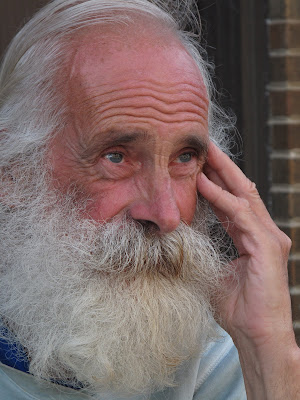 This is a free stock photo. You can right click and download them to your computer for this tutorial. The purpose will be to make the stream of water appear as it it is coming out of the mouth of the old man.
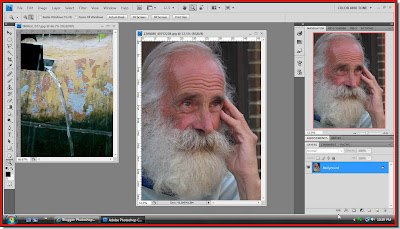 Step 1 : I have opened both photos is photoshop.
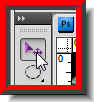 Step 2 : Click the Move Tool.
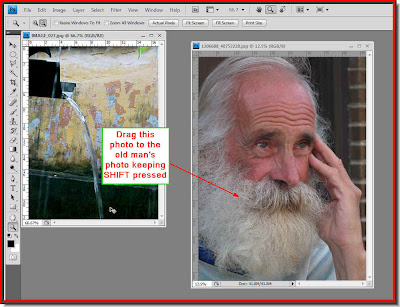 Step 3 : Drag the water image to the old man's photo keeping the SHIFT pressed.
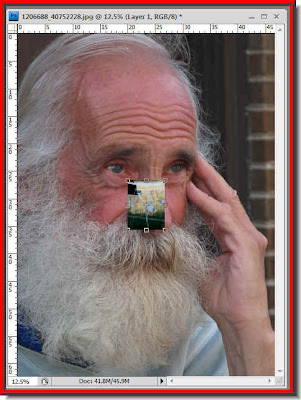 Step 4 : Keeping the SHIFT key ensures that the water photo lands exactly in the middle of the old man's photo.
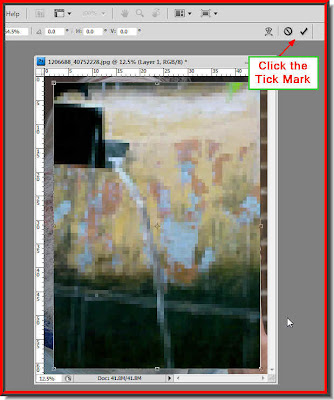 Step 5 : Press SHIFT+ALT and drag any of the corner handles. The photo will become bigger proportionately. Click the Tick Mark in the top panel till the water image covers the old man's photo.
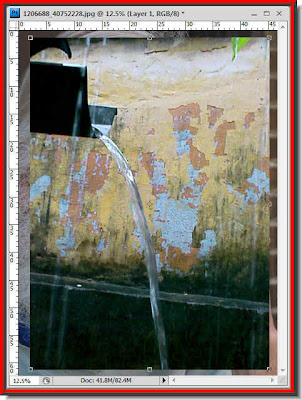
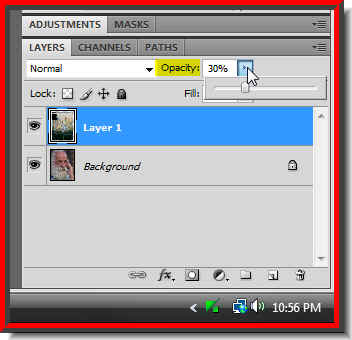 Step 6 : Now in the Layers pallette, note that the water image is on top of the old man's layer. Drag the opacity of Layer 1 to 30%.
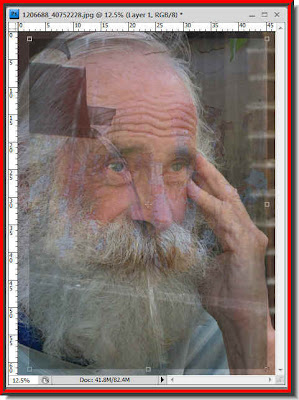 Step 7 : Lowering the Opacity enables you to see the layer below i.e. the Background which contains the old man's photo.
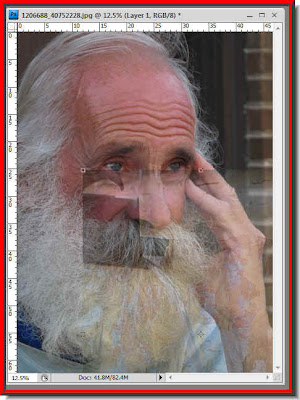 Step 8 : Drag the photo of the water till the stream of water is positioned near his mouth.
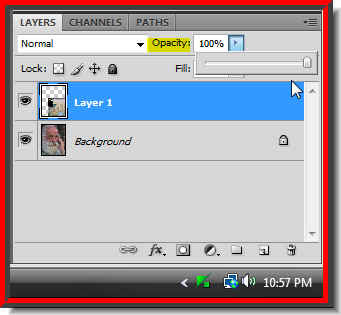 Step 9 : Now drag back the Opacity of Layer 1 to 100%.
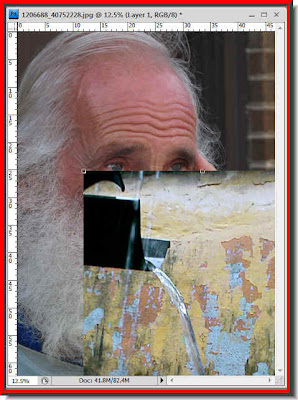 This is how the image looks.
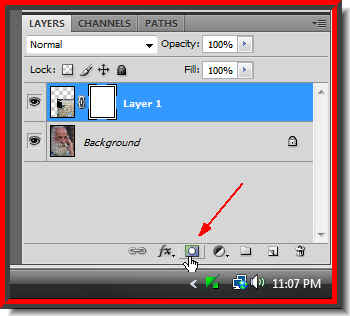 Step 10 : Cllick the Add Layer Mask button and a layer mask forms next to the layer thumbnail on Layer1.
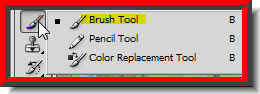
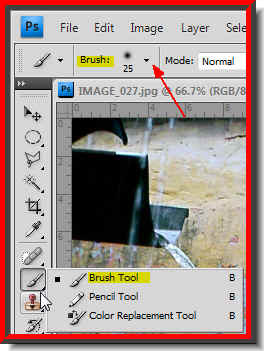 Step 11 : Click the Brush Tool. Then click at the top where the red arrow points to.
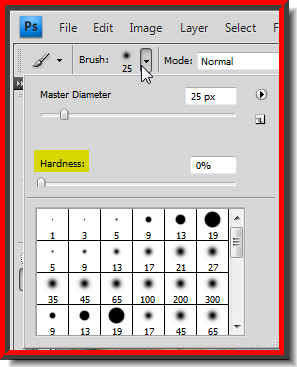 Step 12 : Clicking this will reveal this dropdown. Set the Hardness of zero. The size does not matter. You can increase the size by pressing the ] key or decrease it by pressing the [ key on the keyboard.
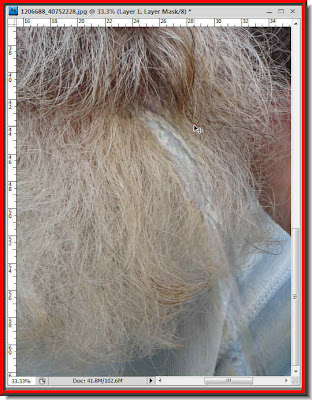
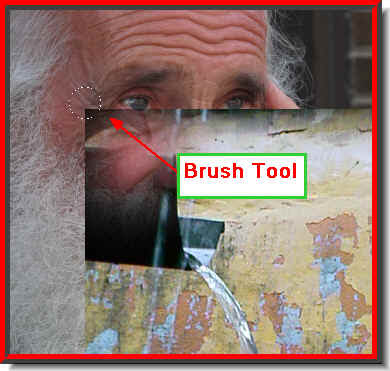 Step 13 : Gently begin painting with the Brush Tool to reveal the old man.
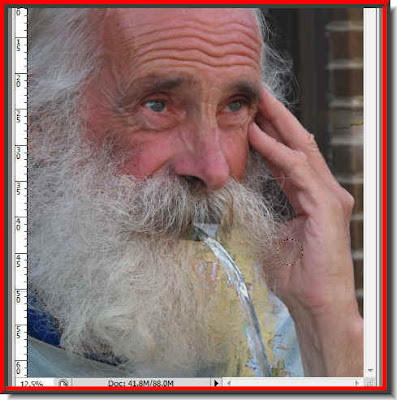
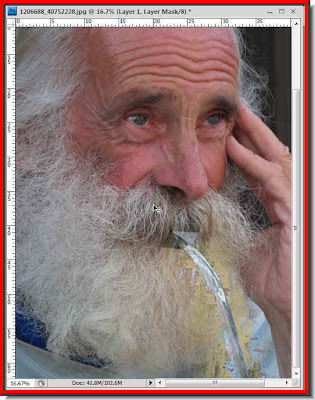
Step 14 : I have painted to reveal the old man. Just the sides of the torrent of water and near the mouth has to be touched up.

Step 15 : Click on the Zoom Tool.
Step 16 : I have zoomed into the image.
Step 17 : Click on the Brush Tool. The settings have already been set earlier.
Step 18 : Now paint away carefully from the sides of the stream of water. And, your photo should look like this.
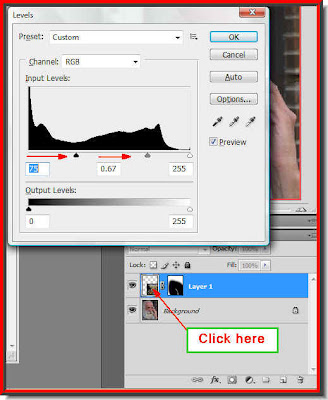
Step 19 : Click on the Layer thumbnail on Layer 1 to select it. A small border immediately appears around it. Then press CTRL+L. This will bring up the Levels dialogue box. Drag the Black slider at the left towards the right and the gray slider also a bit towards the right. This is to make the stream of water more prominent.
This is my finished image. The old man seems to be spewing water from his mouth. That is all.
Other Photoshop tutorials are here.


