It would be fun if you could make your image appear on a signboard or a street sign realistically. It's not at all difficult. You just need two photos -- one of a signboard and the other that you want to place on it. 
 Step 1 : I have opened these two photos -- one of the signboard and the other of the tiger which I will fit onto the signboard.

 Step 1 : I have opened these two photos -- one of the signboard and the other of the tiger which I will fit onto the signboard.
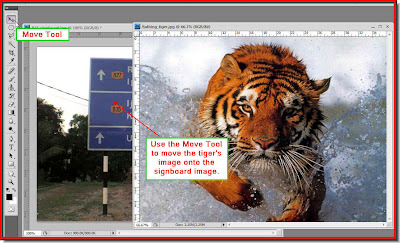 Step 2 : Move the Tiger's image to the signboard with the Move Tool. Keep SHIFT pressed as you move the image to the other.
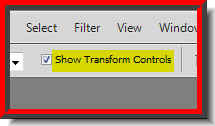 Make sure that when you click the Move Tool you check the 'Show Transform Controls'. It is called Bounding Box in Photoshop7 and is found in the same place.
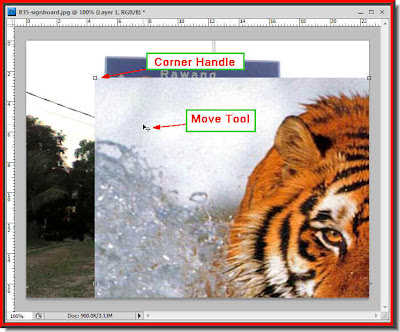 Step 3 : Press Shift and ALT, click the Move Tool and begin dragging fom a corner of the image, till the edge of the Tiger image becomes visible. Clicck the Move Tool and you will be able to see corner images at the four corners of the image. Pressing SHIFT+ALT continue to resize the image.
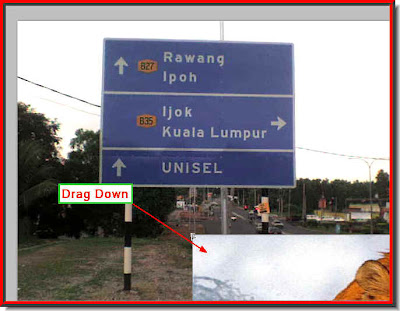 I am further resizing the image.
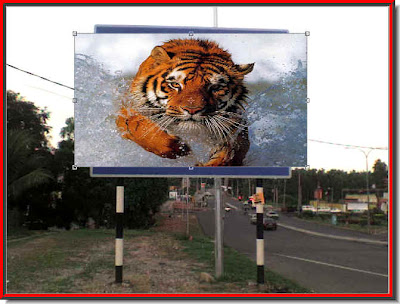 Step 4 : Drag to resize the image again and again. I have resized it till it covers the signboard approximately.
 Step 5 : Go to Edit>Transform>Distort.
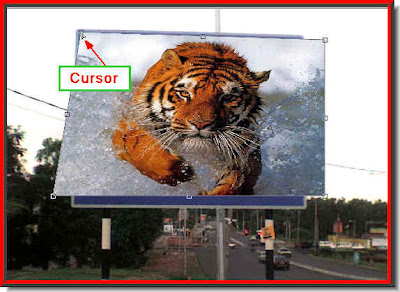 Step 5 : With the Move Tool click on the left top corner and you will be able to drag it down till it aligns with the top left hand corner of the signboard.
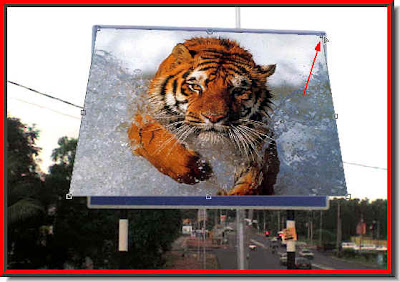 Step 6 : Now click the right top corner and distort the tiger image till it aligns with the right top corner of the signboard.
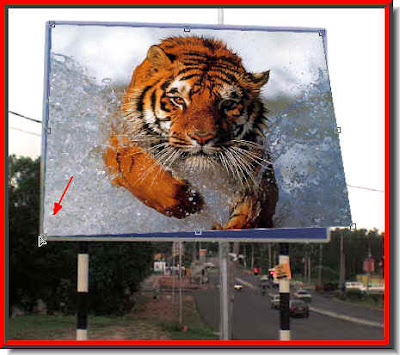 Step 7 : Now click the left bottom corner of the tiger image and align it with the left bottom corner of the signboard.
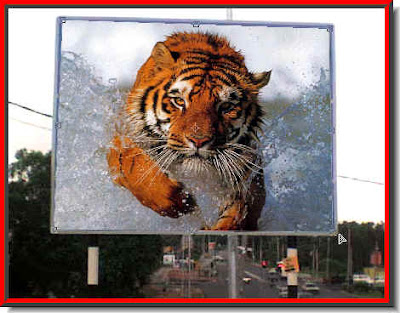 Step 8 : Do the same with the right bottom corner. Your image has been fitted onto the signboard.
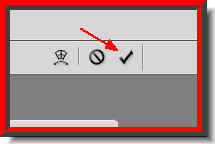 Step 9 : Now click the Tick mark in the right of the top panel.
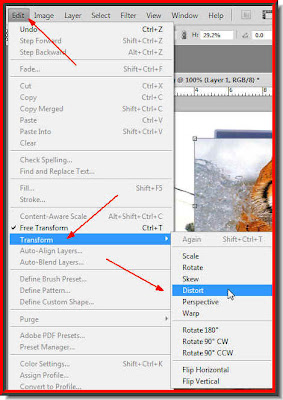 Step 10 : Again go to Edit>Transform>Distort.
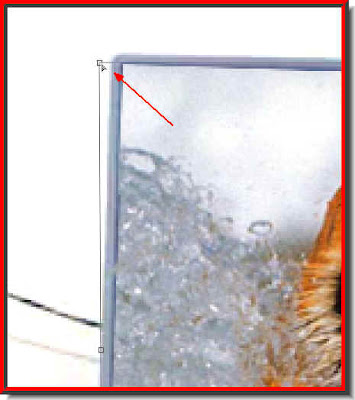 Step 11 : Zoom into the image. When you zoom in you will most probably find that the aligment is not perfect. This has to be finetuned. Click on the right top corner and align the tiger's photo with the frame of the signboard.
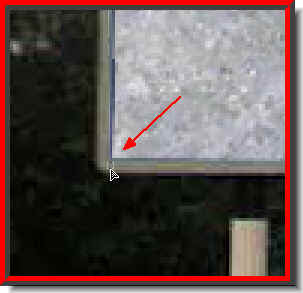

Step 12 : Do the same with the left bottom corner and right bottom corner.
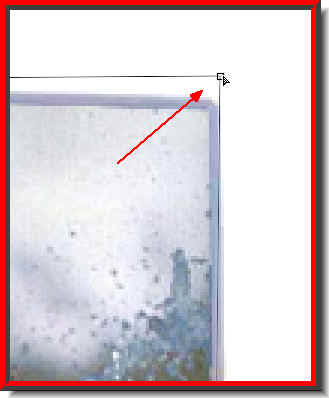 Step 13 : Do the same the right top corner.
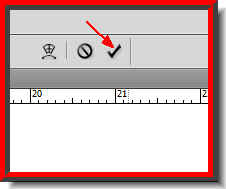 Step 14 : Click the Tick Mark on the top panel.
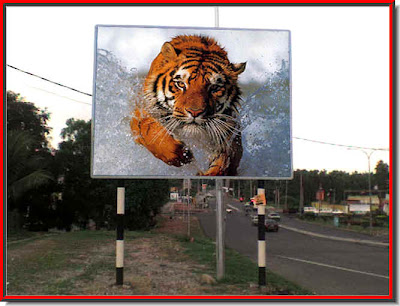 Step 15 : The tiger's image has been fitted onto the signboard.
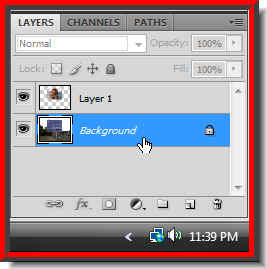 Step 16 : Look in the Layers pallette. So far we have been working on Layer1. Now click on the Background Layer to select it.
 Step 13 : Do the same the right top corner.
 Step 14 : Click the Tick Mark on the top panel.
 Step 15 : The tiger's image has been fitted onto the signboard.
 Step 16 : Look in the Layers pallette. So far we have been working on Layer1. Now click on the Background Layer to select it.
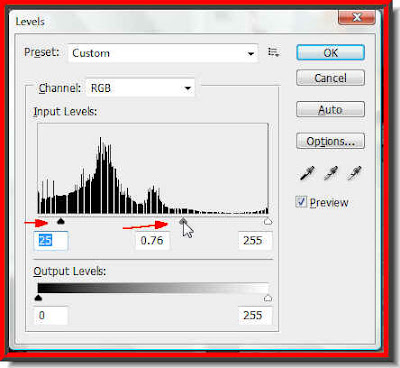
Step 17 : Press CTRL+L. The Levels dialogue box opens. First drag the Black slider at the left till the image darkens a bit. Next drag the Gray slider (Highlights) a little towards the left. You will be able to see your effect on the image as you drag the sliders.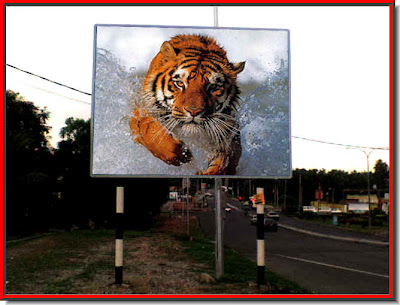

What I just did was to darken the background image with the signboard. This makes the tiger's image more prominent. That is all.
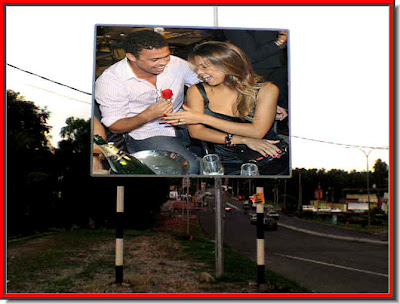
This is another photo that I have used in exactly the same way to fit onto the signboard. Try it out.
Other Photoshop tutorials are here.


