


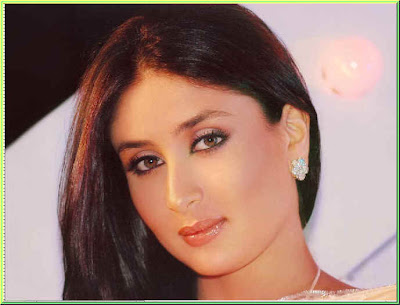
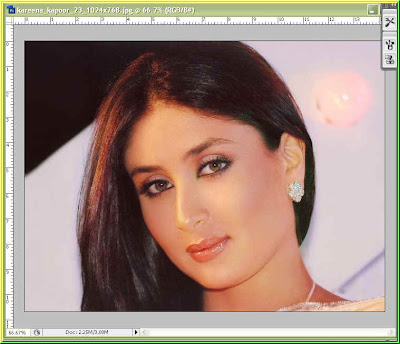
Step 1 : I have opened this photo in Photoshop.
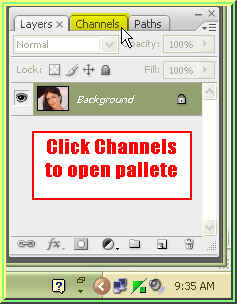
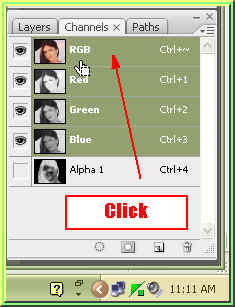
Step 2 : Click the Channels in the Layers/Channels/Paths pallete to open it.
Step 3 : The Channels pallette opens.

Step 4 : CTRL+Click the layer thumbnail on the RGB channel. (See arrow).

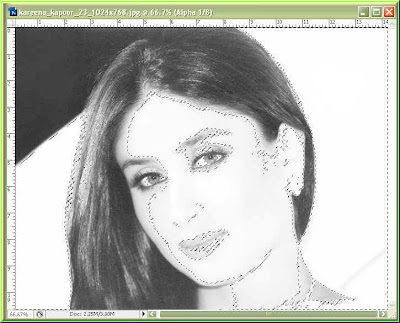
Step 5 : A selection of 'marching ants' immediately appear.
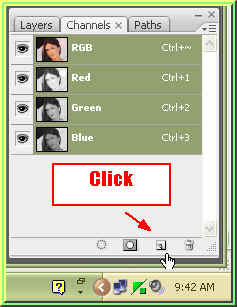
Step 6 : Click the New Channels button as shown.
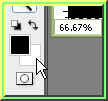
Step 7 : An alpha channel i.e. Alpha 1 forms.

This is how the image looks.
Step 8 : Make sure your Foreground is set to Black and Background to White.
Step 9 : Press Ctrl+BACKSPACE to fill the selection with white which is the Background color. This is how your image looks.
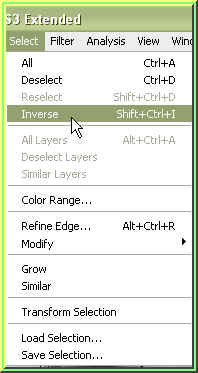
Step 10 : Go to Select>Inverse. The image looks the same.
Step 11 : Now I will fill the selection with Black which is the Foreground Color. Press ALT+BACKSPACE to do so.

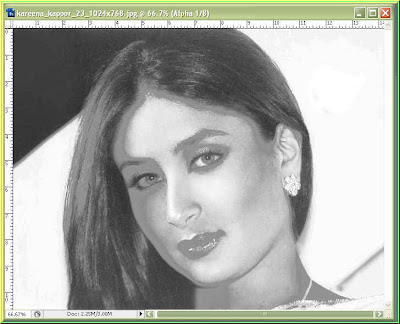
The selection is filled with Black and the image darkens.
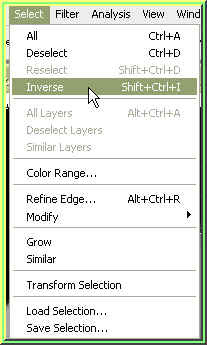
Step 12 : Again go to Select>Inverse.
There seems to be no change in the image.
Step 13 : Now press CTRL+BACKSPACE three times. The image lightens considerably. Step 14 : Go to Image>Adjustments>Levels.
Step 15 : The Levels dialogue box opens. I have dragged the Black slider to almost where the black graph begins. This may be different in the image you choose. Just drag the Black slider to almost where the black graph begins. Click ok.
The image is now a shade darker. It enhances the details.

Step 16 : Now change the Foreground color to White by clicking on the small bent double headed arrow.
Step 17 : Click the Brush Tool to select it. You can control the size of the tip of the brush with the bracket [ ] keys i.e. to make it large press ] and to make it smaller press [.
Step 18 : Press CTRL+D to deselect. The marching ants go away.
Step 19 : Now with the Brush Tool paint the background with White.
 Step 20 : Now drag out the corner of the image. It will show a gray background behind it.

Step 21 : Click the Move Tool.
Step 22 : As soon as you click the Move Tool a selection will appear around the image. Use the left top corner to pull the image upwards.

Step 23 : Click the Tick Mark in the top panel to apply the transformation.
Step 24 : Press CTRL+I to inverse and the image now looks like a negative.
Step 25 : Click on the RGB channel.
Step 26 : Click back on the Layers pallete.
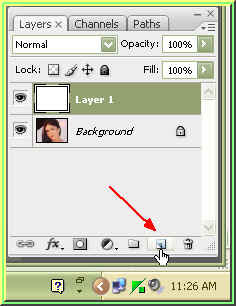
The image looks unchanged. Step 27 : Click the Create New Layer button.
Step 28 : A new layer i.e. Layer 1 forms.

Look at the Foreground/Background Colors. White is the Background color. I will fill the new layer with White.

Step 29 : Press CTRL+BACKSPACE and the layer becomes filled with White.
Step 30 : Again click the Create New Layer button.
Step 31 : The new layer i.e. Layer 2 forms.
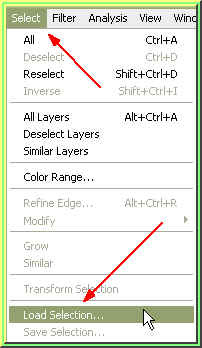
Step 32 : Go to Select>Load Selection.
Step 33 : The Load Selection dialogue box opens. From the drop down in Channel choose Alpha 1. Click ok.

This is how the image looks.
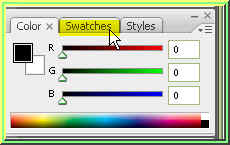
Step 34 : Click on Swatches to open the pallette.
Step 35 : In the Swatches I have clicked on a shade of blue. The eyedropper shows the shade I picked.

Notice that the Foreground Color changes to the one I picked.

Step 36 : Press ALT+BACKSPACE to fill the selection with color. Press CTRL+D to deselect.

Step 37 : Click the small checkered box the white arrow points to and it will lock the transparent pixels in the image.
Step 39 : Click the Gradient Tool.

Step 38 : Click where the white arrow points to bring up the Gradient Editor.

Step 39 : Click any Preset.

The small white hand points to Preset I am picking.
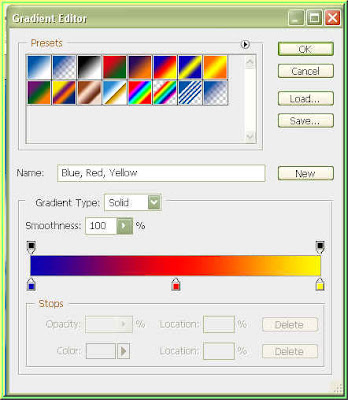
The preset can be seen in the band in the middle.
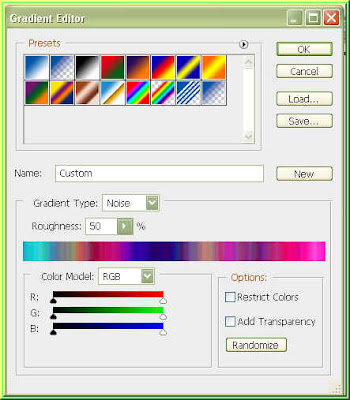
Step 40 : Change the Gradient Type to Noise from the dropdown.

Step 41 : Press Randomize a number of times and select an effect you like.

You can see the effect change every time you press the Randomize button.

Step 42 : Now with the Gradient Tool, drag down at an angle from the top left to the bottom right. You can try dragging it in different angles. It will give a new effect each time.

This is the effect I have got.
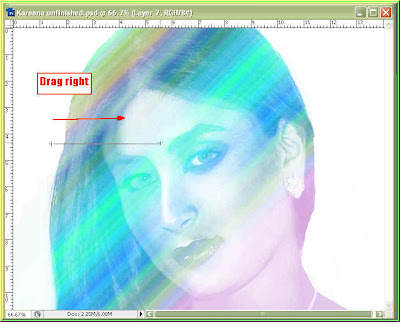
Now I am dragging from left to right for only part of the way with the Gradient Tool.

This is the effect.

I am now clicking another Preset.

I have clicked the Randomize button.

I am now dragging the Gradient Tool from another direction.

This is the effect. So you can see you can acheive different effects with different Presets and then applying the Gradient after randomising.
Step 43 : Here is another tweak. Choose a Preset and Randomise it.
Step 44 : Check the Restrict Colors and Add Transpency boxes. Note how the color band changes.

Step 45 : Now I am dragging with the Gradient Tool.

This is the effect.
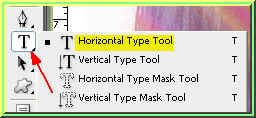
Step 46 : Now to add some text. Click the Text Tool and choose Horizontal Type Tool.
Step 47 : From the top panel choose a font from the drop down. I have chosen Impact which is found in Photoshop.

Step 48 : In the top panel set the Font size. I have put it at 40 pt. You can enter a value in the box to set the font. Click the align centre margin.

Step 49 : Draw out the Text box with the Text Tool by dragging.

Step 50 : I have typed in the text.
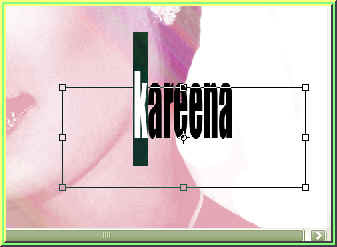
Step 51 : Now keeping the left mouse button pressed highlight a letter by dragging the cursor over it.
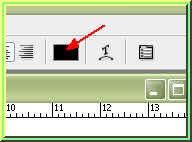
Step 52 : Click this in the top panel.

The Character dialogue box opens.
Step 53 : Now drag as shown to the right of the 'T' symbol. It will elongate the letter.

Step 54 : Now click the symbol below it and drag to the right. This will reposition the letter. Switch between the two till you are satisfied with the result.

As you apply the tweak shown in the two steps just above, you can see the effect on the highlighted letter.

Step 55 : When you are satisfied click the tick mark to commit the text.
Step 56 : Now click the blsck square on the top panel to change the color of the text.
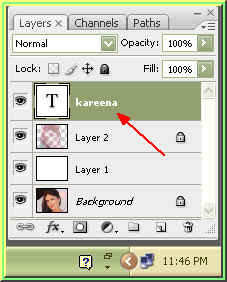
Step 57 : Double Click on the Text Layer thumbnail as shown.

Step 58 : This will highlight the text.

Step 59 : Clicking the text color box shown in Step 58 brings up the Color Picker. I have clicked on red.

The text changes to red.
Step 60 : You can given another text effect if you want. Click on the text layer to select it.
Step 61 : Go to Layer>Rasterize>Text.
Step 62 : The text layer has been rasterized. CTRL+Click the layer thumbnail of the text layer.

Step 63 : A selection forms around the letters after CTRL+Clicking the text layer thumbnail.

Step 64 : Click on the Gradient Tool to select it.
Step 65 : Look at the Gradient. It has the settings for Noise given earlier.
Step 66 : Drag with the Gradient Tool over the text as shown. You can drag from any angle.

Step 67 : Press CTRL+D to deslect. This is how the text looks.

The completed image.


