


 Step 1 : I have opened this photo in Photoshop. This is a royalty free photo and can be downloaded here.
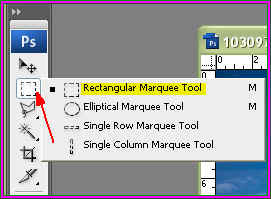
Step 2 : Click the Rectangular Marquee Tool to select it.
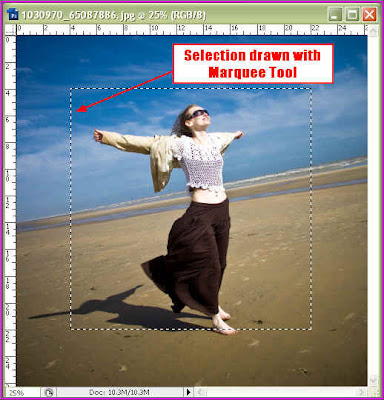
Step 3 : I have drawn out a selection with the Rectangular Marquee Tool.
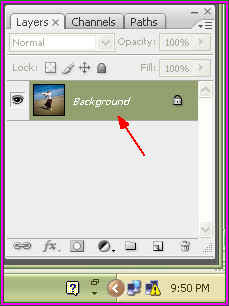
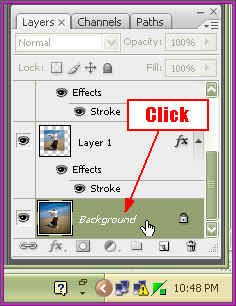
Step 4 : In the Layers/Channels/Paths pallete note that there is a single layer -- the Background layer.
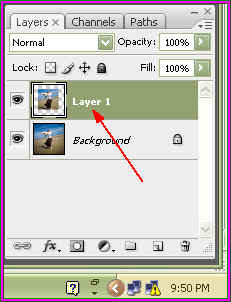
Step 5 : Press CTRL+J on the keyboard and the area within the selection is copied and pasted onto a new layer -- Layer 1.
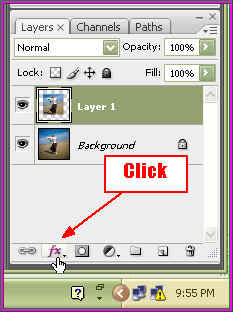
Step 6 : Click where the arrow points to.
Step 7 : When you click a popup appears. From it click on Stroke shown by the arrow.

Step 8 : The Stroke dialogue box opens. The default color is red.

Step 9 : Click on the White in the top left corner. Note that 'New' changes to White,

Step 10 : Drag the Size slider and you will be able to see the Stroke increasing in thickness. Drag till you are satisfied.
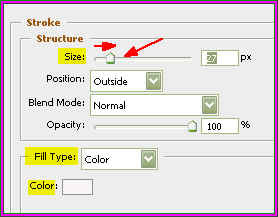
Step 11 : here is a closer look at the Stroke controls.
Step 12 : Press CTRL+J and Layer 1 is copied as Layer 1 Copy.
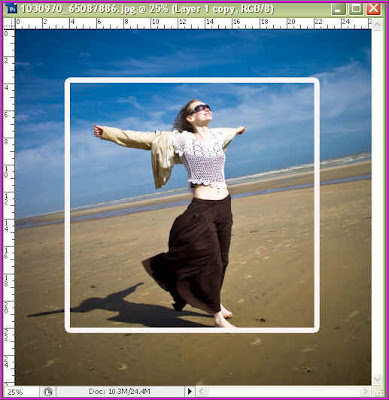
This is how the image looks.
Step 13 : Click the Move Tool to select it.
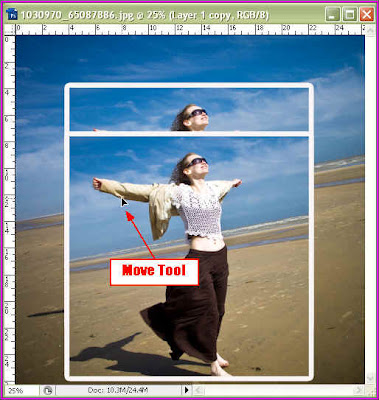
Step 14 : With the Move Tool drag the duplicate image down a bit.
Step 15 : Now press ALT and resize the image and drag it to the bottom as shown.
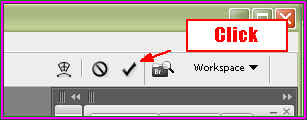
Step 16 : When you are satisfied with the resizing click the tick mark in the top panel to accept the resizing. Step 16 : Now press CTRL+J and Layer 1 Copy will be copied and pasted in a new layer as Layer 1 copy.
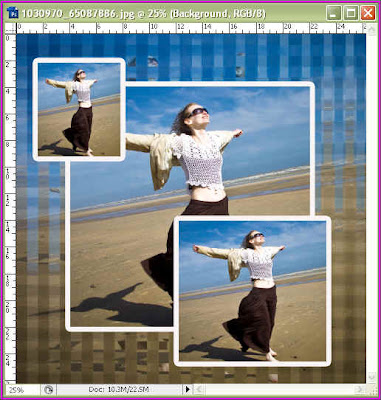
Step 17 : Now use the Move Tool drag and resize the layer and position it as shown or where you please.

Step 18 : Again click the tick mark in the top panel to apply the transformation. You are done. But you might also like to do the following optional steps.
Step 19 : Click on The Background layer to select it. Step 20 : Go to Filter>Distort>Wave.
 Step 21 : In the Wave dialogue box I have given these settings. Apply them. Note the effects will be different if you choose Sine or Triangle at the top left. You can try them out. Click ok.
This is the effect you get.
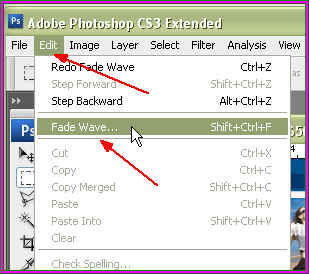
Step 22 : Go to Edit>Fade Wave.
Step 23 : In the Fade dialogue box which pops up reduce the Opacity to 50 %.
This is the effect you get.
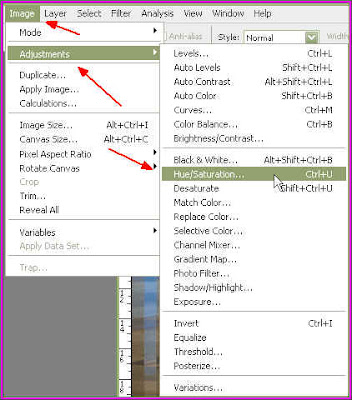
Step 24 : Go to Image>Adjustments>Hue/Stauration.

Step 25 : In the Hue/Stauration dialogue box check Colorize. Preview should be already checked. Now drag the Hue slider a little bit to the right. I have used this setting because it suits this image, you can experiment with the Hue, Saturation and Lightness sliders.

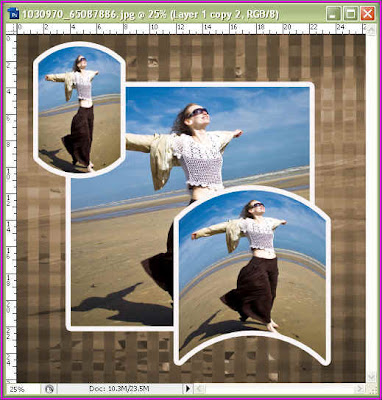
This is how how the image looks. I will show a step which can be done only in PS CS2 or PS CS 3.
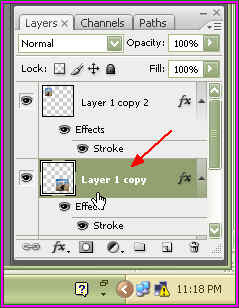
Step 26 : Click on Layer 1 copy to select it.
Step 27 : Go to Edit>Transform>Warp. Warp is not found in PS 7.

Notice the squares that have formed on the layer.

Step 28 : Look in the top panel. You will a drop down box. By default it is set at Custom. CLick and a dropdown box will appear. I have chosen Arch from it.

The layer is now 'arched'.
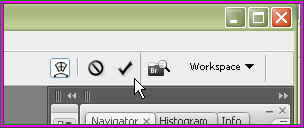
Step 29 : Click the tick mark on the top panel to apply the transformation.

Step 30 : Some more effects can be added if you want. This can be done in PS7 also. Click where the red arrow points to.
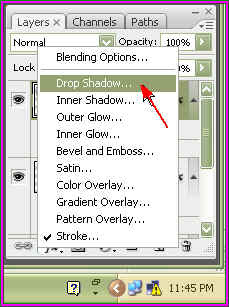
Step 31 : From the popup click on Drop Shadow.
Step 32 : In the Drop Shadow dialogue box drag the Distance, Spread and Size sliders suitably. It will depend on your image. But reduce the Opacity to 50 % and click ok.

I gave this effect to the Layer 1 copy 2 layer.

Step 33 : With the Layer 1 copy selected again apply the Drop Shadow as shown.

Step 34 : Lastly apply the Drop Shadow on Layer 1.
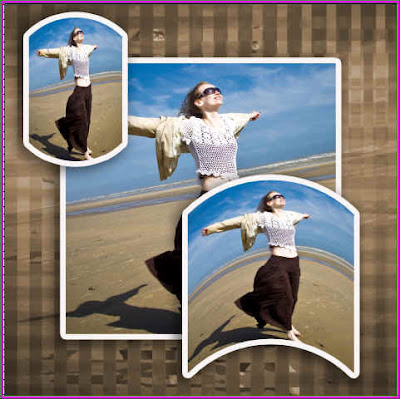
The is the finished image.


