


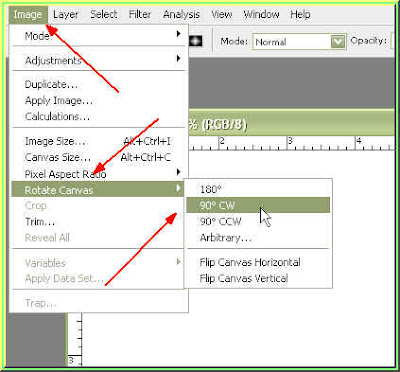
 Step 3 : Go to Image>Rotate Canvas>90 degree CW
 Step 7 : Click on Swatches to open the Swatches pallette.
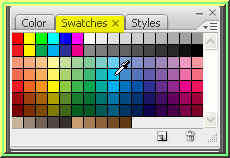
Step 8 : In the Swatches pallette click on a blue as shown.

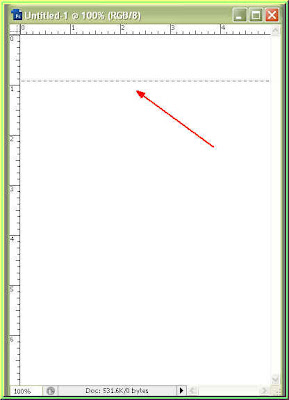
Notice that The Foreground color changes to the color I picked. Now press ALT+Backspace on your keyboard. You will not notice any change, but never fear there has been a change. It will be visible in a moment.
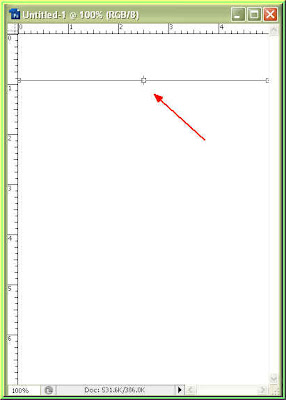 Step 9 : Press CTRL+ALT+T on the keyboard. The dotted line will change as shown above.
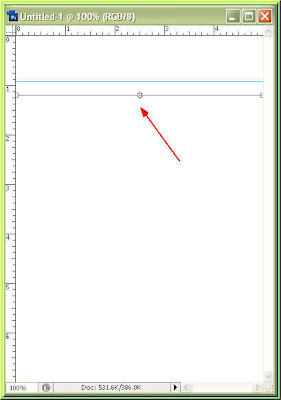 Step 10 : Keep SHIFT pressed and press the down arrow key twice or thrice. You will notice a blue line has formed and a second line below ir as shown above.
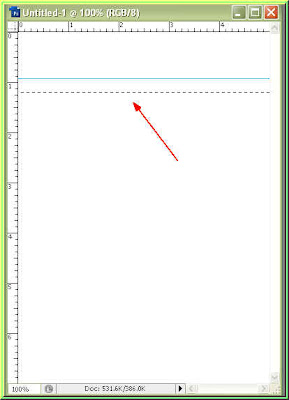 Step 11 : Now press Enter. The bottom line again changes into a dotted line.
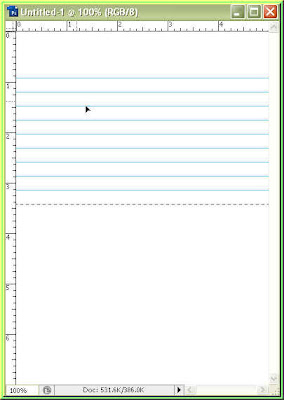 Step 12 : Now press SHIFT+CTRL+ALT+T all at once and then keeping pressing the T while continuing to hold the SHIFT+CTRL+ALT pressed. You will find that each time to press the letter T a line forms. Go on pressing T till you reach the bottom. When you reach the last line press CTRL+D to deselect.
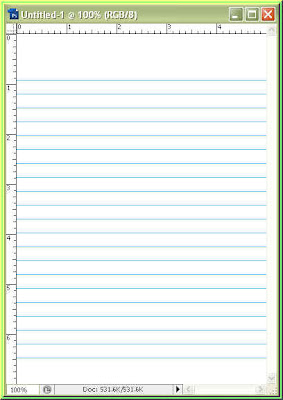
Here is the notepaper, but it is not complete as yet.
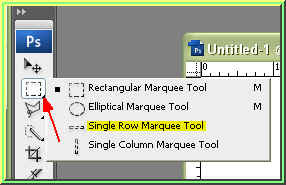
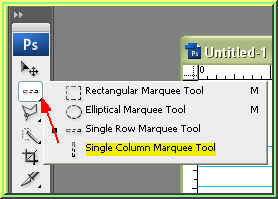 Step 13 : Click on the Marquee tool again, but this time select the Single Column Marquee Tool.
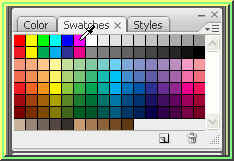
Step 14 : Now click on the pink Swatch.

Step 15 : Now press ALT+BACKSPACE. Then press CTRL+D. Now there is a margin on the notepaper. The note paper has been completed.
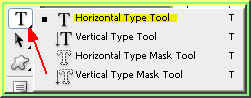 Step 16 : Click on the Type Tool and select Horizontal Type Tool.
Step 17 : Click on the top panel where the red arrow points to and you will find all the fonts in a drop down box. I have downloaded some handwriting fonts which can be downloaded from the link I have provided at the beginning of this tutorial. I have selected a font.

Step 18 : Set the size of the font. I have set it at 60 pt. Make sure that the color of the font is set to black. You can change the color of font by clicking on the black box. It will bring up the Color Picker from which you can select any other color you want.

Step 19 : I have written my note (i.e. typed it out).
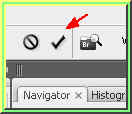 Step 20 : Click the black tick mark on the top panel to commit the Type.
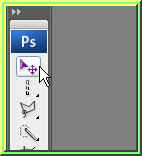
Step 21 : Click the Move Tool.

Step 22 : You will find the text surrounded by a selection. Hover the cursor near a corner and you will find a a small bent two headed arrow appear. Use it to rotate the text.
Step 23 : This is how I am rotating the text.

Step 24 : Click the black tick mark to commit the text.

Step 25 : Use the Move Tool to reposition the text if you want.

The completed note. You can also add your name as I have done.
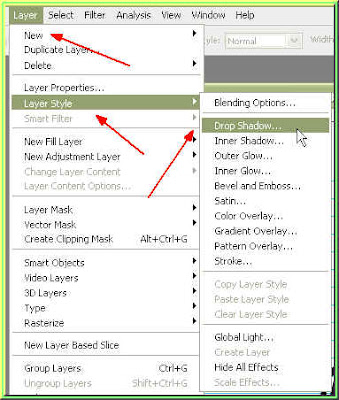 Step 26 : This is an optional step. Go to Layer>Layer Style>Drop Shadow.
Step 27 : In the Drop Shadow dialogue box just reduce the Opacity to 50 % and leave the other settings unchanged. Click ok.

The Drop Shadow has been applied. Note that the text 'Meet me for lunch' is on a layer of its own and my name is not another layer. I have applied the Drop Shadow to both Layers. That is all.


