


 Step 1 : I have opened this image in Photoshop CS 3.
Step 2 : Click the New Fill or Adjustment Layer button (red arrow). Hover your cursor over the button and you can read its name.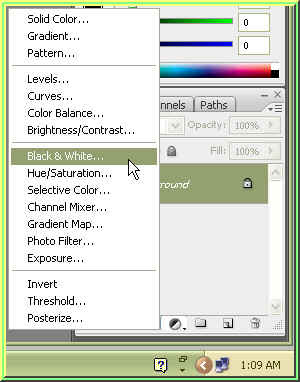
Step 3 : This popup appears. From it click Black and White. 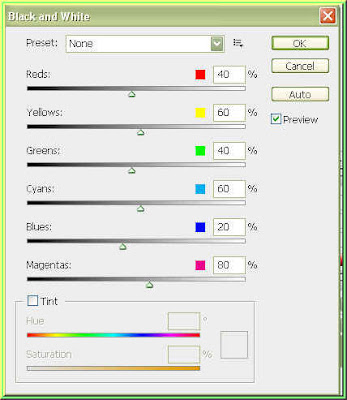
Step 4 : The Black and White dialogue box opens.
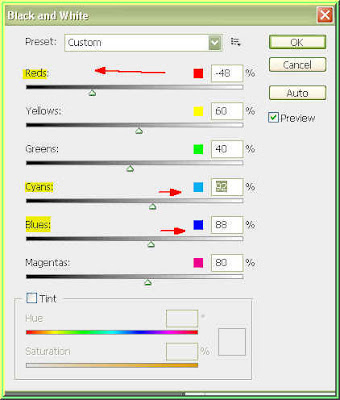 Step 5 : I wish to retain the Blue in the image. I have increased the Blue to 88 % as well as the Cyan to 92 %. Then I have decreased the red to to -48 and clicked ok.
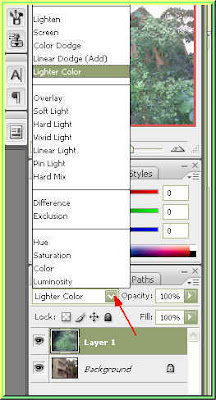
The image changes to Black and White. Step 6 : Click where the arrow points to in the Layers pallette to reveal the Blend Modes. I chose Darker Color.
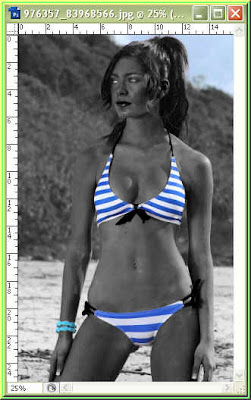
Step 7 : Now only the Blues remain.
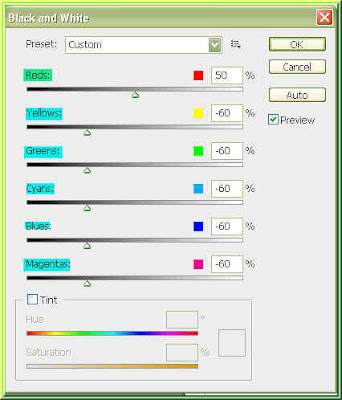 Now instead of the settings in Step 7, I have increased the Reds to 50 and reduced the Yellows, Greens, Cyans, Blues and Magentas to -60. I am clicking ok. I am then changing the Blend mode to Darker Color.
Now only the red is visible.
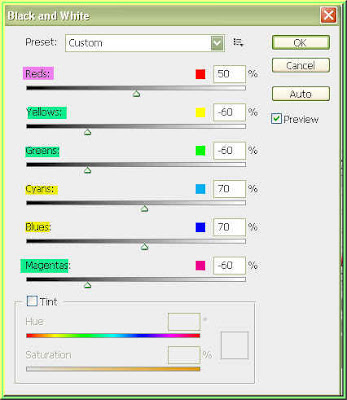 For another experiment I am changing the Reds to 50 and Cyans and Blues to 60. I am changing the Yellows, Greens and Magentas to -60, then clicking ok. I am then changing the Blend Mode to Darker Color.
Now only the reds and Blue are visible.
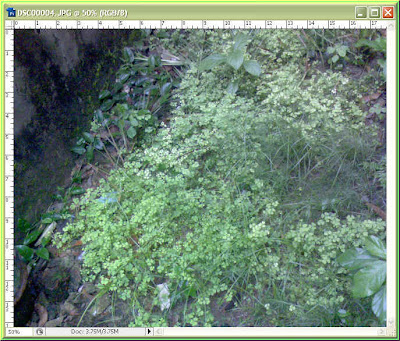
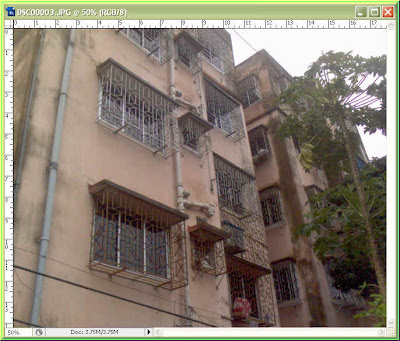 Now I have opened these two photos which I took with my mobile camera.
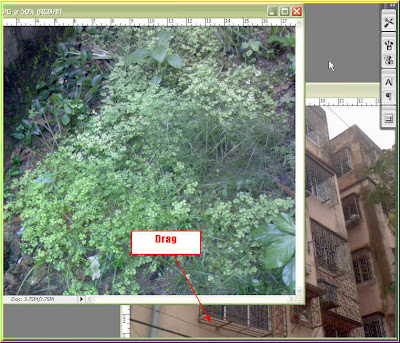
I am dragging the image of the foliage to the photo of the building.
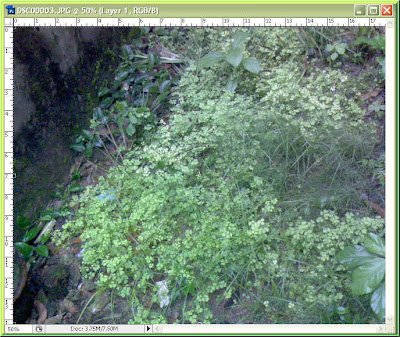
The foliage photo now covers the photo of the building.


Look how vivid the image has become.

I have now clicked on the New Fill or Adjustment Layer Button and clicked on Curves.
The Curves dialogue box opens. Click on the preset i.e. where the red arrow points to reveal a dropdown box.
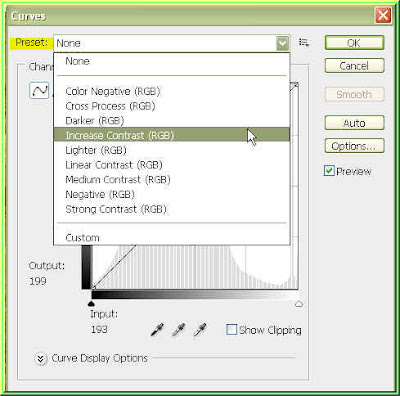
From the drop down I have clicked on Increase Contrast. Then clicked ok.
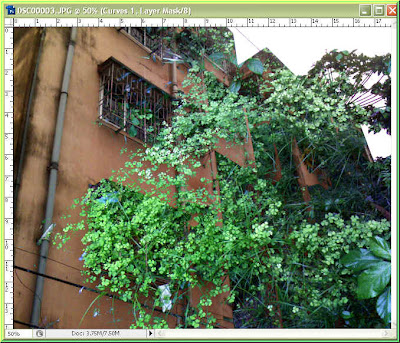
The contrast has increased. This is the fun of CS 3 -- great effect with little effort. That is all. Try it out.


