


Take for example this photo. It might have looked more dramatic had the woman's figure been silhouetted against the sky. Photoshop provides a way out.
Step 1 : Click the Magnetic Lasso from the left panel to select it. Step 2 : In the top panel set the Feather at 0 (zero) pixel. This will make the selection sharp and crisp.
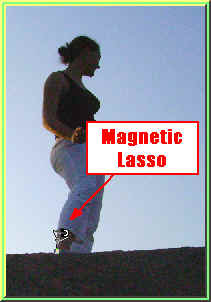
Step 3 : Begin clicking from any point with the Magnetic Lasso. Step 4 : I have clicked around half of the figure.

Step 5 : The selection has been completed.
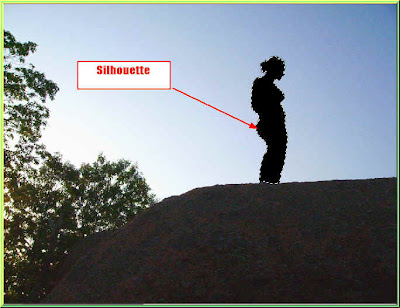
Step 6 : Press ALT+BACKSPACE. This fills the selection with the Foreground Color which is Black. The Foreground Color is set to Black. If for some reason it is not, press X and then D on the keyboard to reset it to the default of Black Foreground and White Background.
Step 7 : With the Selection still in place press SHIFT+CTRL+I to inverse the selection. The selection will now not only be around the figure but all along the border of the photo.
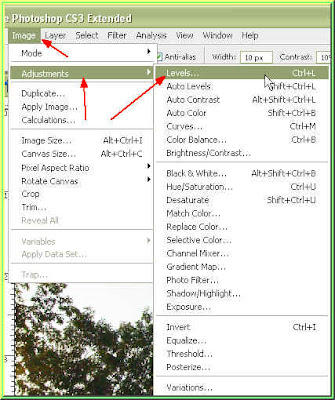
Step 8 : With the selection still in place go to Image>Adjustments>Levels. Step 9 : The Levels dialogue box opens.
Step 10 : Click the Black slider (the one the white arrow points to) and drag it to the right. You will be able to note the change in the image as you drag. It will darken the image.
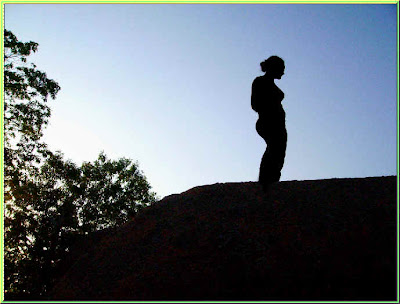
The finished image. Press CTRL+D to Deselect.
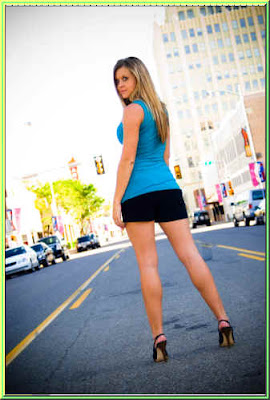
You can also make fun effects with a photo such as this. Step 1 : Make a selection and fill with Black.
Step 2 : In the Background layer, with the selection in place, press CTRL+J. This will copy and paste the selection to a new layer i.e. Layer 1 (red arrow). Then click on the layer thumbnail of Layer 1 (Blue Arrow). This will make the selection reappear.

Step 3 : Now click back on Background.

Step 4 : Go to Filter>Blur>Radial Blur.
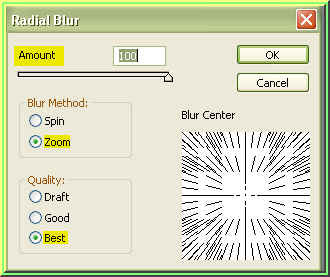
Step 5 : The Radial Blur dialogue box opens. Set the Amount to 100 by dragging the slider to the extreme right. Set the Blur Method to Zoom and Quality to Best.
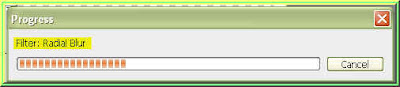
This dialogue might appear or it might not. Since I am using a high resolution photo it is visible.
And there is your effect. Is it not simple? Try it out.
I have downloaded the two photos used here from http://www.sxc.hu/ . This is a royalty free image. You get both free and paid photos. There are enough free photos for download for use in my tutorials. You only need to register.


