


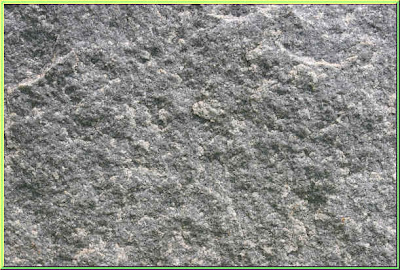
 Step 1 : I have opened this texture in photoshop. You can download it from here. Now I want to make this texture more prominent. For this we need to go to the Channels pallete.
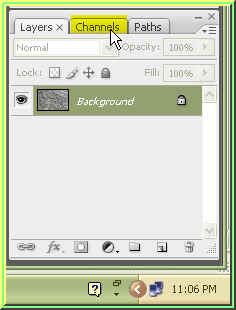 Step 2 : In the Layers/Channels/Paths pallete click on Channels to open the Channels pallete.
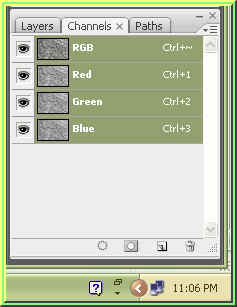
Step 3 : The Channels pallete has opened. Click on Red, Green and Blue channels to look at the contrast.
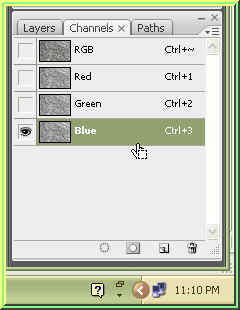 Step 4 : I have clicked on the Blue Channel. It has the highest contrast.
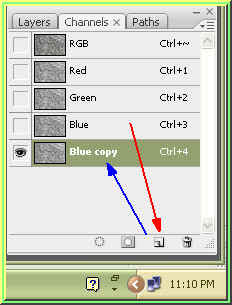
Step 5 : I have dragged the Blue Channel to the New Channels button shown by the red arrow, This forms a Blue Copy channel.
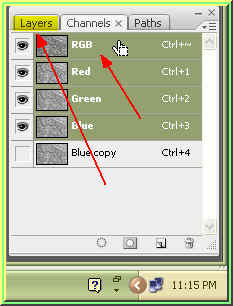 Step 6 : Click on the RGB Channel in the Channels pallete, then click on the Layers pallete to go back to it.
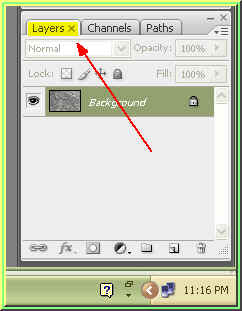
Step 7 : We are back in the Layers pallete.
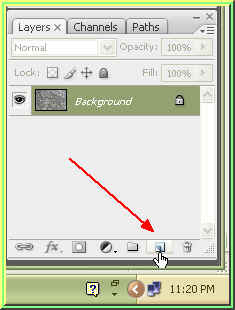 Step 8 : Click on the New Layer button shown by the arrow.
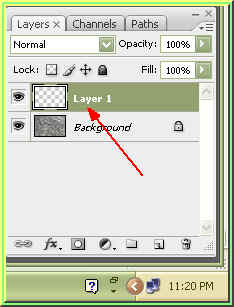
Step 9 : A new layer i.e. Layer 1 forms above the Background.
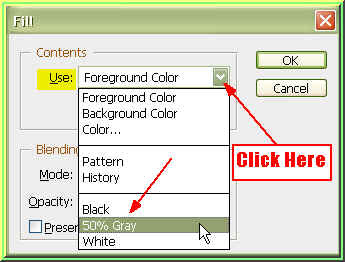 Step 10 : Press SHIFT+F5. This will bring up the Fill dialogue box. Change the Use to 50 % Gray. Click where the arrow points to reveal a dropdown shown above and click on 50 % Gray. Click ok in the Fill dialogue box.
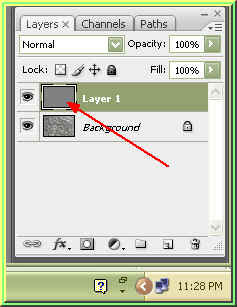 Step 11 : In the Layers dialogue box notice Layer 1 has filled with the 50 % Gray.
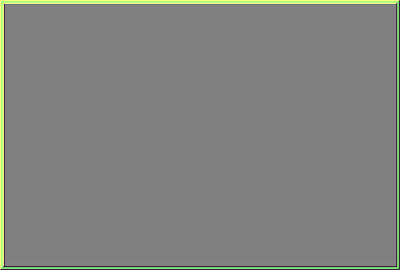
This is how the image looks.
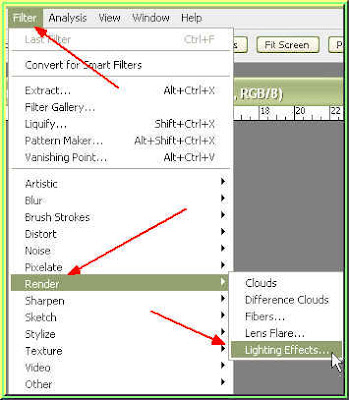 Step 12 : Go to Filter>Render>Lighting Effects.
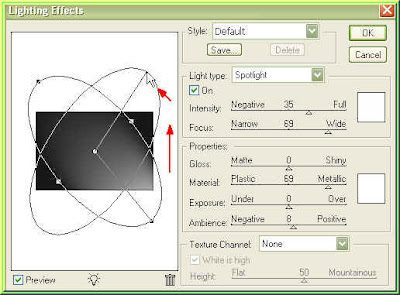
Step 13 : Make sure that Style is set to Default. Now use your cusor to rotate the light on the left.

Step 14 : On the left rotate the light till the it is shining right from the top. Drag the sides to make the light brighter. Then look at the Texture Channel on the right bottom. Click the dropdown and click on Blue Copy. This was the channel I duplicated in the Channels pallette.
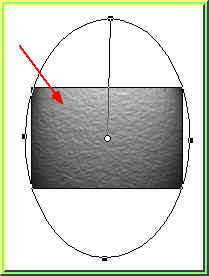 Step 15 : As soon as you click on Blue Copy, you can notice the texture in the lightbox.
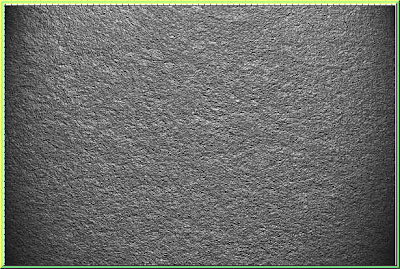
Step 16 : Click ok in the Lighting Effects dialogue box and you can see how the texture has changed.
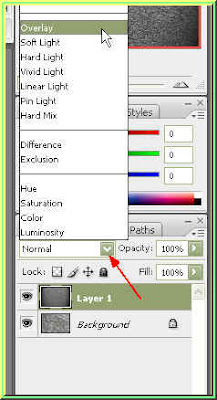 Step 17 : In the Layers pallette change the Blend Mode to Overlay.
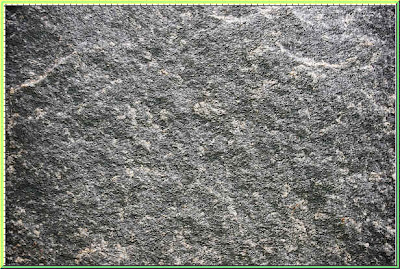
This is how the texture looks.
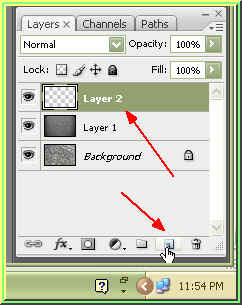 Step 18 : Click the New Layer button and the new Layer i.e. Layer 2 forms in the Layers pallete.
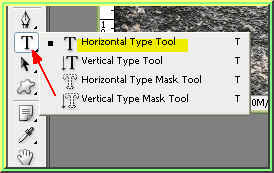
Step 19 : Click the Type Tool and choose Horizontal Type Tool.

Step 20 : Type your text in the text box.
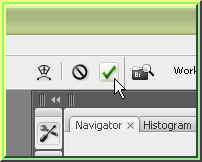 Step 21 : Click the tick mark on the top panel to commit the text.
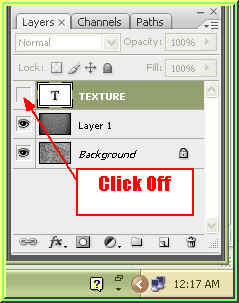 Step 22 : Click off the eye icon on the Text Layer. The text will disappear from your image.
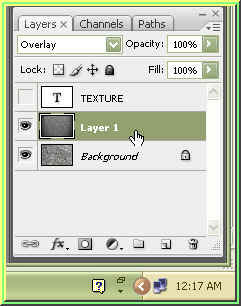
Step 23 : Click on Layer 1. I wish to merge Layer 1 with the Background. Press CTRL+E.

Step 24 : Layer 1 and Background merges into a single layer i.e. Background. Press CTRL+J.
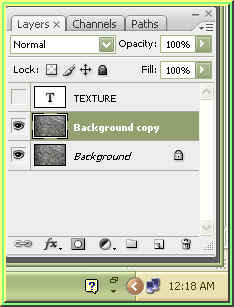 Step 25 : Pressing CTRL+J duplicates the Background and a Background Copy layer forms above the Background layer.
Step 26 : Click the eye icon on in the text layer.

Step 27 : Now drag the Background copy layer above the Text layer.

Step 28 : The Background copy is now above the Text layer.
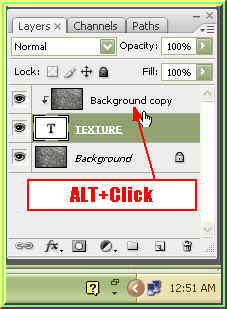 Step 29 : Now Alt+Click where the small white hand and arrow points to create a Clipping Group.
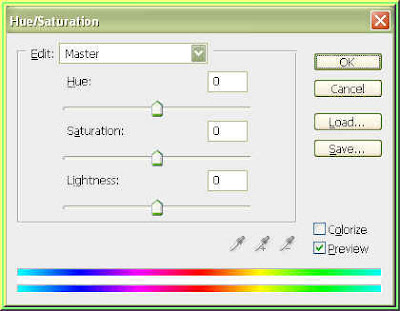 Step 30 : Press CTRL+U to bring up the Hue/Saturation dialogue box.
Step 31 : Check the Colorize box and then drag the Hue slider to the right till you get a blue shade. Click ok.

This is how the texture looks. Not at all impressive.
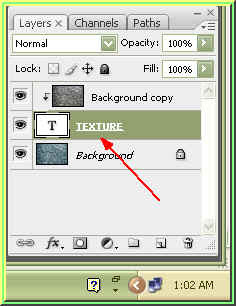 Step 32 : Click back on the text layer.
Step 33 : Click on the Add Layer Style button.

Step 34 : From the popup click on Bevel and Emboss.

Step 35 : These are the controls of Bevel and Emboss. Change the Technique to Chisel Hard, uncheck the Use Global Light and change the Angle to 90 degree. Drag the Depth slider quite a bit as shown. Don't click ok.
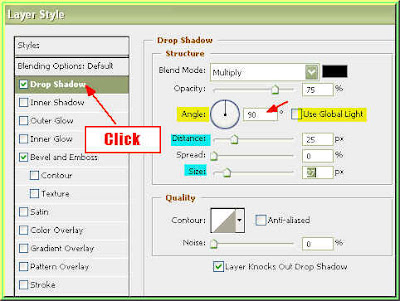 Step 36 : Now click on Drop Shadow where shown by the arrow. This will change the Bevel and Emboss dialogue box to the Drop Shadow dialogue box. Change the Angle to 90 after unchecking the Use Global Light. Drag the Distance and Size sliders. Do not click ok.

Step 37 : Now click where shown on Outer Glow by the red arrow and the Drop Shadow dialogue box changes to the Outer Glow dialogue box. Click on the yellow square shown by the blue arrow to bring up the Color Picker.
Step 38 : The Color Picker opens. In the box highlighted in yellow type in 000000 (six zeroes which is Black). Click ok in the Color Picker.

Step 39 : Change the Blend Mode to Multiply and drag the Spread and Size sliders as shown. Click ok now.

This is how the textured text looks like. It is finished. Now should you want to change the text to something else without having to go through all the steps do the following.

Step 40 : Double click on the text layer thumbnail.

You will find your text is immediately highlighted.

Step 41 : Now just type in just what you want. I have typed in Rocky.

Now I have changed the text to Stone. You can write whatever you wish. That is all.


