


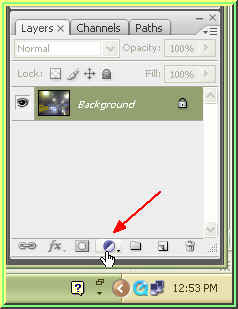
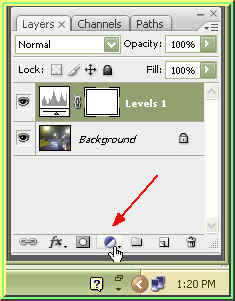
 Step 2 : Click the Create New Fill and Adjustment Layer Button.
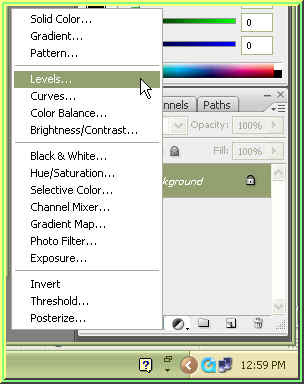
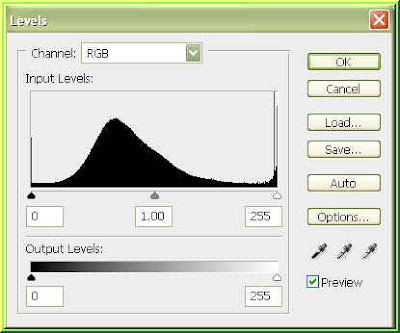
Step 4 : The Levels dialogue box opens. The Black slider on the right is to darken the image, the White slider on the right to brighten it and the Grey slider in the middle is to increase the midtones. But we will not be using them.
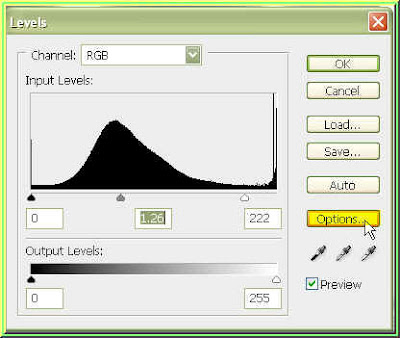
Step 5 : Click on Options.
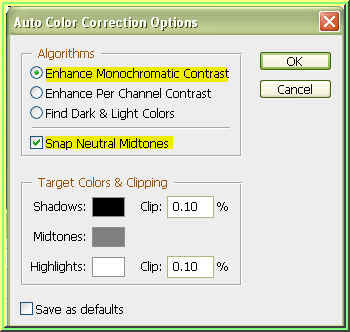
Step 6 : The Auto Color Correction Options dialogue box open. Check the Enhance Monochromatic Contrast and Snap Neutral Midtones. Click ok. Click ok in the Levels dialogue box.
This is how the photo looks.
Step 7 : Again click the Create New Fill or adjustment Layer button.
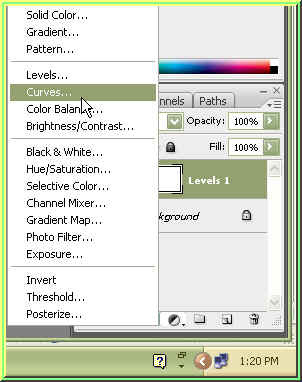
Step 8 : Now click on Curves from the popup. Step 9 : Click on Options.
Step 10 : Check Find Dark & Light Colors and Snap Neutral Tones. Click ok. Click ok in the Curves dialogue box.

This is how the photo looks. Not much difference it seems.
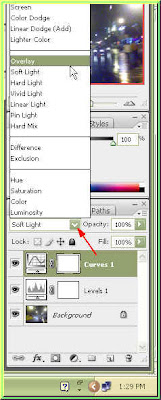
Step 11 : In the Layers pallete change the Blend Mode to Overlay.
This is how the photo looks. It looks better.
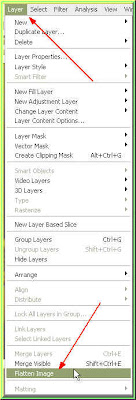
Step 12 : Go to Layer>Flatten Image.
Look at the Layers pallette. The layers have been flattened into a single layer i.e. Background.
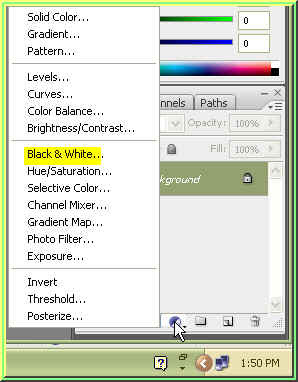
Step 13 : Click the Create New Fill and Adjustment Layer and click on Black and White.
Step 14 : The Black and White dialogue box opens. The photos turns into black and white.

Step 16 : After studying the colors in the photo I have changed the values of Reds, Yellows, Cyans, Blues and Magentas. I will click ok.
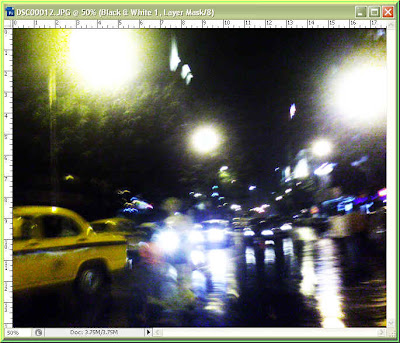
Step 17 : The contrast is now much better. The photo is however grainy. I will fix that in a moment.
Step 18 : I have brought up the Black and White filter again and clicked on the Preset and chosen High Contrast Red Filter. Then clicked ok.
Step 19 : I am now changing the blend mode in the Layers pallete to Lighter Color.
This is how the photo looks. Much better than with what I started out with. Now go to to Layers>Flatten image as in Step 12.
Step 20 : Go to Filter>Noise>Reduce Noise.

Step 21 : This dialogue box opens.

Step 22 : Give the settings as shown. Click Ok. Press CTRL+F to apply the filter again.

The Noise has been considerably reduced i.e. the grains have disappeared.
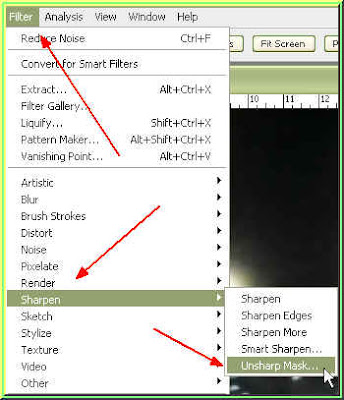
Step 23 : Go to Filter>Sharpen>Unsharp Mask.
Step 24 : Place your your cursor on the image window and a small white hand will appear. With it you can scroll to any part of the image. I have selected the taxi to be able to see the effect of the filter. I have put the Radius at 3.0 pixels. I have left the Amount and Threshold unchanged. Click ok.

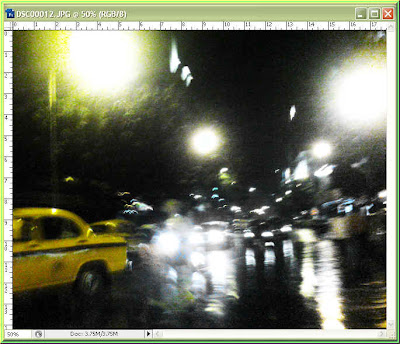
The finished image.


