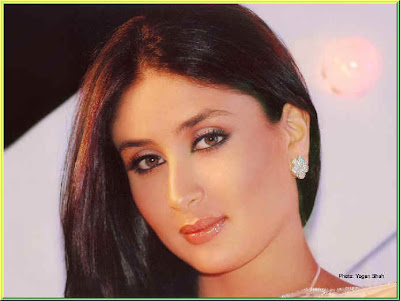
Step 1 : I have opened this image of Kareena Kapoor in Photoshop. Now to add the text.
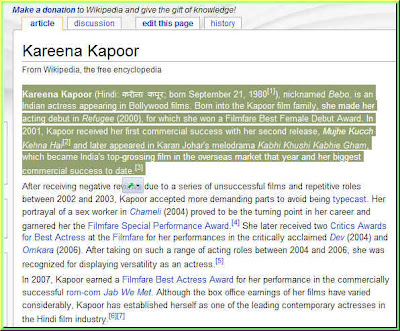
Step 2 : I have gone to Wikipedia for the text on Kareena Kapoor. I have highlighted a portion of the text. Then pressed CTRL+C to copy it.
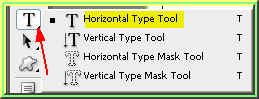
Step 3 : Click the Type Tool and select the Horizontal Type Tool.

Step 4 : Draw out a Text Box with the cursor.

Step 5 : Press CTRL+V and the text will be pasted.
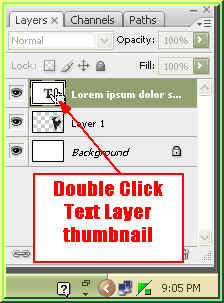
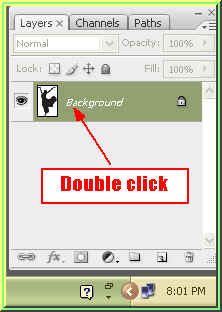
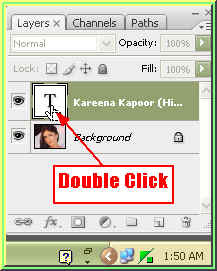 Step 6 : Double click the Text layer thumbnail in the Layers palette.

Step 7 : The text is highlighted. The text is also too large in size.
Step 8 : Press SHIFT+CTRL+Comma key. Every time you press the comma key the size of the text becomes smaller.

Step 9 : When you are satisfied with the size of the text click the Tick mark in the top panel to apply the transformation.
 Step 10 : Press CTR+SHIFT+T and a selection will form around the text as shown.
Step 11 : Now Press SHIFT+the Down Arrow key. Each time you hit the down arrow key, the text will move down a shown above.

Step 12 : When the block of text has moved fully below the one on top, press Enter.

Step 13 : When you press Enter, the selection changes to a dotted line.

Step 14 : Now press ALT+CTRL+SHIFT+T. Then go on pressing the T while holding ALT+CTRL+SHIFT pressed. Every time you hit the T, the entire block of text will be copied and pasted one below the other.
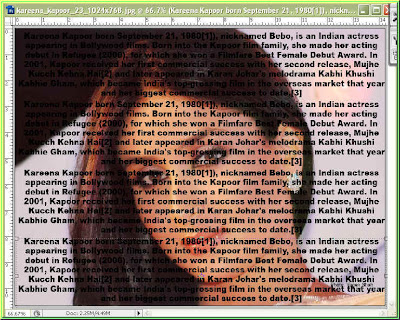
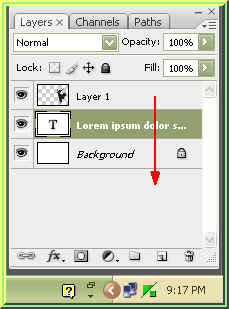
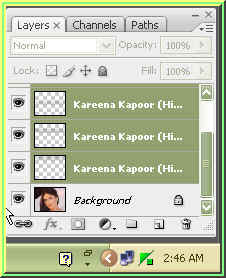
The text now covers the entire image. Step 15 : Look at the Layers pallette. The image is at the bottom layer i.e. the Background and the text layers that were copied and pasted on top.
 Step 16 : Click on the top most Type layer in the Layers pallette.
 Step 17 : Go to Layers>Rasterize>Type.
 The top Text layer has been Rasterized. Now Rasterize all the text layers in exacly the same way.
All the Text Layers have been Rasterized.
Step 18 : Click on the first Text Layer and press SHIFT. All the text layers will be highlighted.
Step 19 : Now press CTRL+E. All the Text layers will merge into one. See above. For those using PS 7 go to the first Text layer and press CTRL+E. It will merge the layers one at a time. Step 18 will not work for PS 7 users. Never mind, you can also do it with Step 19.
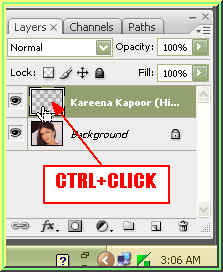
Step 20 : CTRL+CLICK on the Layer thumbnail of the rasterized Text layer.
Step 21 : The entire text will be selected.

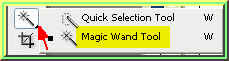
Step 22 : Click the Eyedropper Tool to select it.

Step 23 : I have clicked on the lips with the Eyedropper to select the orange color.

Step 24 : Note that Foreground Color changes to the one I picked.

Step 25 : Press ALT+BACKSPACE to fill the selection with color. Press CTR+D to deselect. This is how the image looks.
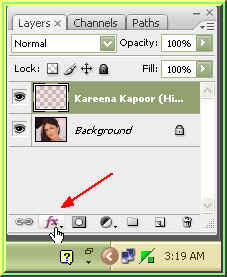
Step 26 : Click the Add Layer Style Button.
Step 27 : From the popup click on Blending Options.

Step 28 : Click on Drop Shadow where the red arrow points to for the Drop Shadow dialogue box to open.

Step 29 : In the Drop Shadow controls change the Opacity to 50 % and the Size to 7 pixel. Click Ok.

Step 30 : In the Layers pallette change the Blend Mode of the layer to Difference.

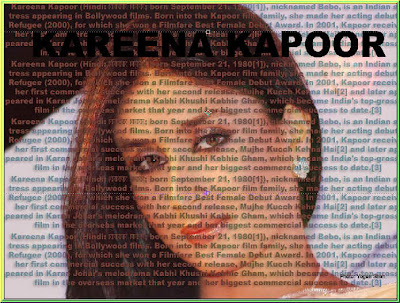
This is how the image looks.
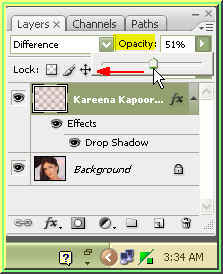
Step 31 : I am reducing the Opacity of the Layer to 51 %.
Step 32 : This is how the image looks.

Step 33 : Click the Type Tool again and select the Horizontal Type Tool.
Step 34 : I have added text.
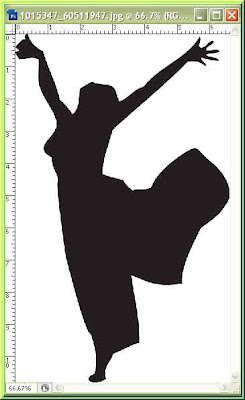
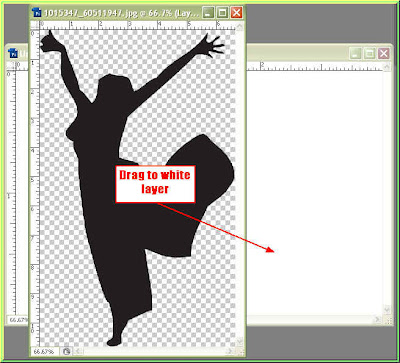
Step 35 : I have opened another image and am dragging it onto my image while keeping SHIFT pressed. This will cause it to land exactly in the middle of the image.

Step 36 : I have placed the new image over the text that I have just typed. Then keeping SHIFT and ALT pressed I have dragged it out and resized it till it covers the text.

Step 37 : Click between Layer1 and the Text Layer as shown to make a Clipping Mask.

Step 38 : As soon as you click the image blends with the text. See above.

You can reposition the image inside the text if you want. I have done so to make the eyes visible.

Step 39 : Click back on the Text layer.

Step 40 : Click on Add Layer Style Button and from the pop up click on Stroke.

Step 41 : In the Stroke dialogue box, click on the red color box to bring up the Color Picker.
Step 42 : In the Color Pick, click on the White. Click ok in the Color Picker.

Step 43 : Drag thr Size slider in the Stroke dialogue box to 6 pixel. Click Ok.

And here is the finished text and image blend. Bye for now.


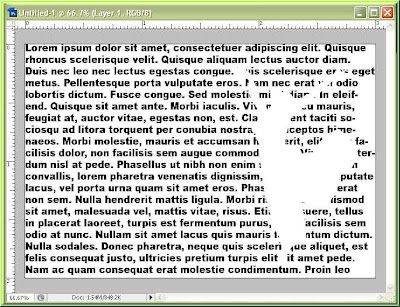
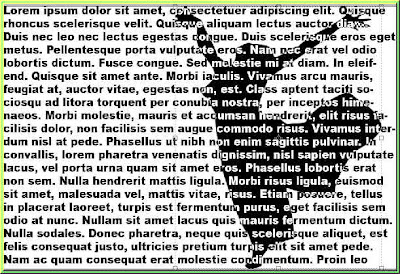
 Step 15: At the left bottom you will find the Generate Lorem Ipsum button. I have chosen to generate 5 paragraphs. Click the button.