


Use the High Pass and desaturation together together with Hue/Saturation to produce a washed out effect in Photoshop.

Step 1 : First we need an image. I will be using this free stock image
It belongs to *faestock

Step 2 : Press CTRL+J to duplicate the Background layer to Layer1.

Step 3 : Press CTRL+SHIFT+U to desaturate Layer1.

The image has been desaturated.

Step 4 : Go to Filter>Other>High Pass.

Step 5 : The High Pass dialogue Box appears. I have set a Radius of 5.5. There is nothing hard and fast about setting the Radius. It will depend on your image.

The rule of the thumb is to be just able to be able to see the image as you drag the Radius slider. Click OK in the High Pass dialogue box.

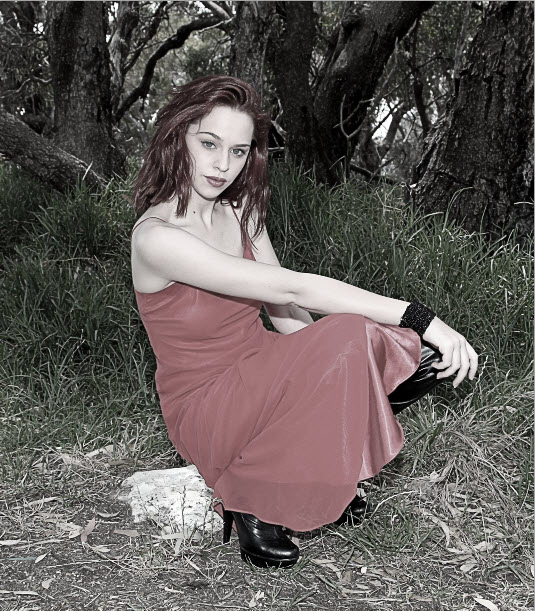
Step 6 : Change the Blend Mode to Hard Light. For some images Overlay and Soft Light might also work.

This is how the image looks.

Step 7 : Click New Fill or Adjustment Layer button. Click on Hue/Saturation from the pop up.

Step 8 : In the Hue/Saturation decrease the Saturation. I have reduced it to -50. It depends on you.

This how the image looks.

If I decrease the Saturation further to -80.
The image looks like this.
Other photoshop tutorials are here


