


Giving a soft pastel look to an image is possible in a number of steps in Photoshop. I have seen that it works with other images too. I have seen long and complicated tutorials on achieving the effect. The method I am using is fairly easy and can be done in any version of photoshop, including Photoshop 7.

Step 1 : I have opened this free stock image in Photoshop. You can see that the image has a dark look.
 This will be my end result.

Step 2 : Press CTRL+J to duplicate the Background layer into Layer 1.

Step 3 : Go to Filter>Artistic>Cutout.
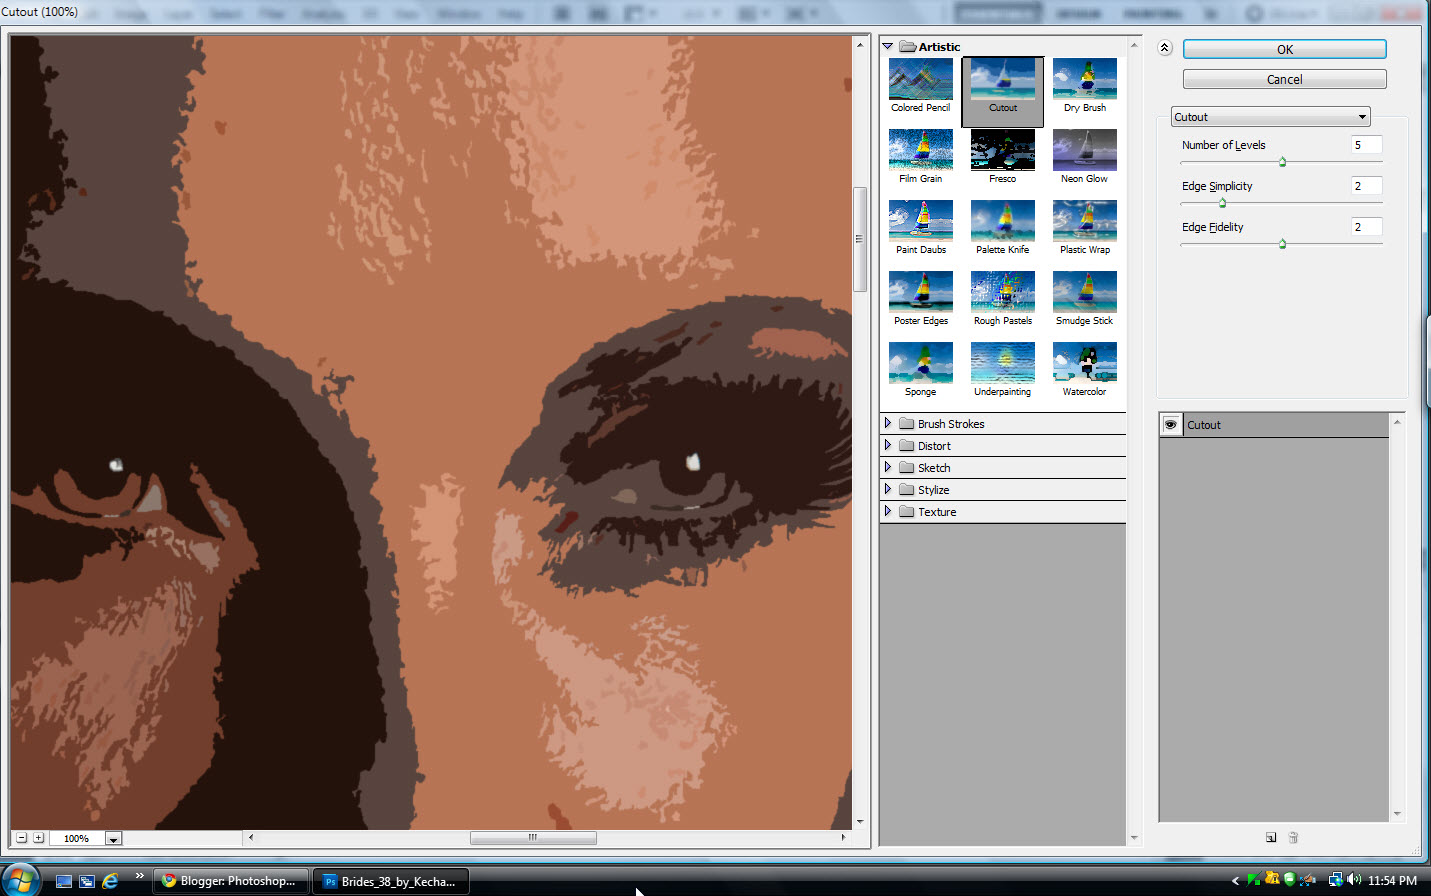
The Cutout dialogue box opens.

Step 4 : These are the default settings. I am leaving them at that and clicking OK.

The image look like this.

Step 5 : Change the Blend mode of Layer 1 to screen.

Step 6 : The image looks like this.

Step 7 : Go to Filter>Blur>Gaussian Blur.

Step 8 : I have set a Radius at fairly high at 30 because this is a high resolution image. Click OK.

The image looks like this.

Step 9 : Click on the New Fill or Adjustment Layer button. Click on Curves from the popup.

Step 10 : The Curves adjustment layer forms over Layer 1. The Curves dialogue box is on top.

Step 11 : The upper left part of the diagonal represents the areas of light. The area below the diagonal represents the shadow areas. I have place cursor on the diagonal at the top and pulled gently up.

The image looks like this.

Step 12 : I have placed the cursor at the lower end of the diagonal and pulled gently downwards a notch or two.

Step 13 : I have placed the cursor in the middle which represents the highlights and pulled it up a tad.

Step 14 : Add another Curves Adjustment Layer.

Step 15 : Click on the Blue channel.

Step 16 : Place the cursor in the middle and nudge it up gently with the Up Arrow key.
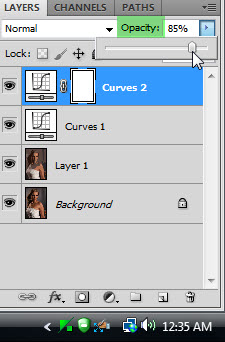
Step 17 : Lower the Opacity of the layer to taste. I have decreased it to 85%.

The finished image.
Other photoshop tutorials are here


