


Sometimes while photographing the eyes of the subjects appear closed, which results in the image turning out to be useless. This can pose a problem unless you are able to photograph the subject again. Sometimes it may not be possible such as in events like a wedding. Photoshop can come to the rescue. You can open closed eyes easily. I will show you how. And, you will not be able to tell the difference. Best of all it can be done in any version of Photohshop, even Photoshop 7.

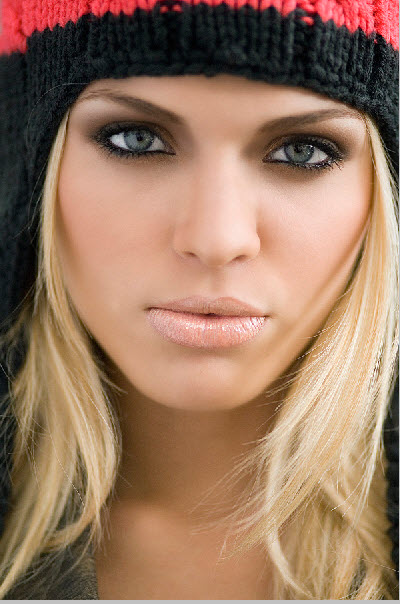
I was sent this image of the bride with the eyes closed to correct.

This is a close up to show you the problem. Added to this is the strand of hair across her right eye (camera left). I also do not know the color of her eyes.

The eyes after being 'opened'.
Step 1 : First you need an image with good eyes such as this image. I have opened both the images in photoshop. I will be going back and forth between them.

Step 2 : Click the Magnetic Lasso. I have set a feather of 3 pixel in the top panel.

Step 3 : Use the Magnetic Lasso to click and drag to make a selection. You need not be absolutely accurate.

Step 4 : Press CTRL+J to copy and paste the selection to a new Layer 1. I have renamed the Layer as eye. It is not absolutely essential that you do so. It is just for convenience. The eye has been secured.

Step 5 : I have zoomed in on the eye of the bride with strands of hair running over it. This has to be tackled first. I have used the Magnetic Lasso to select the strands.

Step 6 : After selection, press CTRL+J to copy and paste it on a new Layer 1. I have renamed it hair. Switch off the eye icon of the layer.

Step 7 : Click off the eye icon in the Background layer from which I selected the eye.

Step 8 : Press v (Move Tool) and drag the eye from the other image to the one of the bride.

Step 9 : I have placed the eye roughly over the closed eye of the bride.

Step 10 : Press CTRL+T. S selection forms. Hover the cursor on any corner and you will see a small bent arrow with which you can rotate the selection. I am positioning the eye.


Step 11 : Drag the handles at the sides and above and below to resize the eye.

Step 12 : Right click inside the selection to see the other options for resizing. If needed you can Skew or Distort.

Step 13 : I have used Skew to resize and reposition.
Press ENTER and Zoom out.

The image looks like this. The eye looks very unnatural.
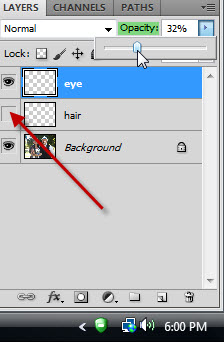
Step 14 : I have lowered the Opacity of the layer to 32%. How much will depend on your image. I have kept the Hair layer switched off.

The right eye has been 'opened'. It looks natural.
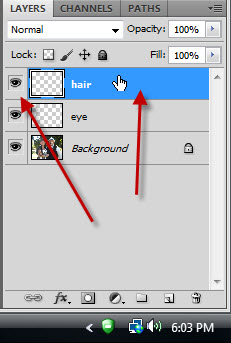
Step 15 : Click on the eye icon on the hair layer. Move the hair layer over the eye layer.

The 'opened' eye with the strands of hair over it.

Step 16 : Bring up the eye and move it over the left eye of the bride.

Step 17 : Press CTRL+T to reposition. Remember that we had used the right eye to replace the right eye of the bride. We are still using the right eye.

Step 18 : Right click inside the selection and click on Flip Horizontal.

The eye has been flipped horizontal, but it looks horrible.

Step 19 : Resize as was done with the right eye.

Step 20 : Reduce the Opacity of the layer suitably.
The eyes of the bride has been 'opened'.

Always zoom out to see the overall effect. If necessary resize the eyes again. That is all. I hope you can now 'reopen' 'closed' eyes with Photoshop.
Other photoshop tutorials are here


